Cloudflare Browser Rendering Experience
Introduction
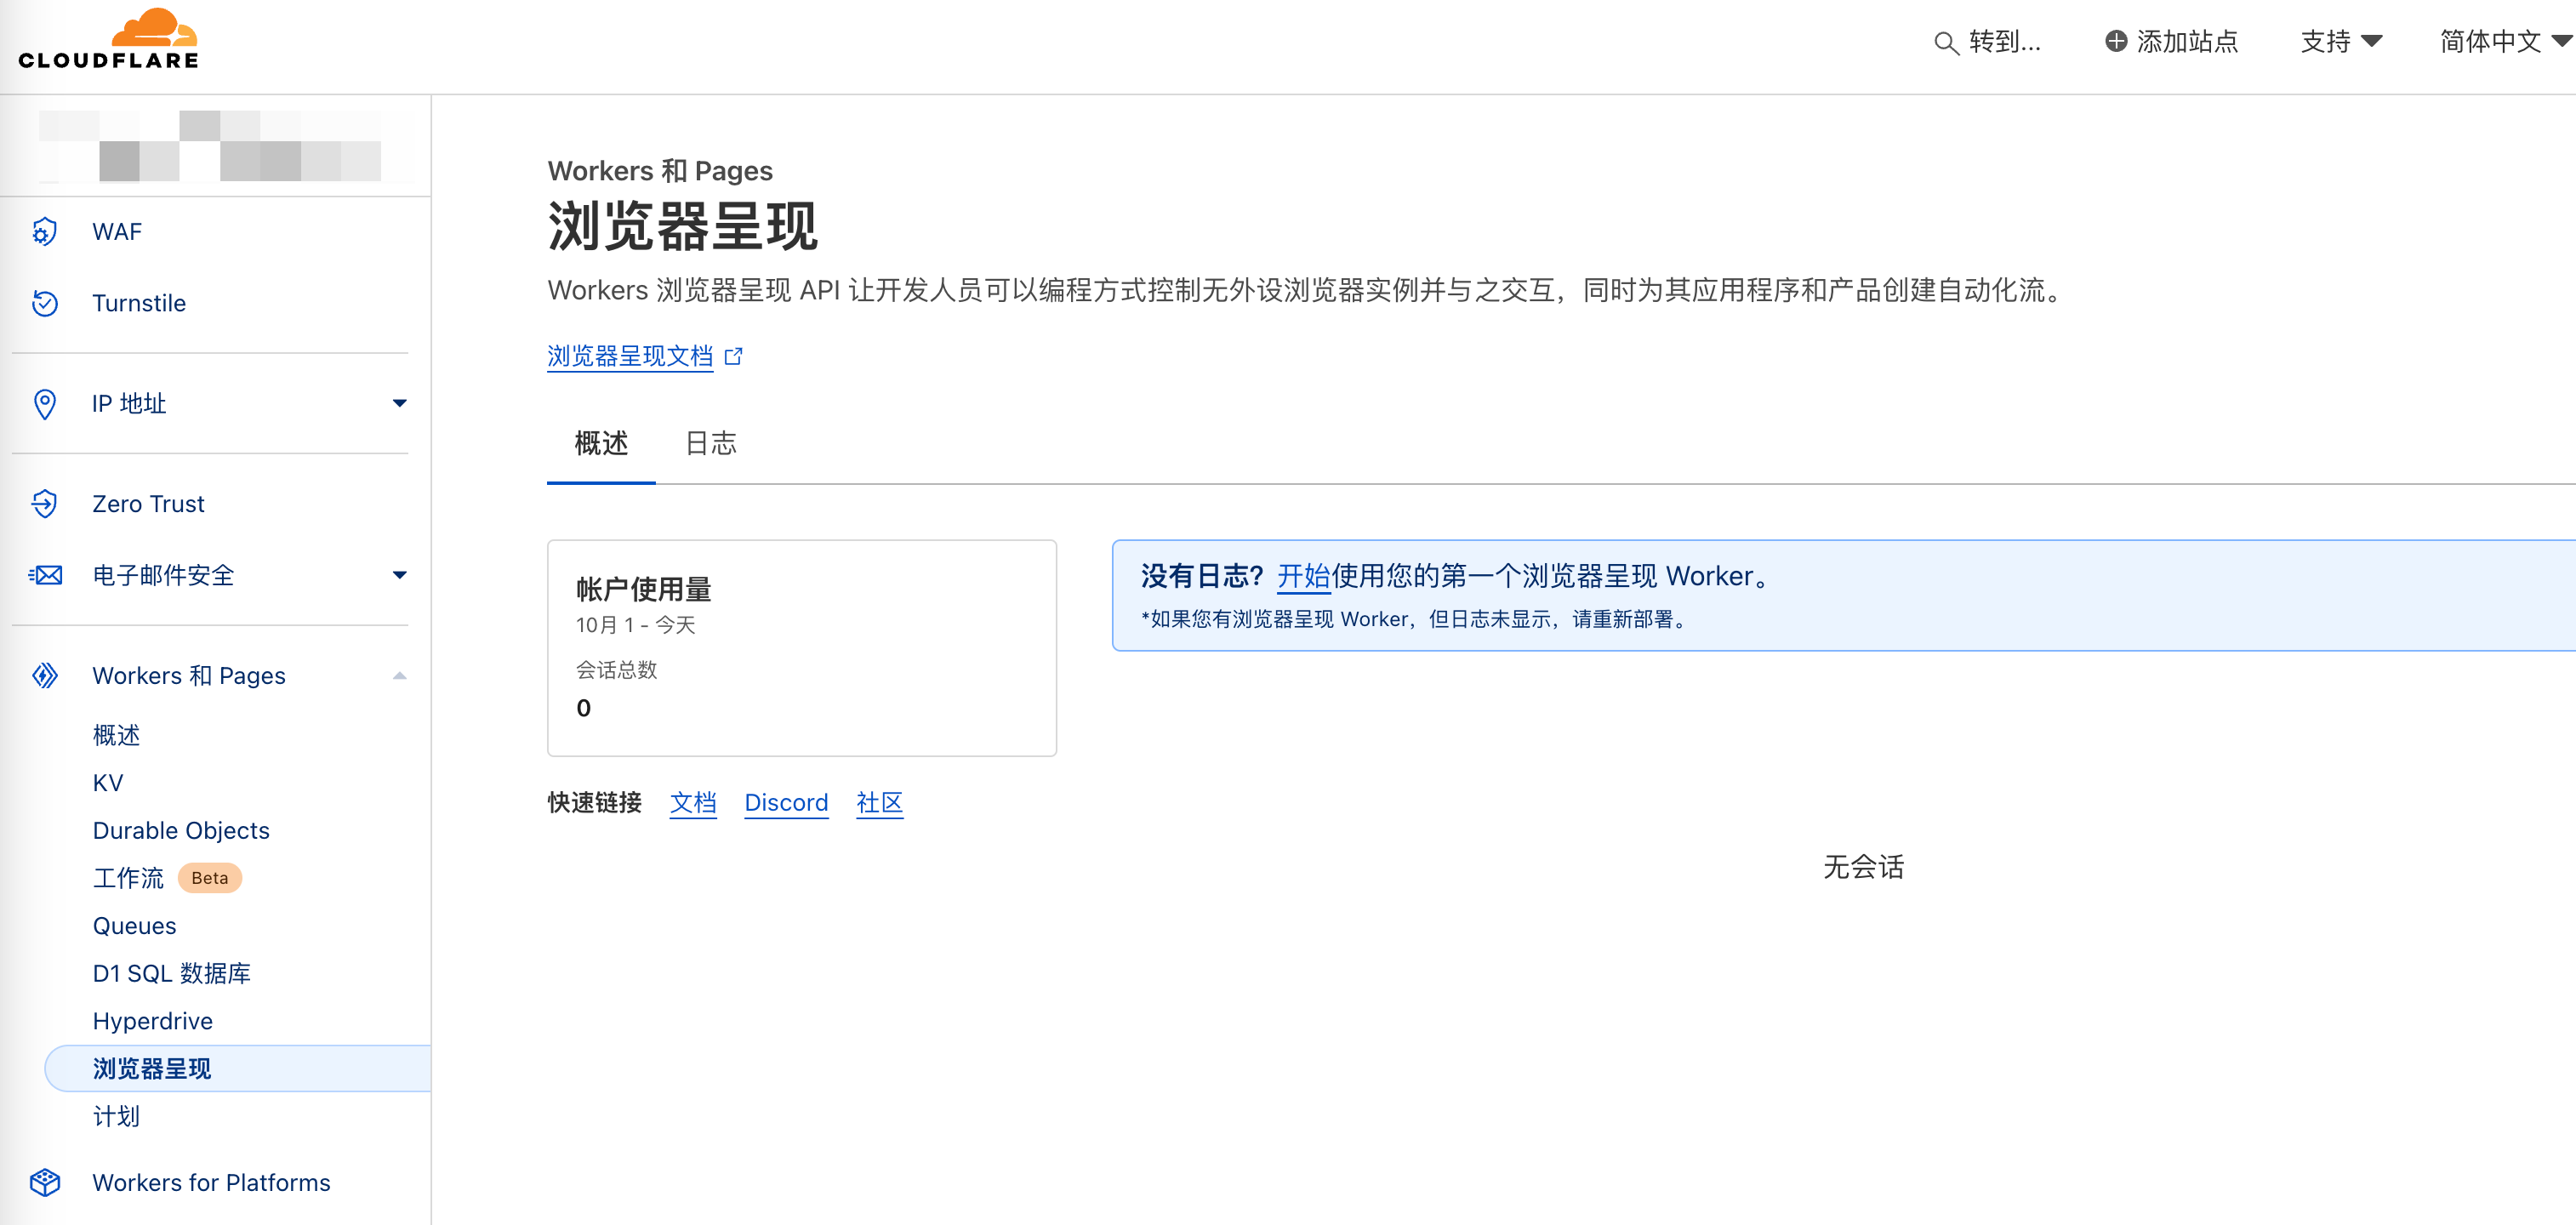
Cloudflare Browser Rendering is translated as "浏览器呈现" in the Chinese panel.
The Workers Browser Rendering API allows developers to programmatically control and interact with headless browser instances while creating automation flows for their applications and products.
From the official introduction, it's clear this is about driving browsers for automated operations. Browser automation isn't anything new - anyone familiar with web scraping knows about this approach, and Selenium has implementations in various programming languages.
However, I'm curious whether CF's browser driving has any advantages given their globally deployed nodes. Plus, it's a paid feature.
Sample code can be found on GitHub: browser-worker
Activation
Activation is simple - just click upgrade plan. After activation, it looks like this:
Initially, I thought you could embed another browser directly in the browser, but that feature doesn't exist - you must control it through Wrangler code.
You can find the documentation in the panel: browser-rendering
Following the Getting Started Tutorial
Getting started documentation: get-started
The goal here is to create a feature that takes a URL input and captures a screenshot of that webpage.
Create Worker Project
Same as creating a Worker Hello World, no difference:
npm create cloudflare@latest -- browser-worker
Log:
asher@192 gitWorkspace % npm create cloudflare@latest -- browser-worker
Need to install the following packages:
create-cloudflare@2.30.1
Ok to proceed? (y) y
> npx
> create-cloudflare browser-worker
─��─────────────────────────────────────────────────────────────────────────────────────────────────────────
👋 Welcome to create-cloudflare v2.30.1!
🧡 Let's get started.
📊 Cloudflare collects telemetry about your usage of Create-Cloudflare.
Learn more at: https://github.com/cloudflare/workers-sdk/blob/main/packages/create-cloudflare/telemetry.md
──────────────────────────────────────────────────────────────────────────────────────────────────────────
╭ Create an application with Cloudflare Step 1 of 3
│
├ In which directory do you want to create your application?
│ dir ./browser-worker
│
├ What would you like to start with?
│ category Hello World example
│
├ Which template would you like to use?
│ type Hello World Worker
│
├ Which language do you want to use?
│ lang JavaScript
│
├ Copying template files
│ files copied to project directory
│
├ Updating name in `package.json`
│ updated `package.json`
│
├ Installing dependencies
│ installed via `npm install`
│
╰ Application created
╭ Configuring your application for Cloudflare Step 2 of 3
│
├ Retrieving current workerd compatibility date
│ compatibility date 2024-10-22
│
├ Do you want to use git for version control?
│ yes gito
│
├ Initializing git repo
│ initialized git
│
├ Committing new files
│ git commit
│
╰ Application configured
╭ Deploy with Cloudflare Step 3 of 3
│
├ Do you want to deploy your application?
│ no deploy via `npm run deploy`
│
╰ Done
────────────────────────────────────────────────────────────
🎉 SUCCESS Application created successfully!
💻 Continue Developing
Change directories: cd browser-worker
Start dev server: npm run start
Deploy: npm run deploy
📖 Explore Documentation
https://developers.cloudflare.com/workers
💬 Join our Community
https://discord.cloudflare.com
────────────────────────────────────────────────────────────
Install Puppeteer
After searching, here's the introduction to Puppeteer:
Puppeteer is one of the most popular libraries that abstracts the underlying DevTools protocol from developers and provides a high-level API that can be used to easily instrument Chrome/Chromium and automate browsing sessions. Puppeteer can be used for tasks such as creating screenshots, crawling web pages, and testing web applications. Puppeteer typically connects to a local Chrome or Chromium browser using the DevTools port. For more information, see the Puppeteer API documentation on the Puppeteer.connect() method.
Related documentation: Puppeteer
npm install @cloudflare/puppeteer --save-dev
Create KV Namespace
Browser rendering can be used with other products. You might need a relational database, an R2 bucket to archive crawled pages and assets, a Durable Object to keep browser instances alive and share them with multiple requests, or a Queue to process your jobs asynchronously. For this guide, we'll use KV storage to cache your screenshots. Create two namespaces, one for production and one for development.
npx wrangler kv:namespace create BROWSER_KV_DEMO
npx wrangler kv:namespace create BROWSER_KV_DEMO --preview
Remember to record the generated IDs
Log:
asher@192 browser-worker % npx wrangler kv:namespace create BROWSER_KV
npx wrangler kv:namespace create BROWSER_KV --preview

 ⛅️ wrangler 3.83.0
-------------------

🌀 Creating namespace with title "browser-worker-BROWSER_KV"
✨ Success!
Add the following to your configuration file in your kv_namespaces array:
[[kv_namespaces]]
binding = "BROWSER_KV"
id = "xxxx"

 ⛅️ wrangler 3.83.0
-------------------

🌀 Creating namespace with title "browser-worker-BROWSER_KV_preview"
✨ Success!
Add the following to your configuration file in your kv_namespaces array:
[[kv_namespaces]]
binding = "BROWSER_KV"
preview_id = "xxxxx"
Configure wrangler.toml
Configure your browser Worker project's wrangler.toml file by adding browser bindings and Node.js compatibility flags.
Bindings allow your Worker to interact with resources on the Cloudflare developer platform.
The browser binding name is set by you - this guide uses MYBROWSER.
Browser bindings enable communication between Workers and headless browsers, allowing you to perform operations like taking screenshots, generating PDFs, etc.
Update your wrangler.toml configuration file with the Browser Rendering API binding and the KV namespace you created:
name = "browser-worker"
main = "src/index.js"
compatibility_date = "2024-10-22"
compatibility_flags = ["nodejs_compat"]

browser = { binding = "MYBROWSER" }
kv_namespaces = [
	{ binding = "BROWSER_KV_DEMO", id = "22cf855786094a88a6906f8edac425cd", preview_id = "e1f8b68b68d24381b57071445f96e623" }
]
Remember to change the highlighted section to your own KV IDs generated in the previous step.
Code Section
Just copy from the tutorial and paste into index.js:
import puppeteer from "@cloudflare/puppeteer";

export default {
  async fetch(request, env) {
    const { searchParams } = new URL(request.url);
    let url = searchParams.get("url");
    let img;
    if (url) {
      url = new URL(url).toString(); // normalize
      img = await env.BROWSER_KV_DEMO.get(url, { type: "arrayBuffer" });
      if (img === null) {
        const browser = await puppeteer.launch(env.MYBROWSER);
        const page = await browser.newPage();
        await page.goto(url);
        img = await page.screenshot();
        await env.BROWSER_KV_DEMO.put(url, img, {
          expirationTtl: 60 * 60 * 24,
        });
        await browser.close();
      }
      return new Response(img, {
        headers: {
          "content-type": "image/jpeg",
        },
      });
    } else {
      return new Response("Please add an ?url=https://example.com/ parameter");
    }
  },
};
The highlighted sections need to be changed to your own KV name if you changed it during creation, otherwise troubleshooting will be difficult - it won't even show errors like "KV doesn't exist".
This Worker uses Puppeteer to instantiate a browser, opens a new page, navigates to the content you entered in the url parameter, takes a screenshot of that page, stores the screenshot in KV, closes the browser, and responds with a JPEG image of the page screenshot.
If the Worker runs in production, it will store screenshots to the production KV namespace. If running wrangler dev, it will store screenshots to the dev KV namespace.
If the same url is requested again, it will use the cached version from KV unless it has expired.
Testing
Before deploying to Cloudflare's global network, run npx wrangler dev --remote to test your Worker remotely. Browser Rendering doesn't support local mode, so you need to use the --remote command.
To test taking the first screenshot, visit this URL:
<LOCAL_HOST_URL>/?url=https://example.com
It makes sense that local mode isn't supported - after all, Browser Rendering is a paid product. If you could run it locally, there would be no point in charging for it.
During actual testing, I found that LOCAL_HOST_URL requests would hang with nothing happening - you must deploy to CF for requests to work.
Deployment
Run npx wrangler deploy to deploy your Worker to Cloudflare's global network. To get your first screenshot, visit this URL:
<YOUR_WORKER>.<YOUR_SUBDOMAIN>.workers.dev/?url=https://example.com
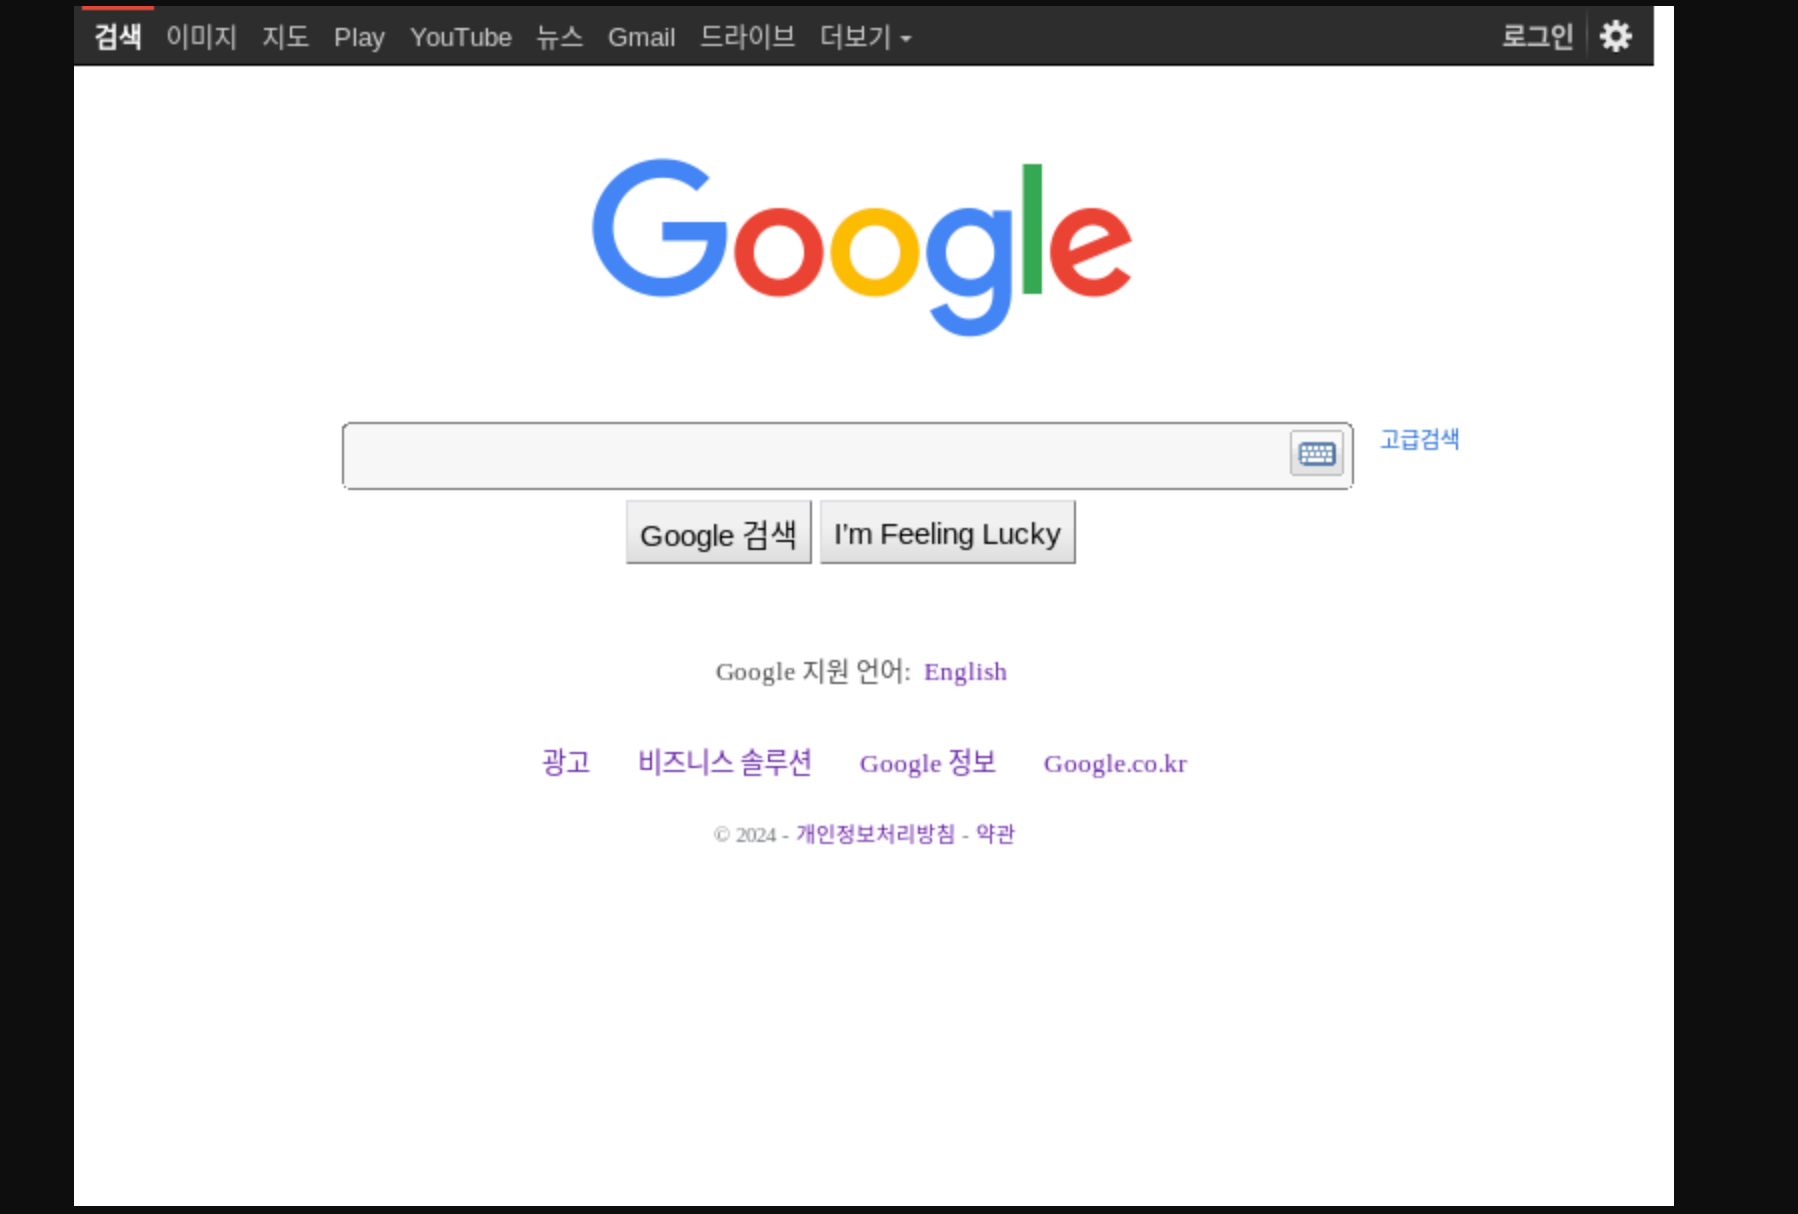
Actual Test Screenshots
Here I tested with Google's homepage - you can see CF is using a Korean IP for the request:
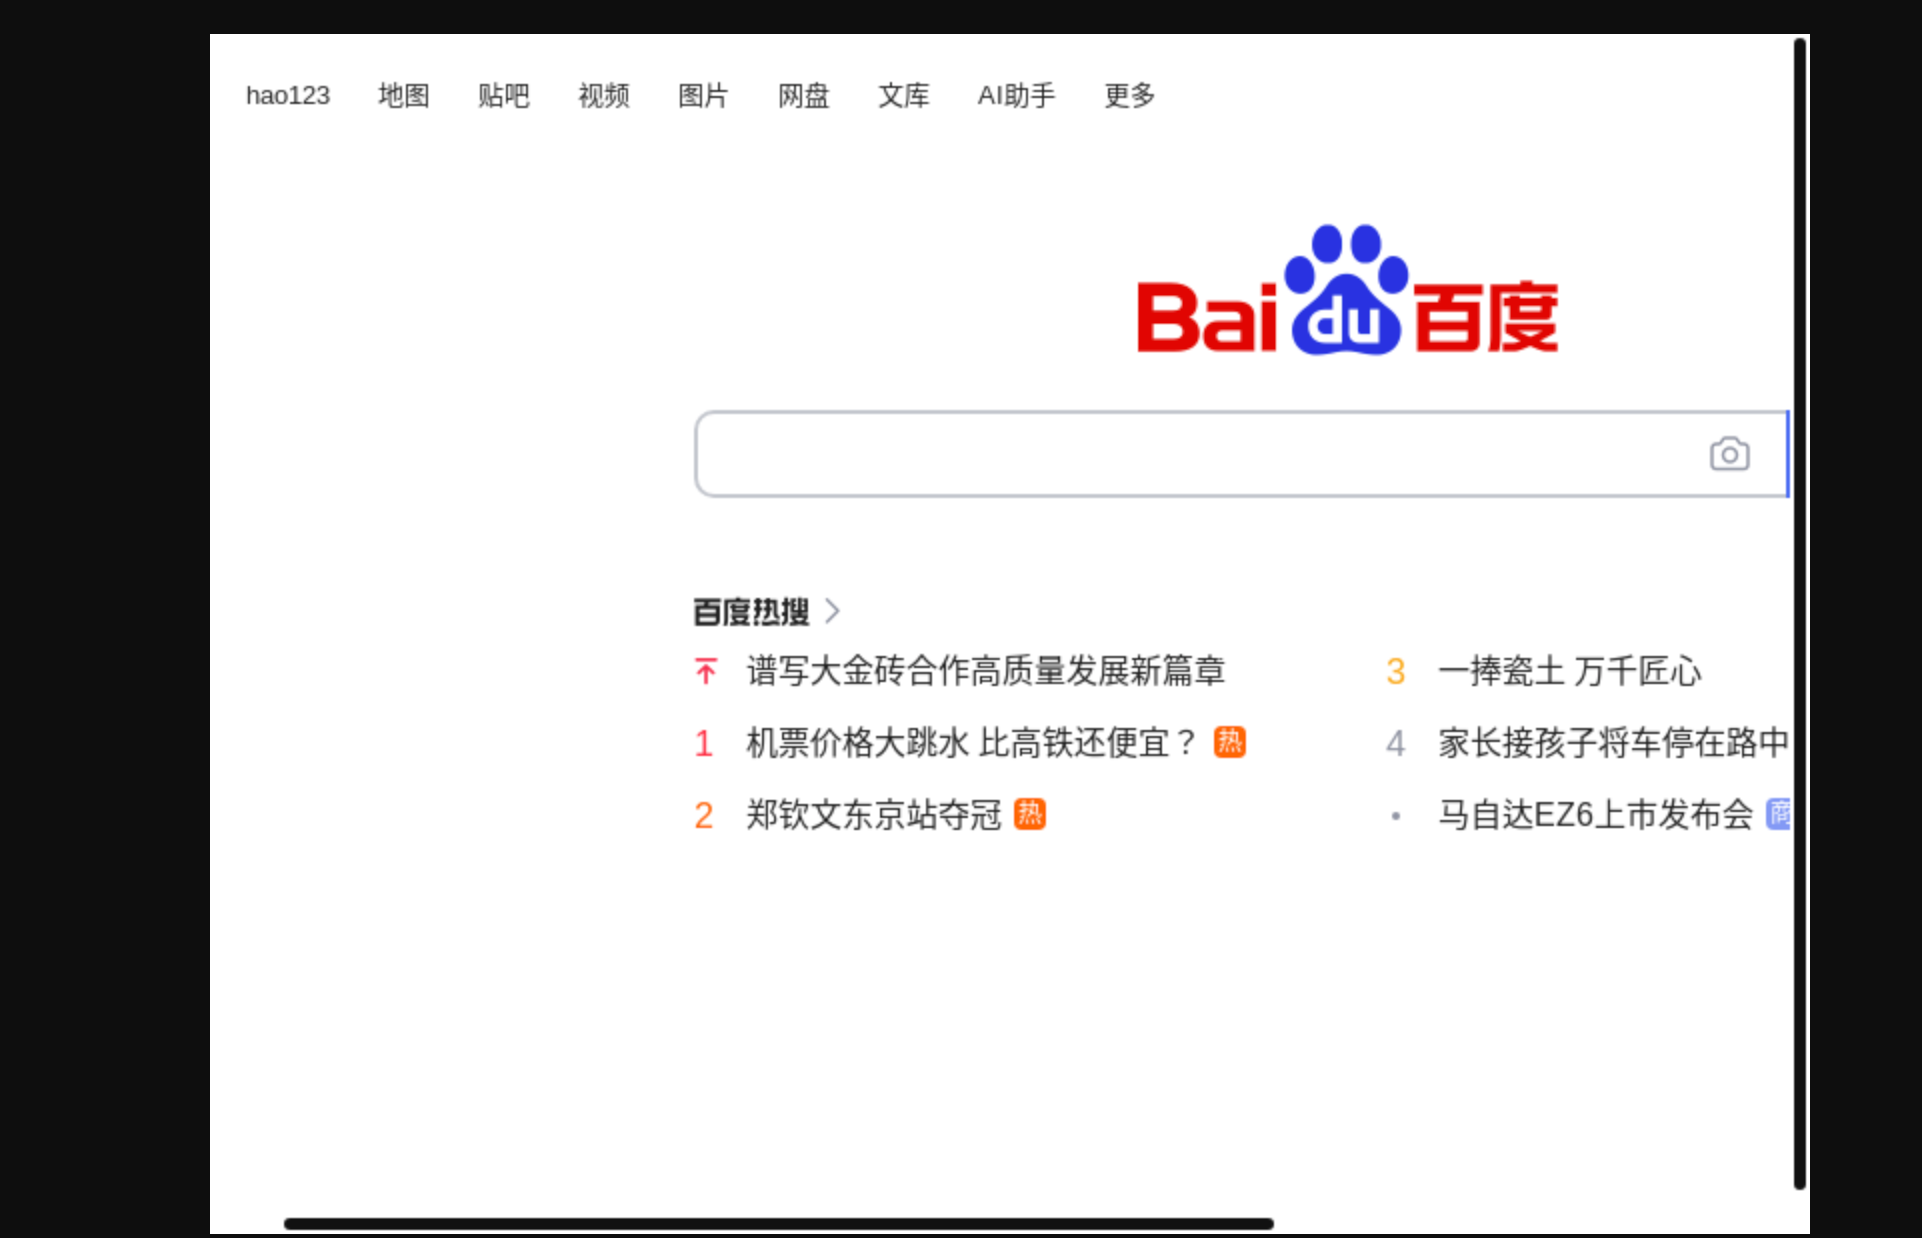
Tried Baidu's - didn't capture completely:
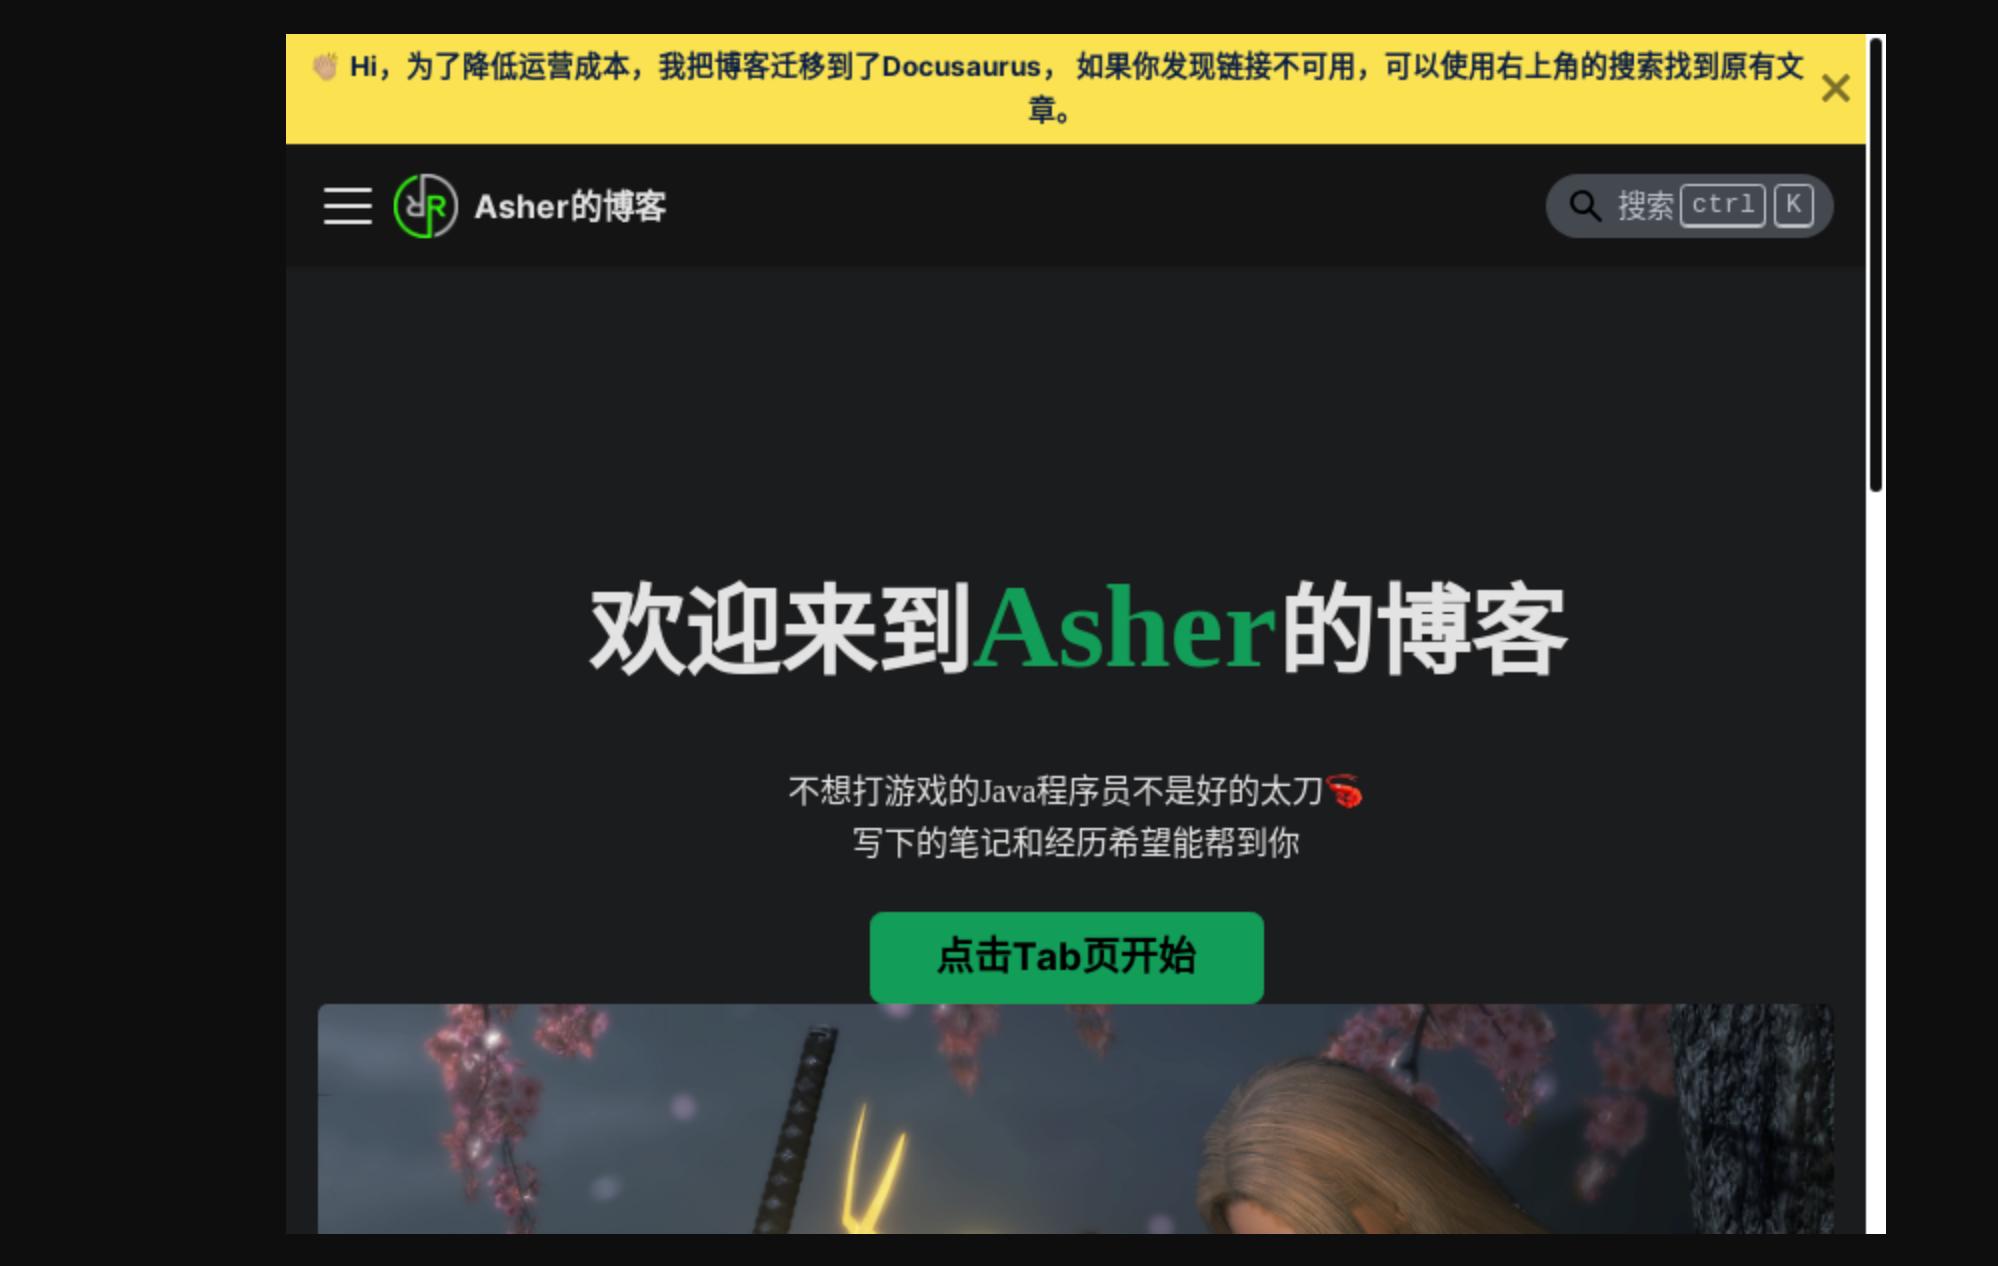
Tried my own website - incomplete capture +1, and it looks like it was detected as a small screen device:
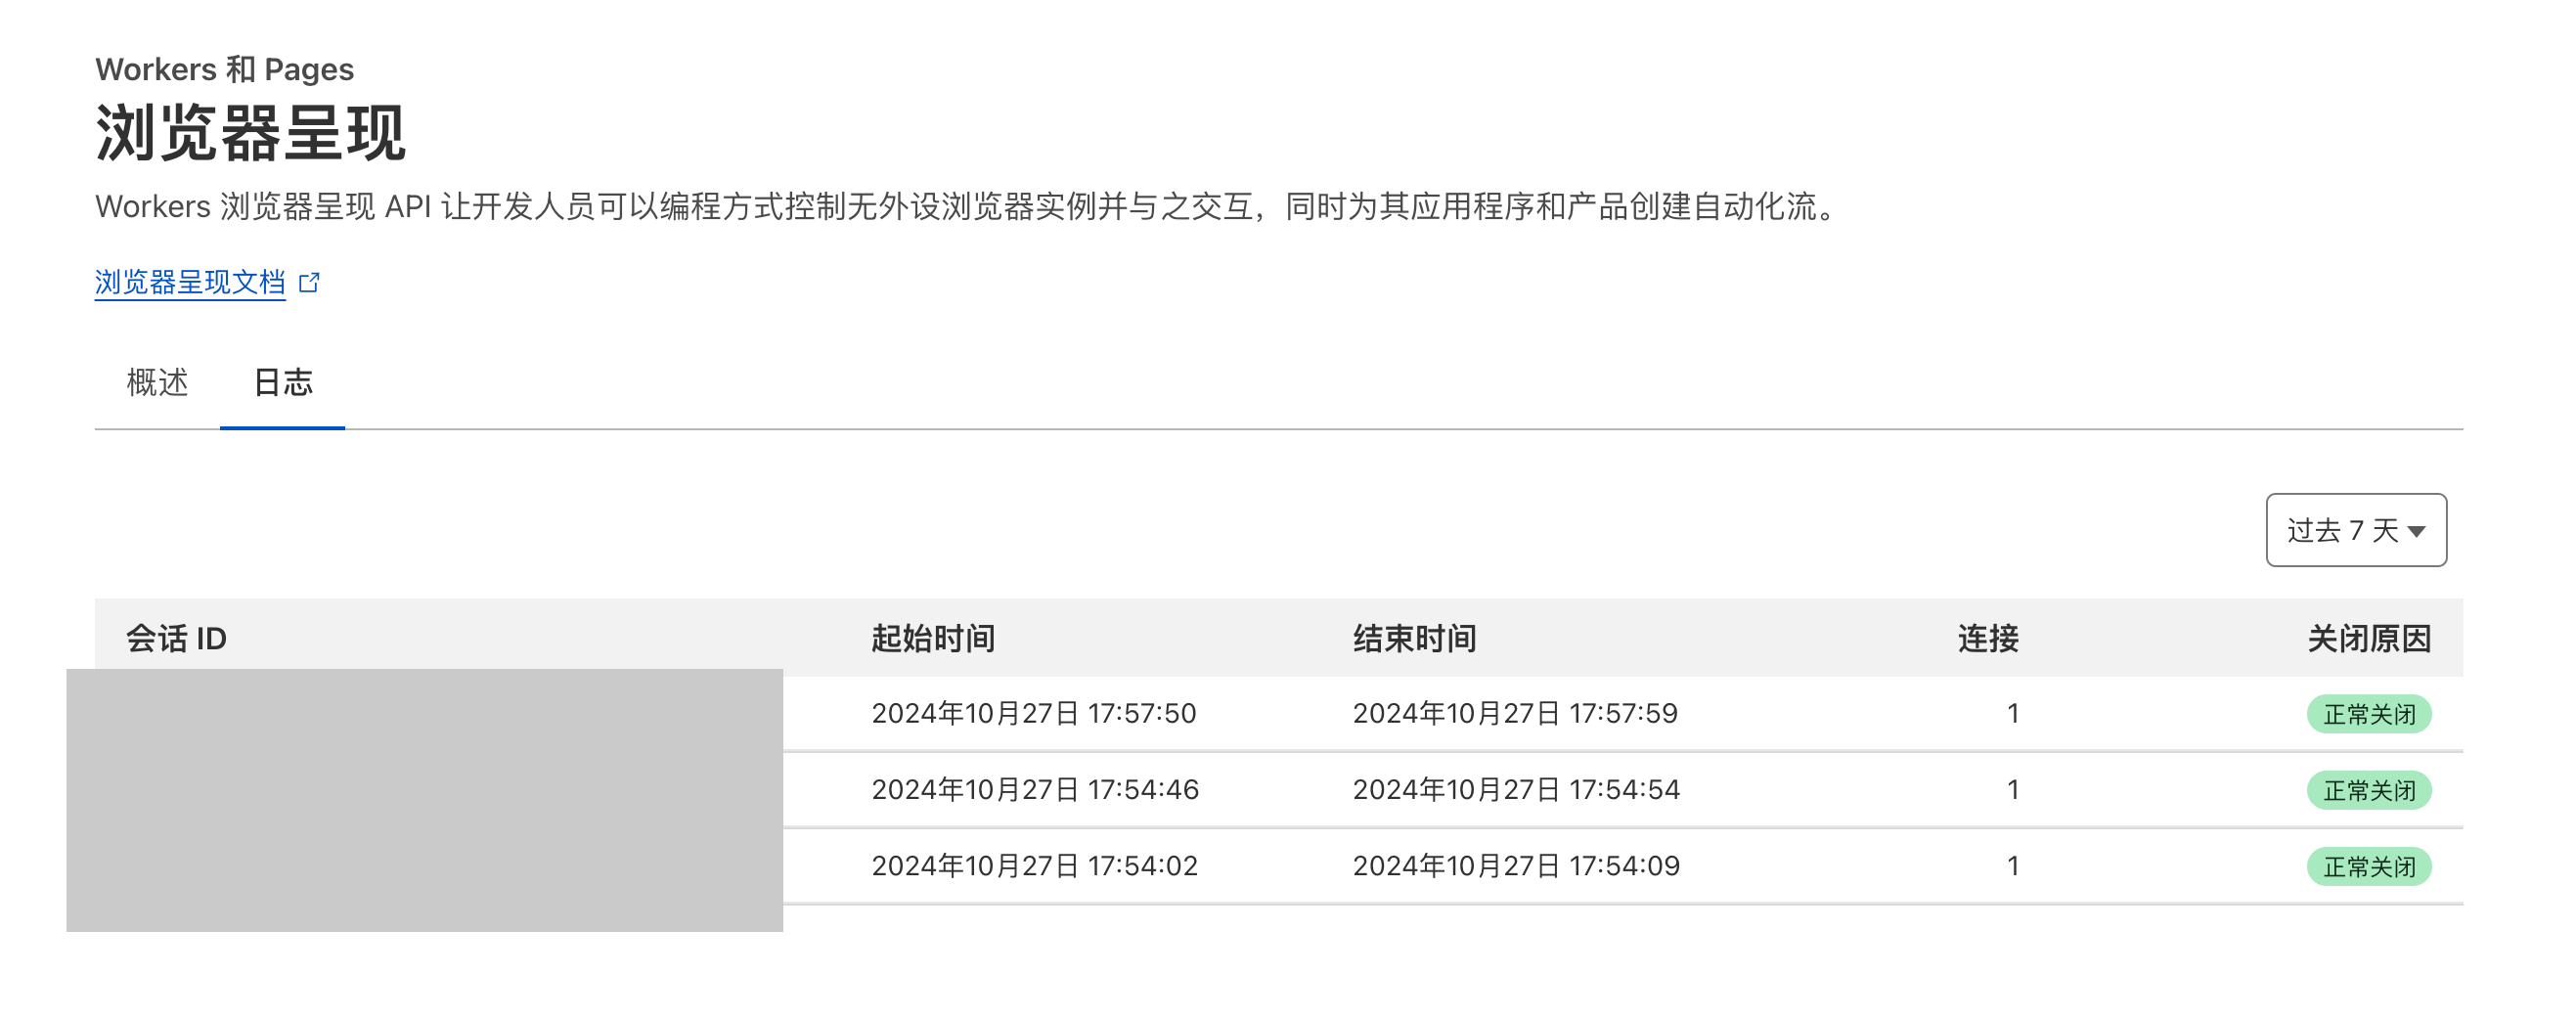
Back in the Cloudflare console, you can see the request logs from just now:
Summary
The entire service creation process was fairly smooth, but the final results were somewhat disappointing. However, considering this is just a quick start tutorial, there might be more attractive use cases.
I found some other examples: cloudflare-puppeteer-examples
And Puppeteer's official repository has more examples: puppeteer-examples
There are quite a few, but whether they can all be used is uncertain. Here's a translation:
Rendering and Web Scraping
- Puppetron - Demo website showing how to use Puppeteer and Headless Chrome to render pages. Inspired by GoogleChrome/rendertron.
- Thal - Getting started with Puppeteer and Chrome Headless for web scraping.
- pupperender - Express middleware that checks incoming request User-Agent headers and renders pages using Puppeteer if it matches one of a configurable set of bots. Suitable for PWA rendering.
- headless-chrome-crawler - Crawler providing a simple API to manipulate Headless Chrome, allowing you to crawl dynamic websites.
- puppeteer-examples - Puppeteer Headless Chrome examples for real-world use cases like getting useful information from web pages or common login scenarios.
- browserless - Headless Chrome as a service, letting you execute Puppeteer scripts remotely. Provides docker images with concurrency configuration, launch arguments, etc.
- Puppeteer on AWS Lambda - Running puppeteer on AWS Lambda using the Serverless framework
- Apify SDK - Scalable JavaScript web crawler and scraping library. Automatically manages Puppeteer browser pools and provides simple error handling, task management, proxy rotation, etc.
Testing
- angular-puppeteer-demo - Demo library explaining how to use Puppeteer in Karma.
- mocha-headless-chrome - Tool for running client-side mocha tests in the command line via Headless Chrome.
- puppeteer-to-istanbul-example - Demo repository demonstrating how to output Puppeteer coverage in Istanbul format.
- jest-puppeteer - (Almost) zero-config tool for easily setting up and running Jest and Puppeteer. Also includes assertion library for Puppeteer.
- puppeteer-har - Generate HAR files using puppeteer.
- puppetry - Desktop application for building Puppeteer/Jest driven tests without coding.
- puppeteer-loadtest - Command line interface for load testing puppeteer scripts.
- cucumber-puppeteer-example - Example repository demonstrating how to use Puppeteer and Cucumber for integration testing.
Services
- Checkly - Monitoring SaaS that checks web page and application availability and correctness using Puppeteer.
- Doppio - SaaS API for creating screenshots or PDFs from HTML/CSS/JS
Limitations
I also looked at CF's official limitations:
- Two new browsers per account per minute.
- Two concurrent browsers per account.
- By default, if a browser instance doesn't receive any
devtoolscommands within 60 seconds, it's terminated, freeing up an instance. Users can optionally increase this time using thekeep_aliveoption. browser.close()releases the browser instance.