Migrate Your Blog Images Using Cloudflare R2
1. Introduction
I've recently started using Cloudflare (referred to as CF below), and finally migrated all my blog images from Alibaba OSS to CF's R2. With 10GB of free storage and no egress bandwidth fees, CF is truly amazing.
This article mainly covers how to use CF's R2 and how to migrate all images from your existing blog .md files to Cloudflare using Java.
2. Prepare Your CF R2
For this step, you'll need:
- A credit card or PayPal - Although you'll hardly use up CF's free quota, you still need to bind a credit card when activating. It needs at least $1 available, as CF will make a pre-authorization to verify the card works. Domestic Chinese credit cards also work.
- A domain name - Purchased from any cloud service provider
2.1 Register at the official website: https://www.cloudflare.com/
After registration, click "Add a site" in the top right corner and enter your domain name.
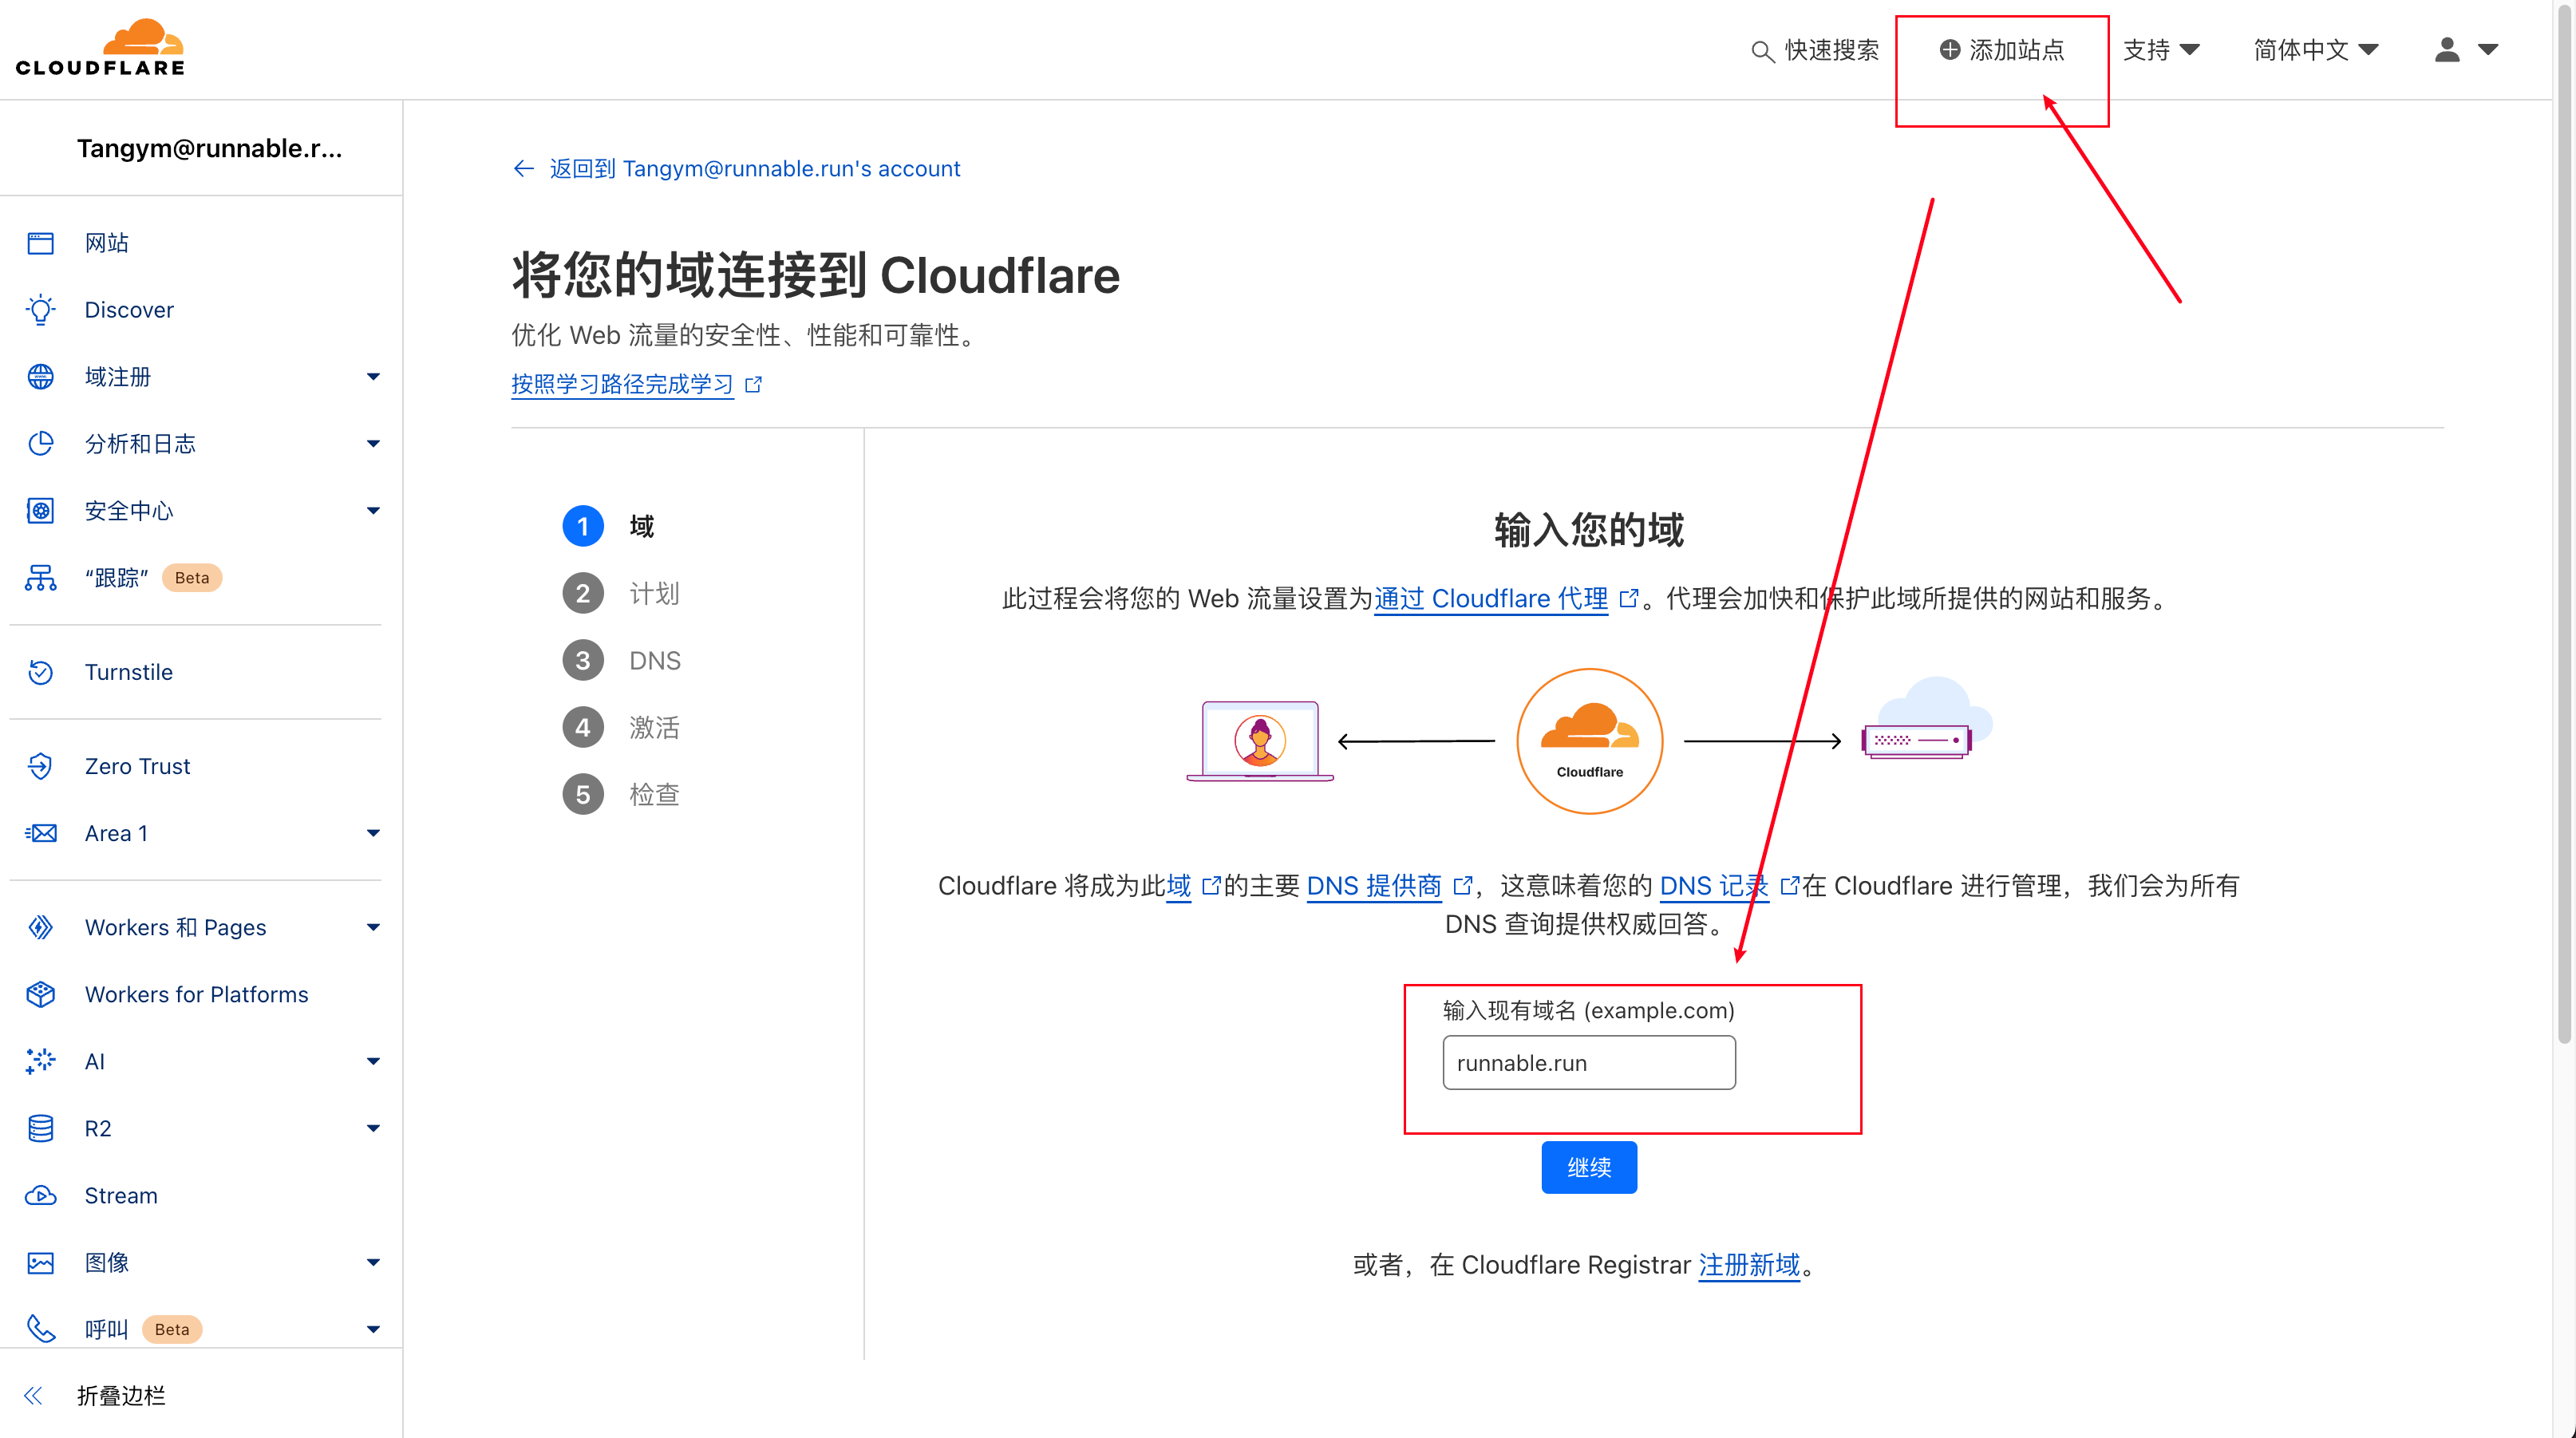
Then click next, next. CF will automatically scan and record the existing DNS records for your domain. When it comes to DNS resolution, you need to configure the DNS servers at your original domain registrar to point to CF's specified nameservers.
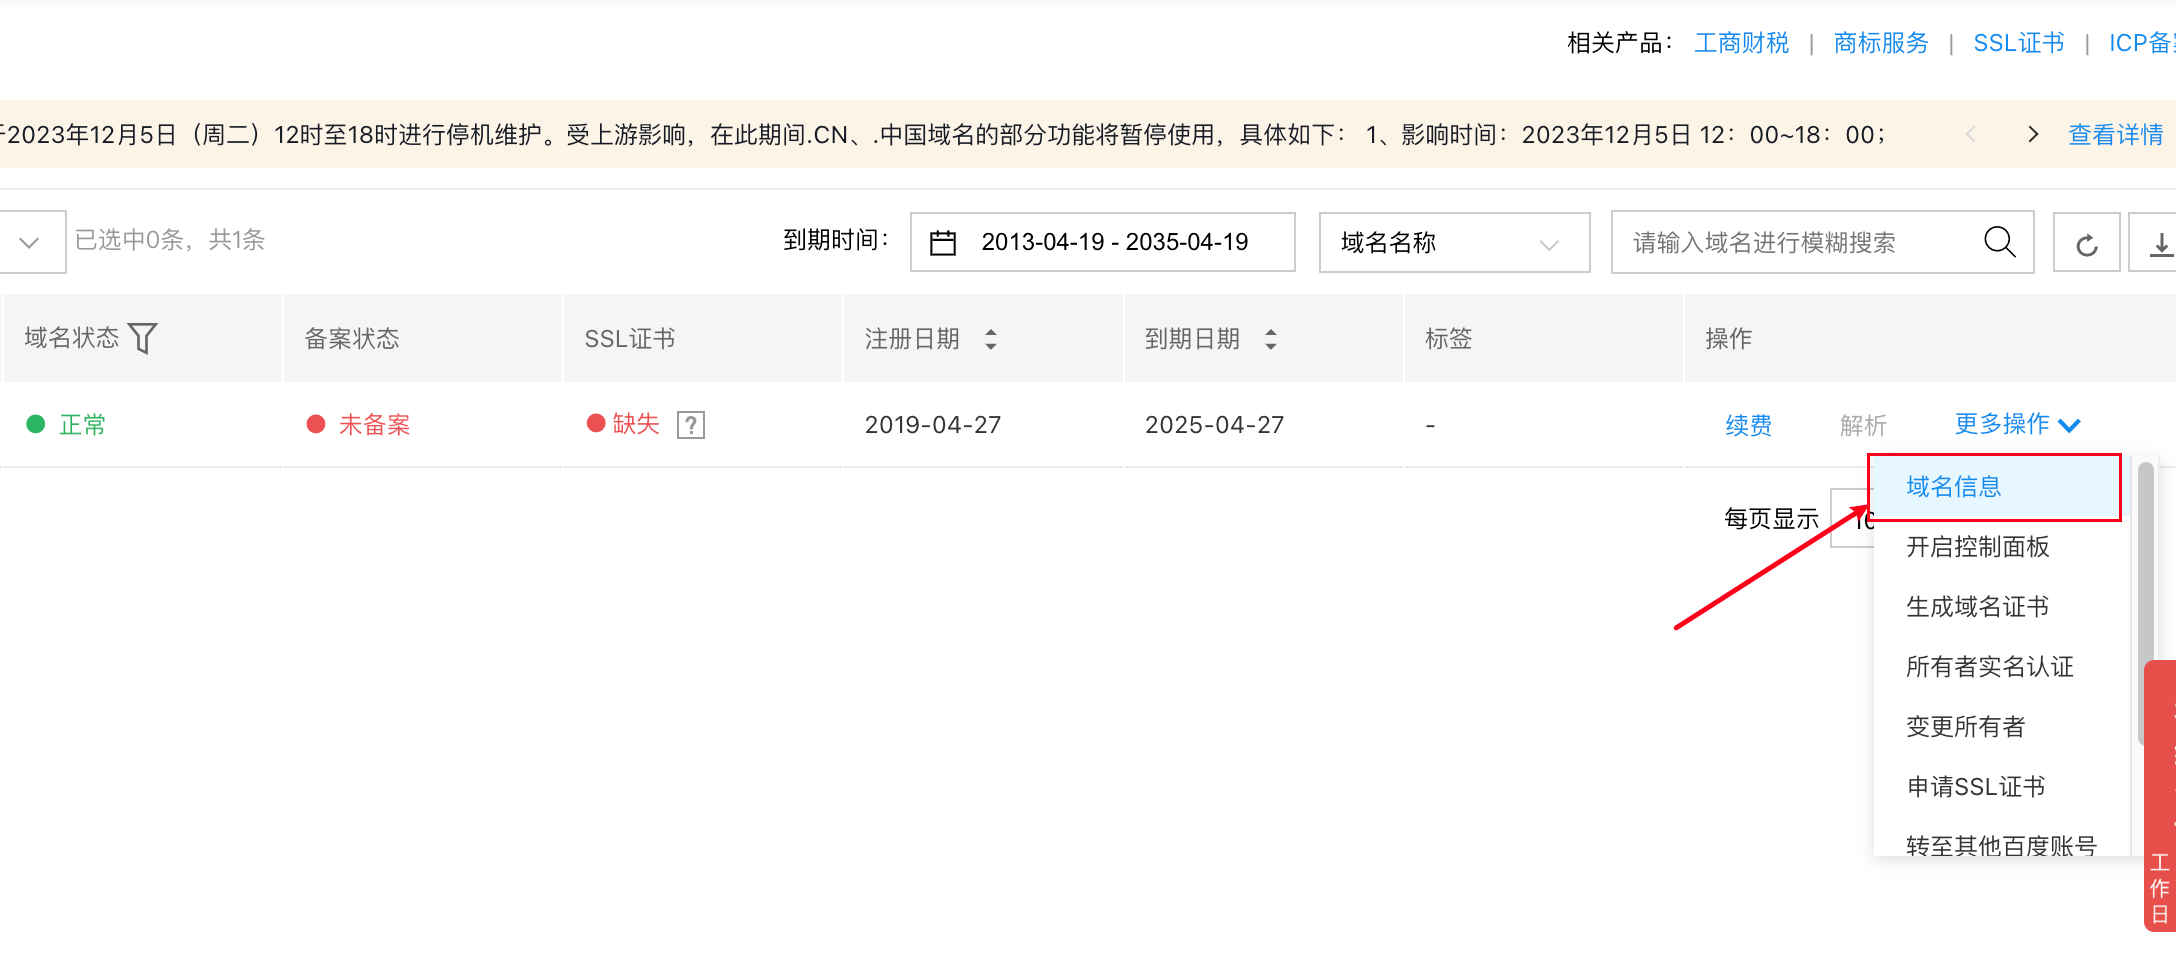
2.2 For Baidu Cloud, change it in Domain Information under Domain Services
2.3 For GoDaddy, set it in the Nameservers section

After setting this up, wait about 10 minutes. CF will automatically detect whether your nameserver configuration has taken effect and will notify you by email once it's active.
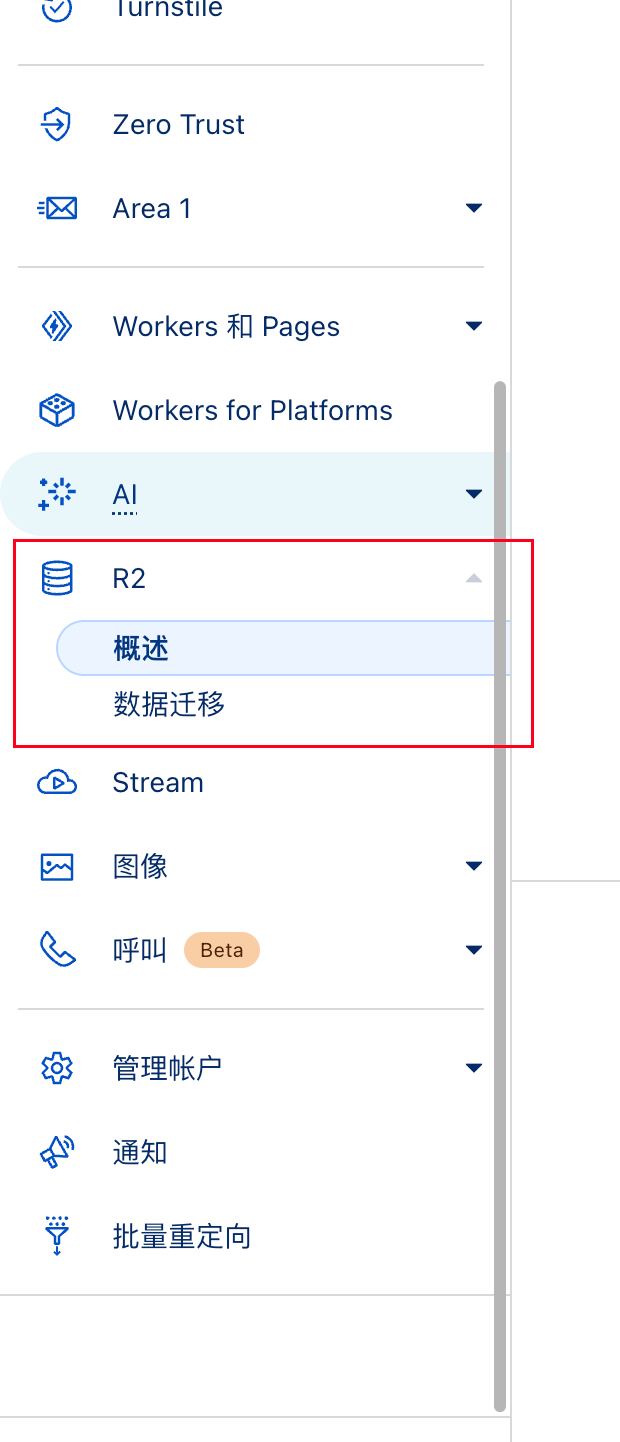
2.4 Activate R2
Select R2, then bind your credit card or PayPal. Their payment service can be slow, and the page might even throw errors - be patient. Also, it's best not to use a VPN when binding to protect your credit card CRC from leaking.
You'll receive a pre-authorization charge to verify the credit card, which will be refunded later.
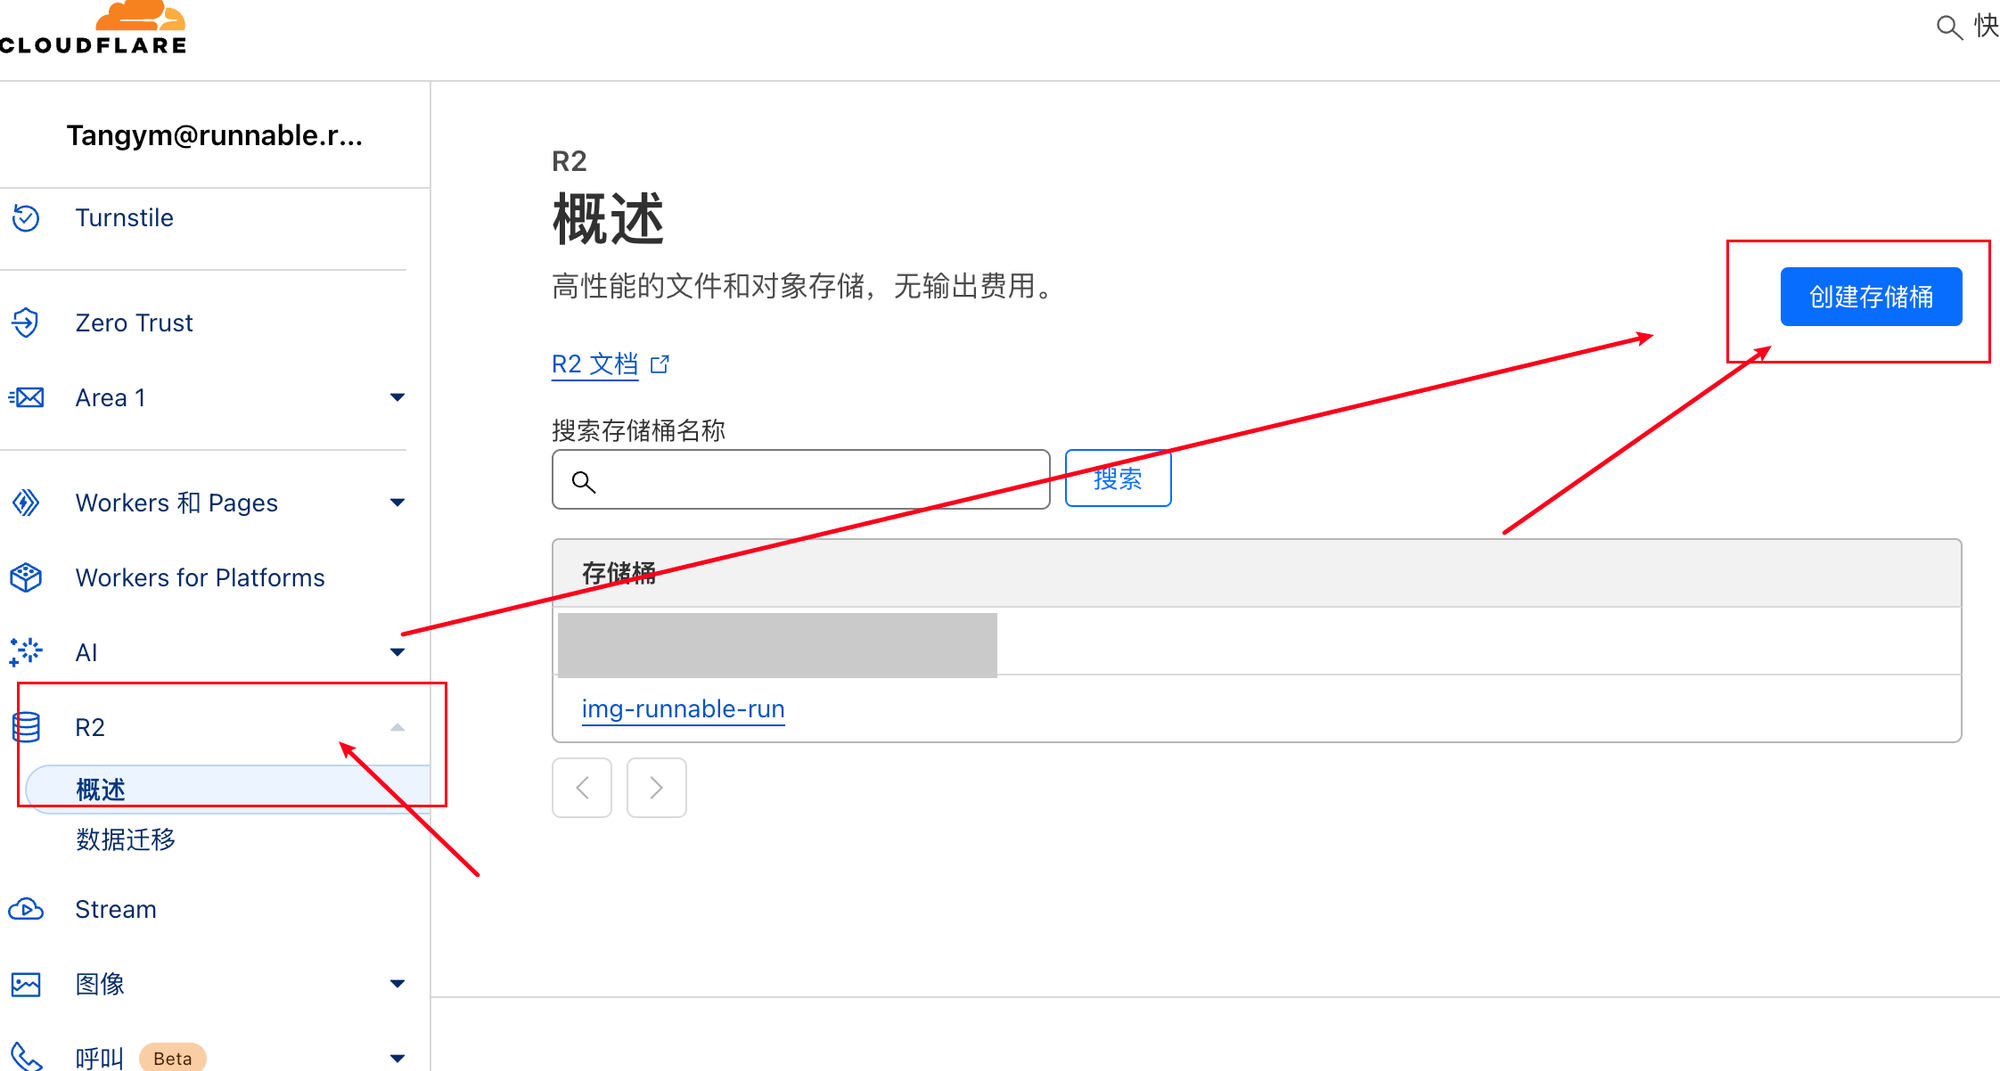
3. Configure R2
Create a new bucket and give it a name.
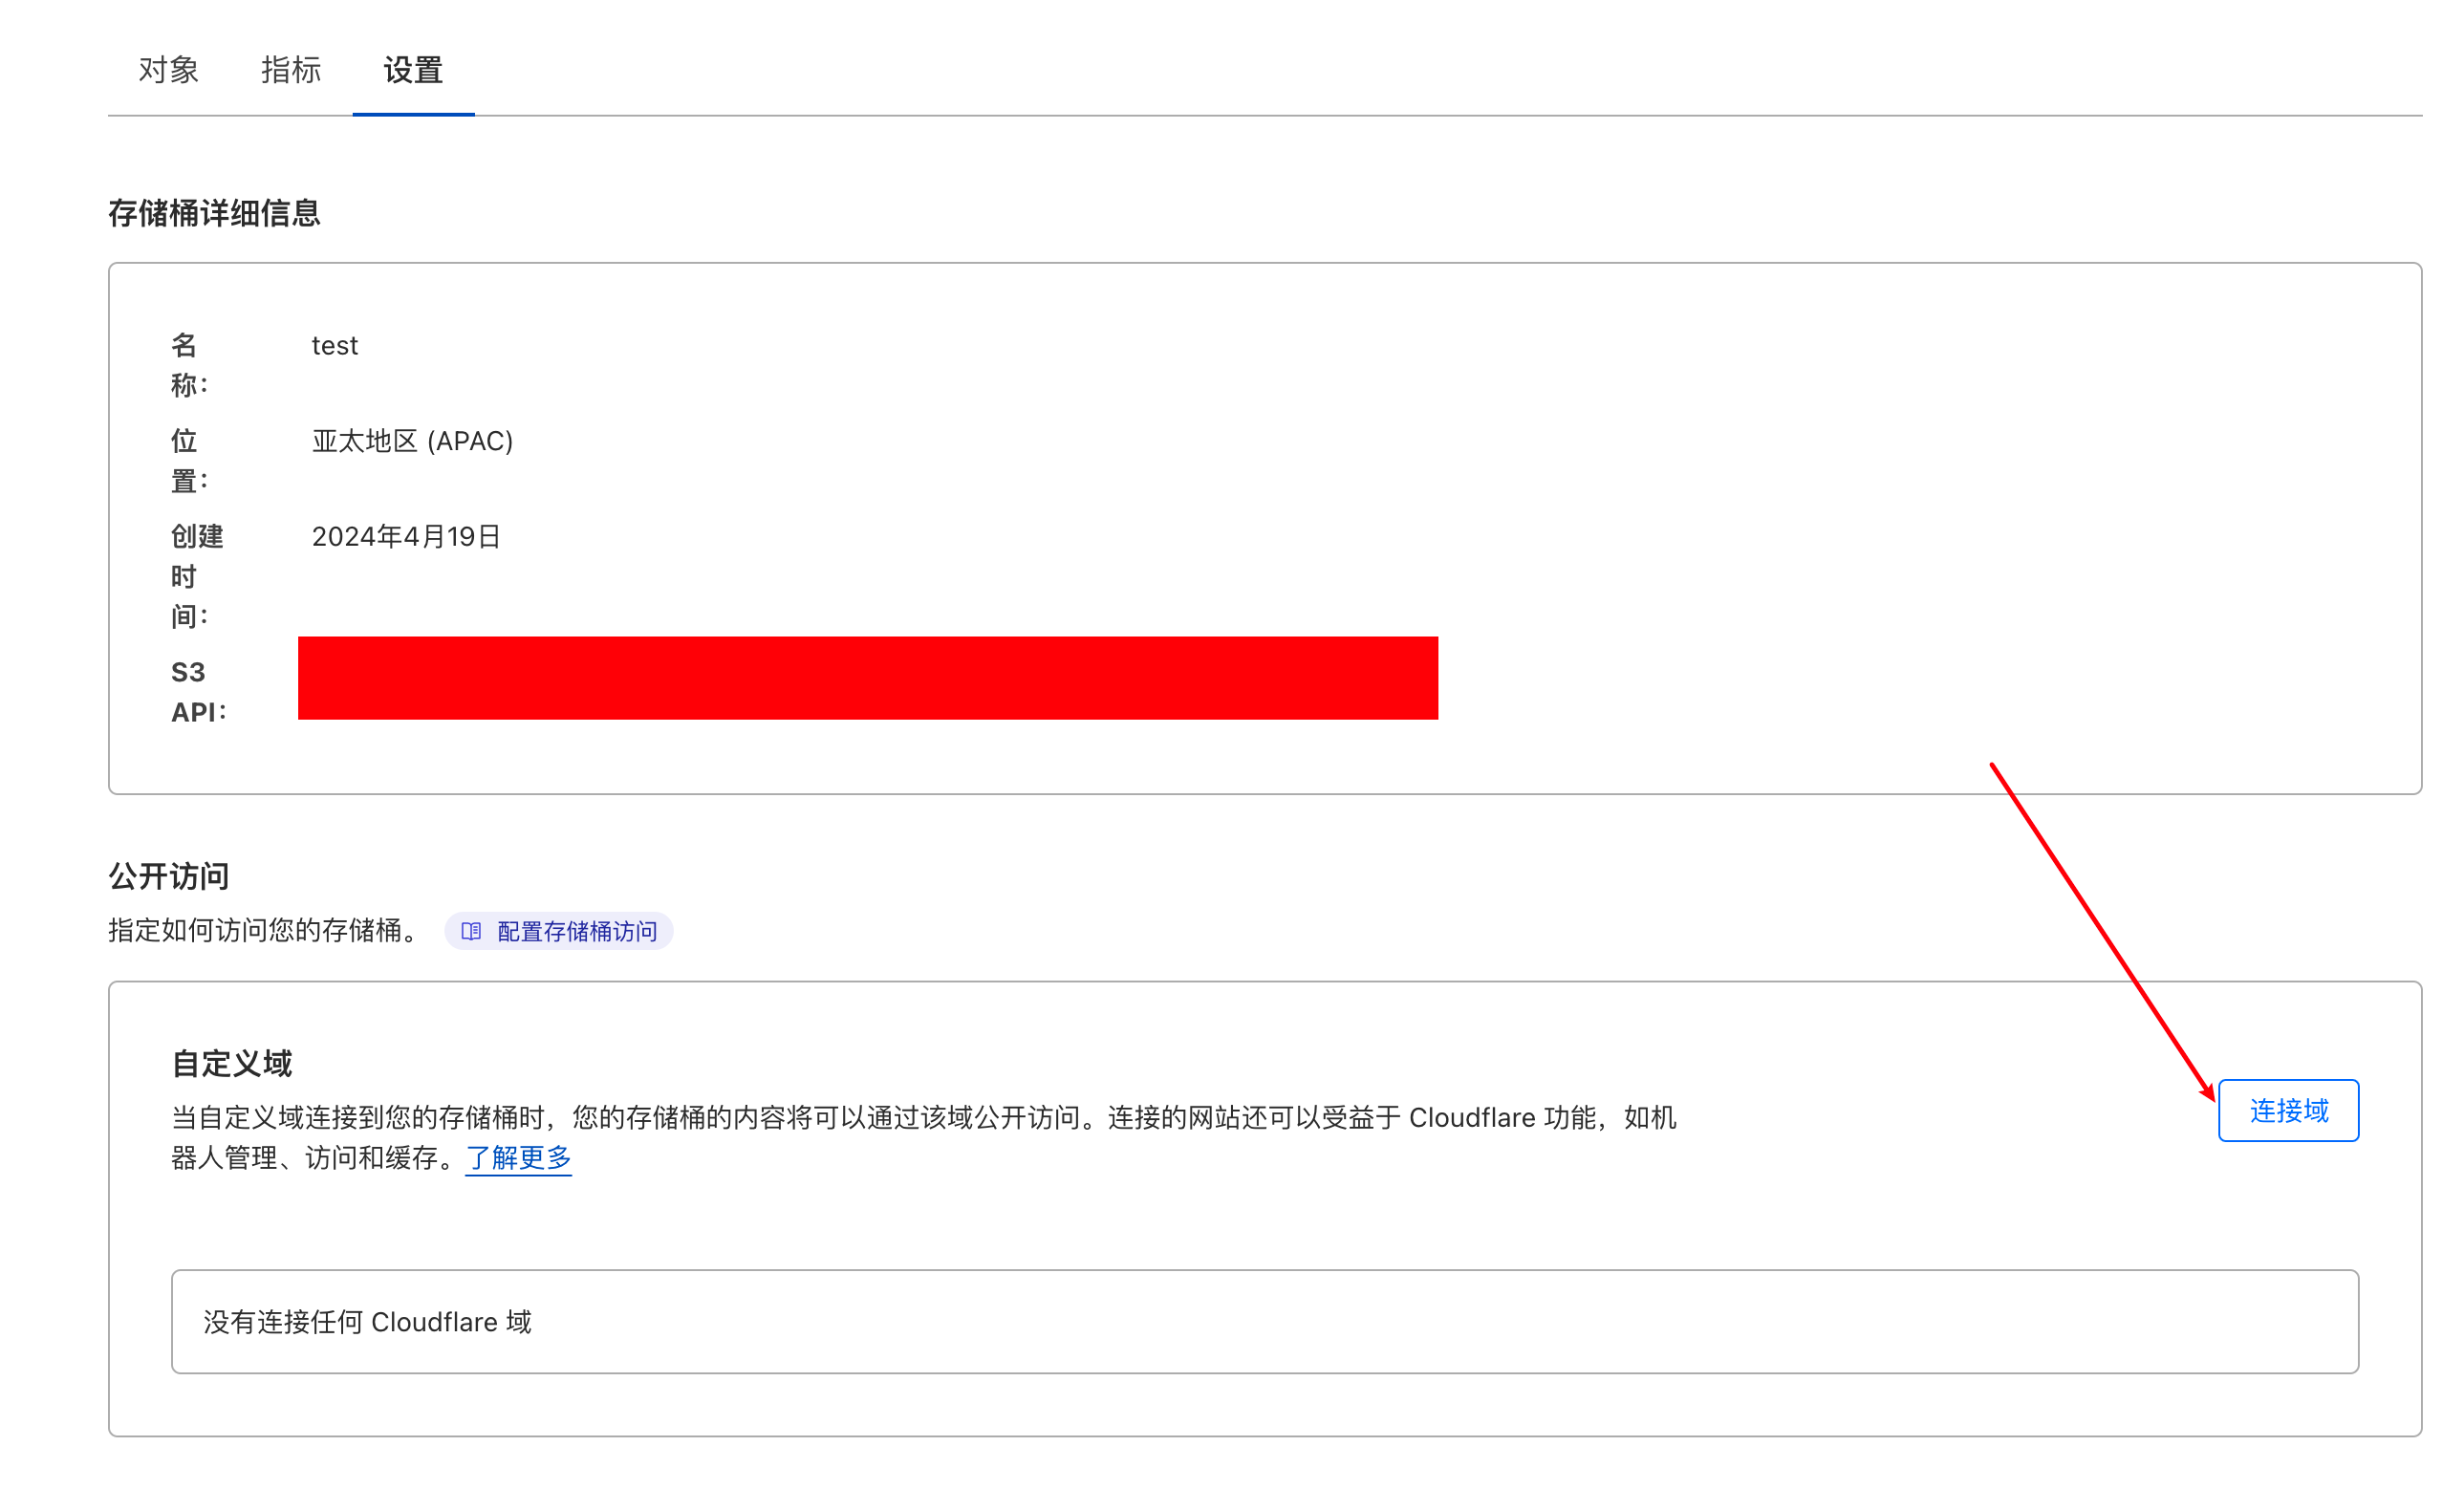
Then go to Settings and click "Connect Domain". Enter a subdomain of your domain. For example, if my main blog site is runnable.run, I want my image domain to be img.runnable.run. If your domain DNS has already been verified in CF above, it will automatically configure the DNS for you.
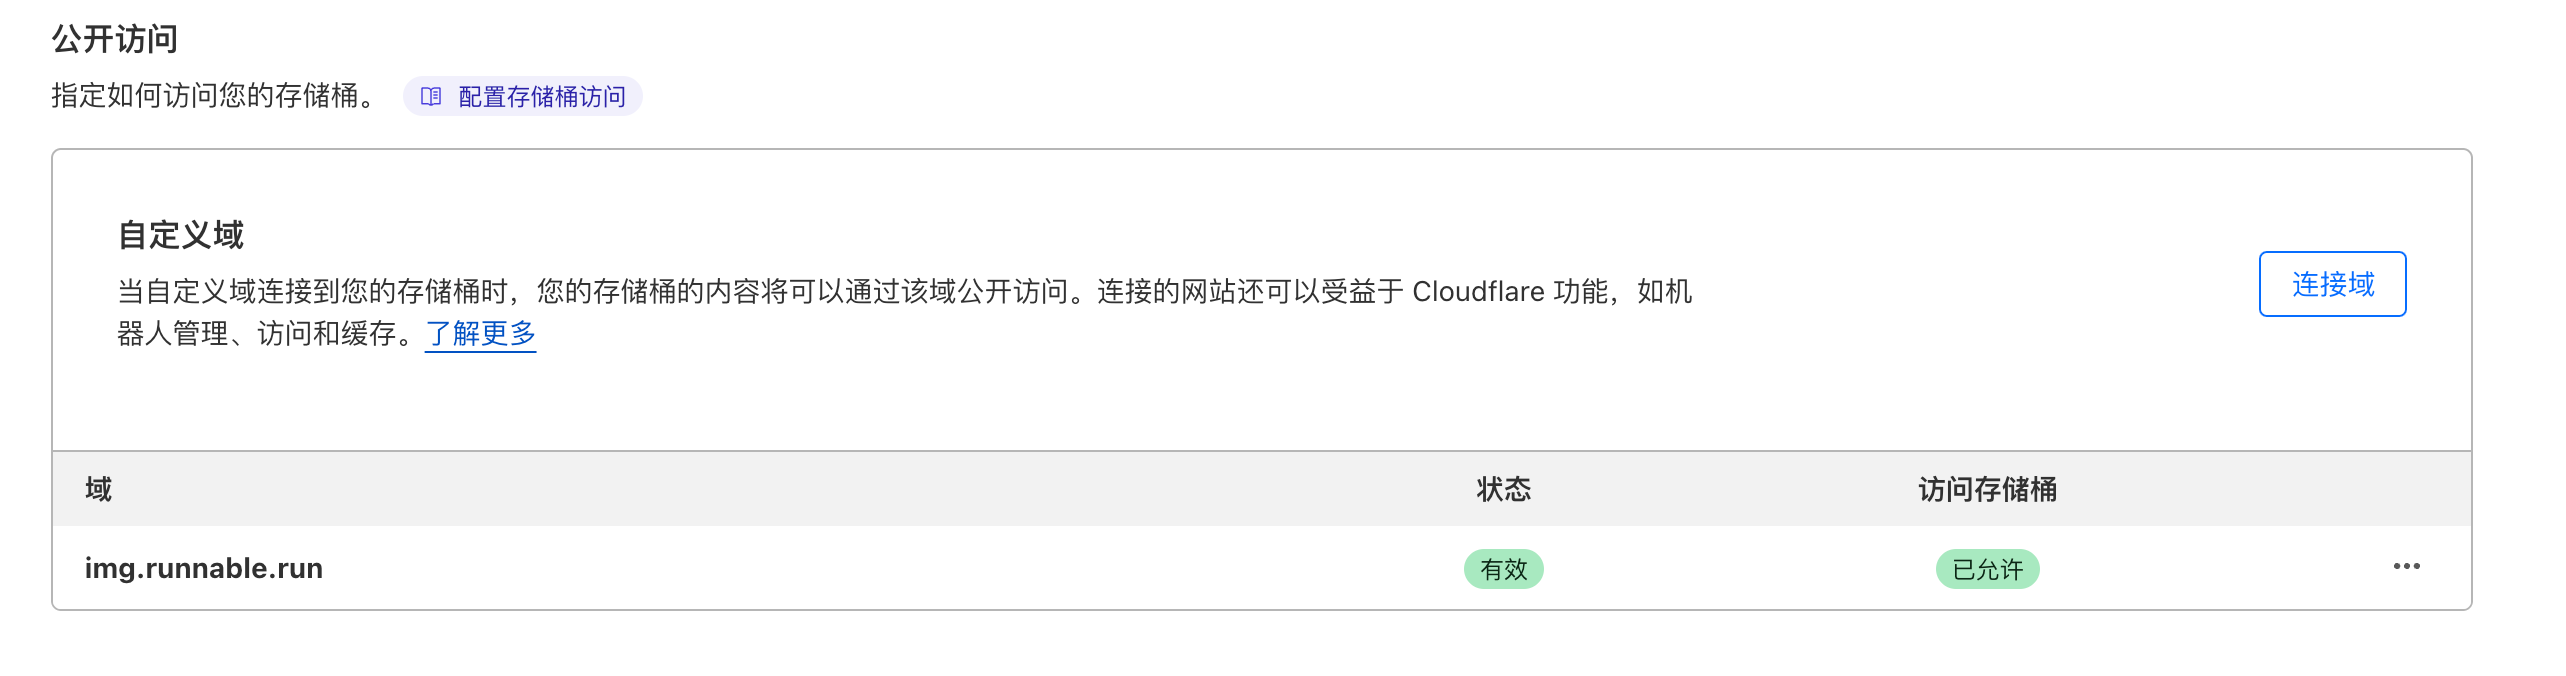
After successfully connecting the domain, it will display as shown below:
4. Upload All Your Blog Images to CF
There are two approaches:
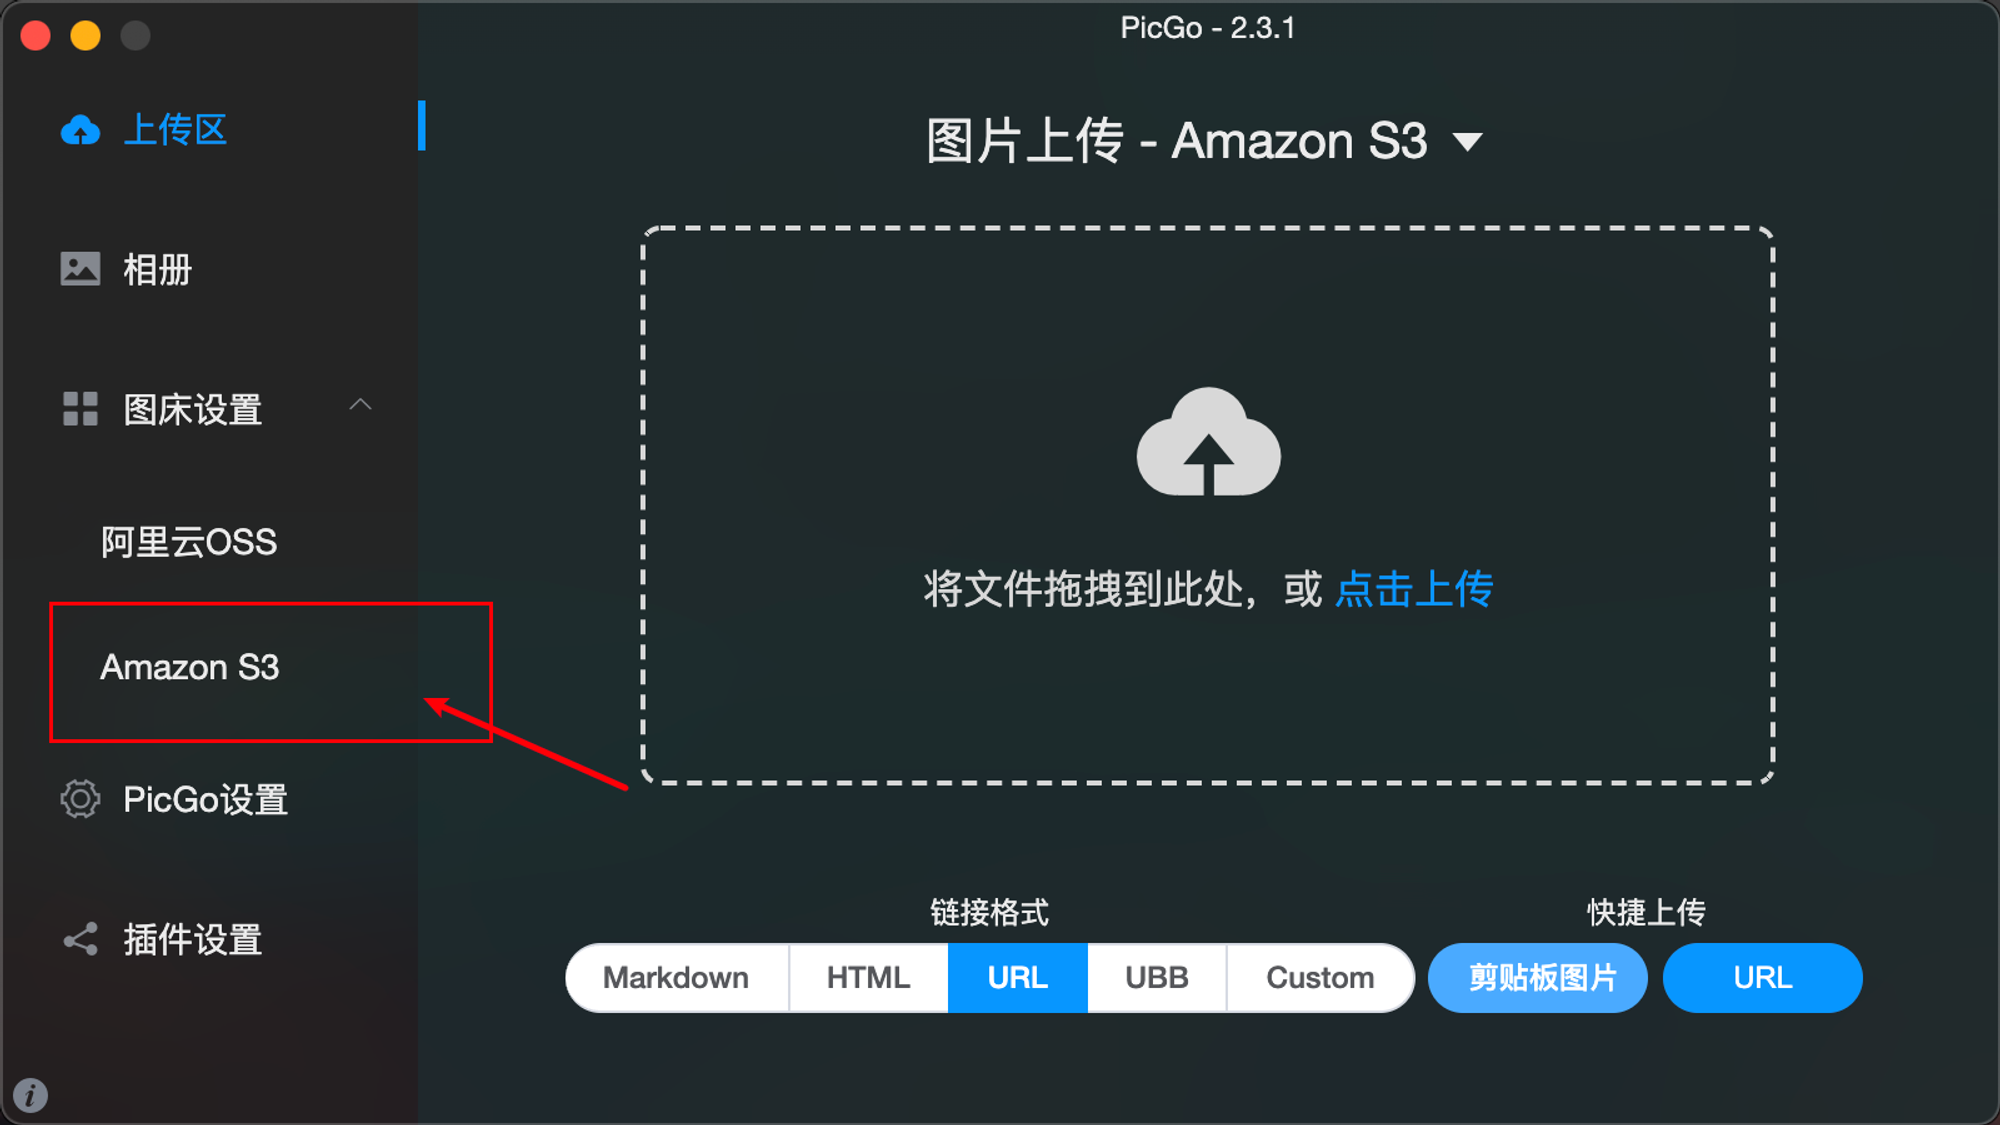
One is manual upload through the web interface or PicGo. In PicGo, you can select CF as the upload source. The upload interface looks like this:
For detailed usage instructions, refer to this blog post: Cloudflare Introduction 3 (Typora combined with PicGo to directly upload images to CF)
I found this method too slow since I had written over 200 blog posts, so I wrote a Java project to batch upload them.
4.1 Upload Your Blog Images to R2 Using Java
I created a simple SpringBoot project, which has been submitted to GitHub: upload-blog-pic
It supports the following features:
- Download images from .md files, upload them to CF, and generate new .md files
- Replace the
xxxcontent in![xxx]()with an empty string
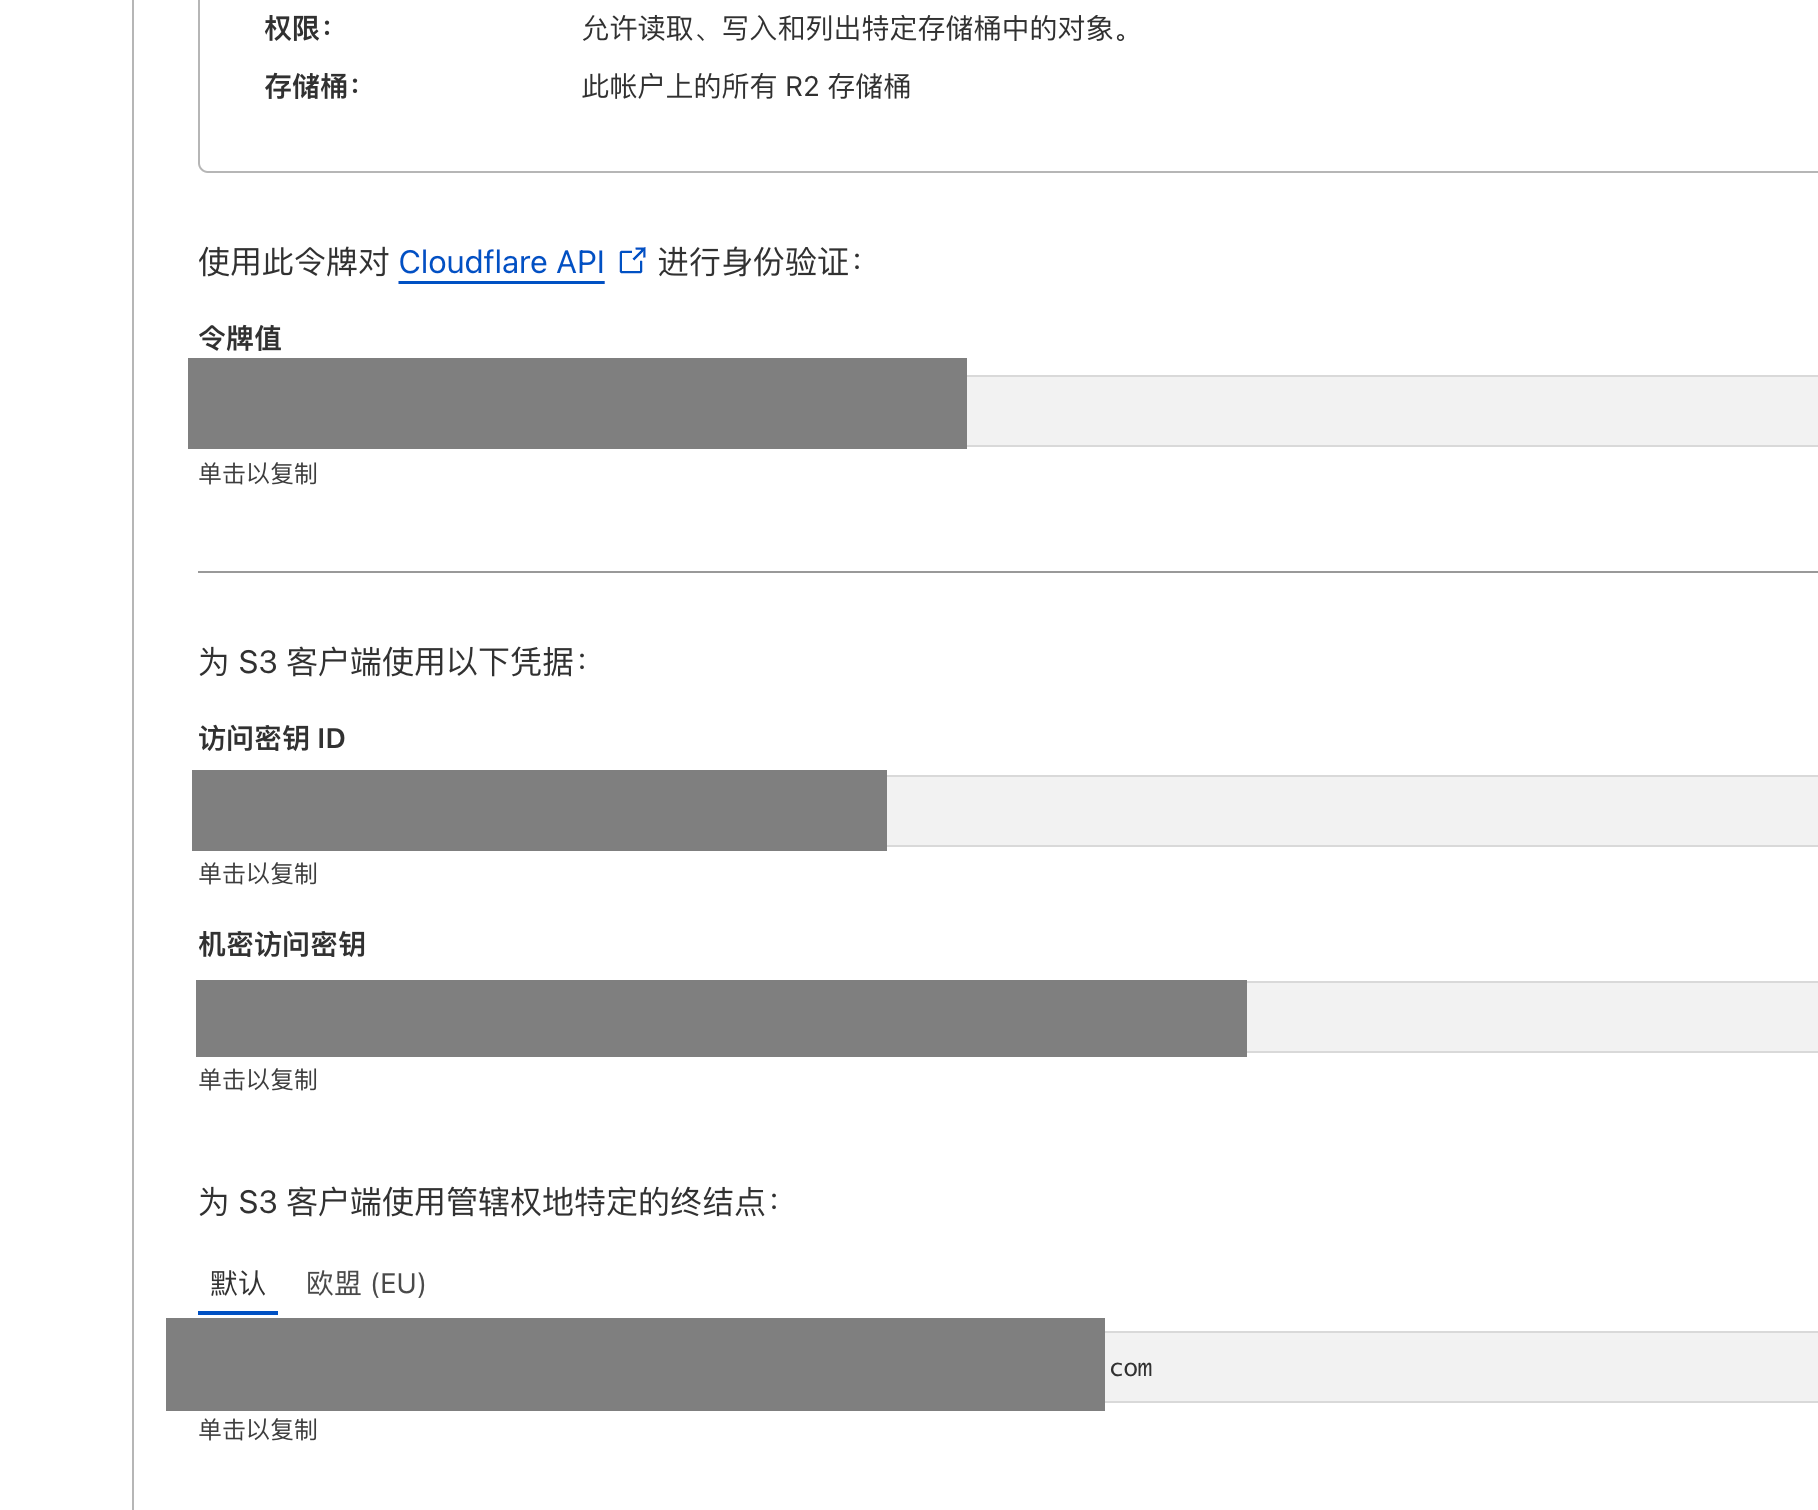
4.2 Create CF Token
Before using this, you need to create a token in CF:
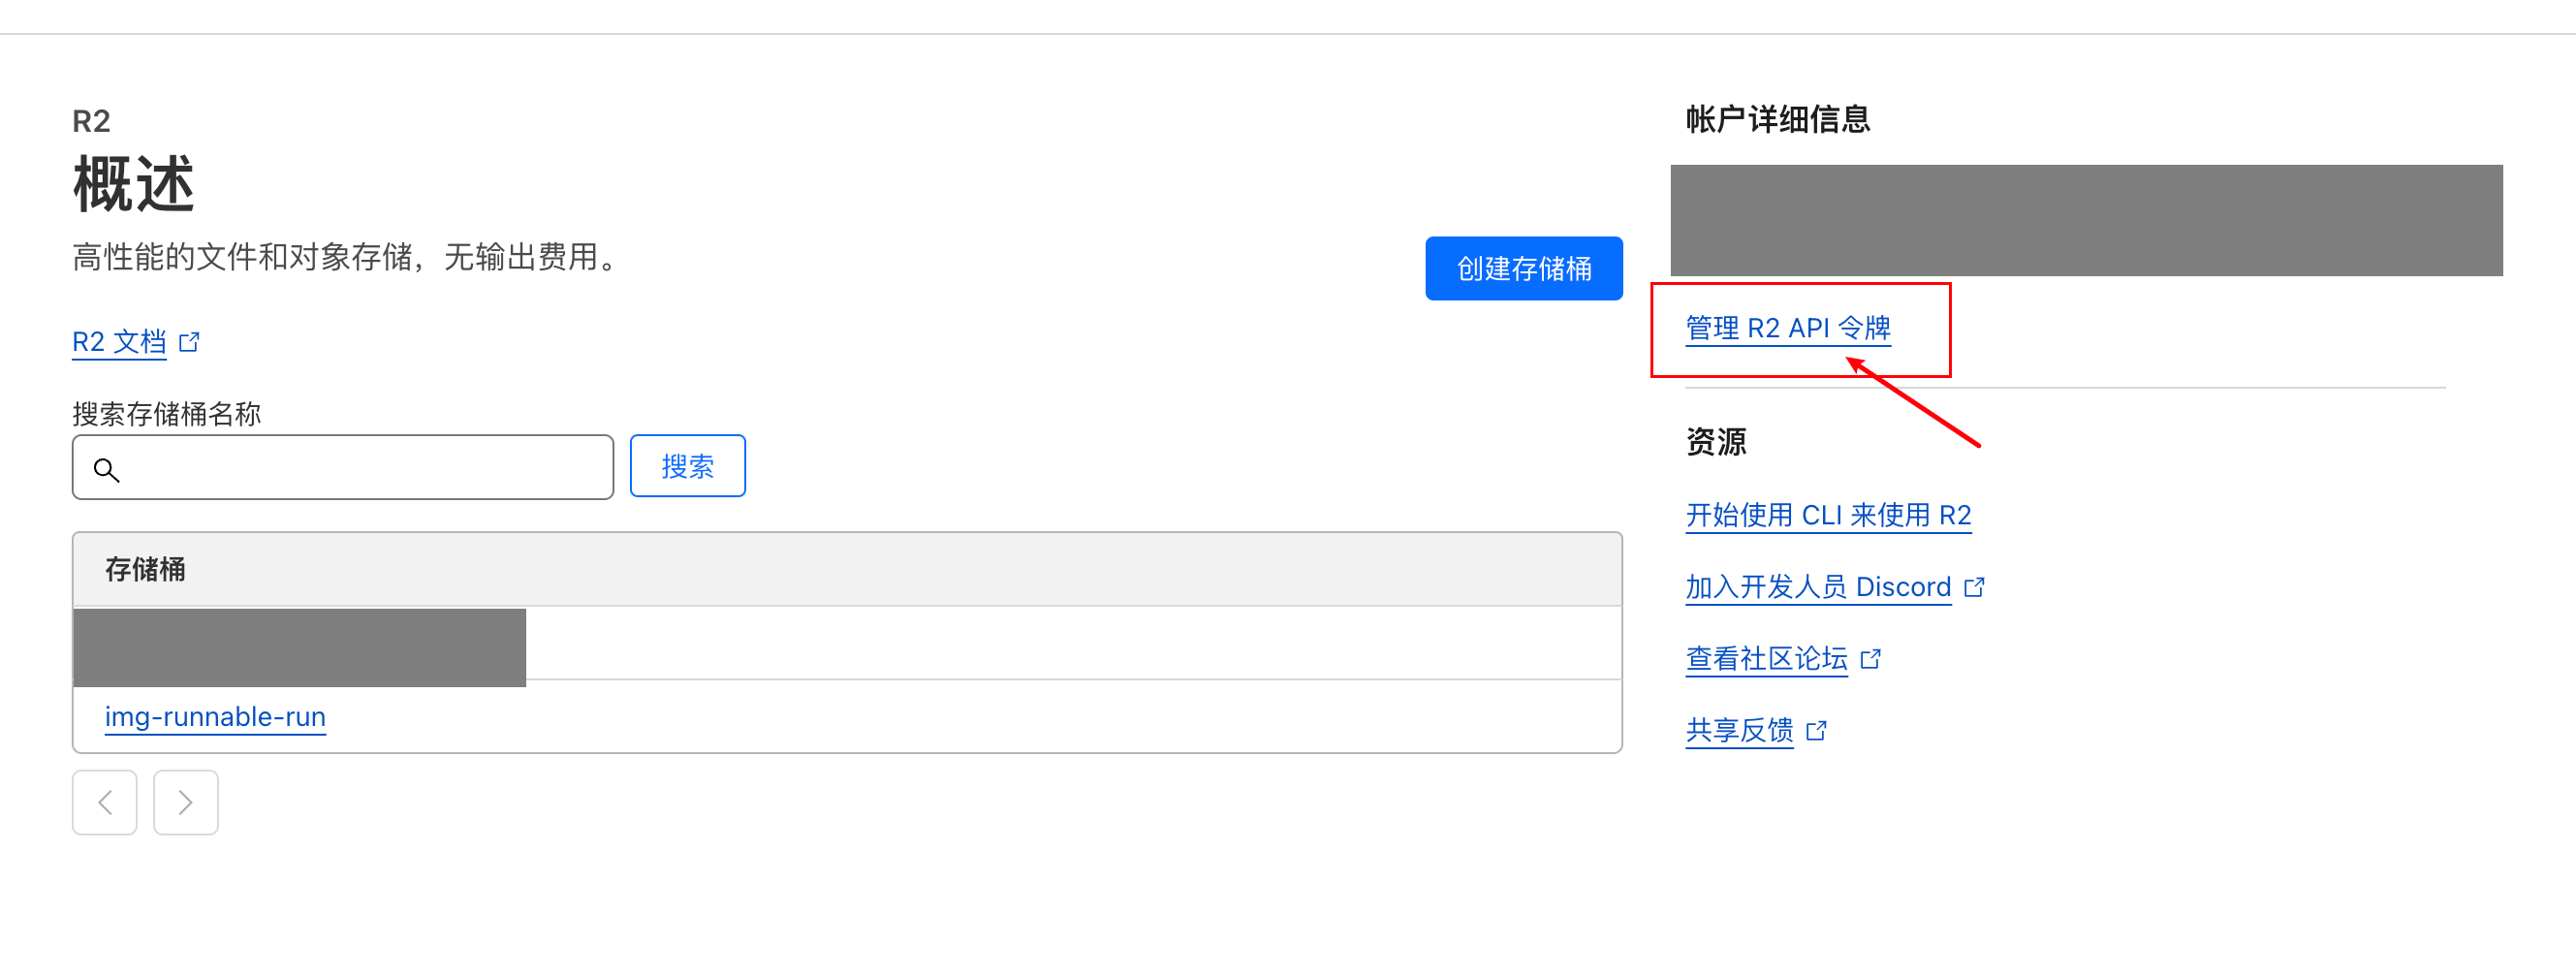
Record this information - you'll need it later. It won't be shown again in CF after you close the page, so make sure to save it first.
4.3 Run the Project
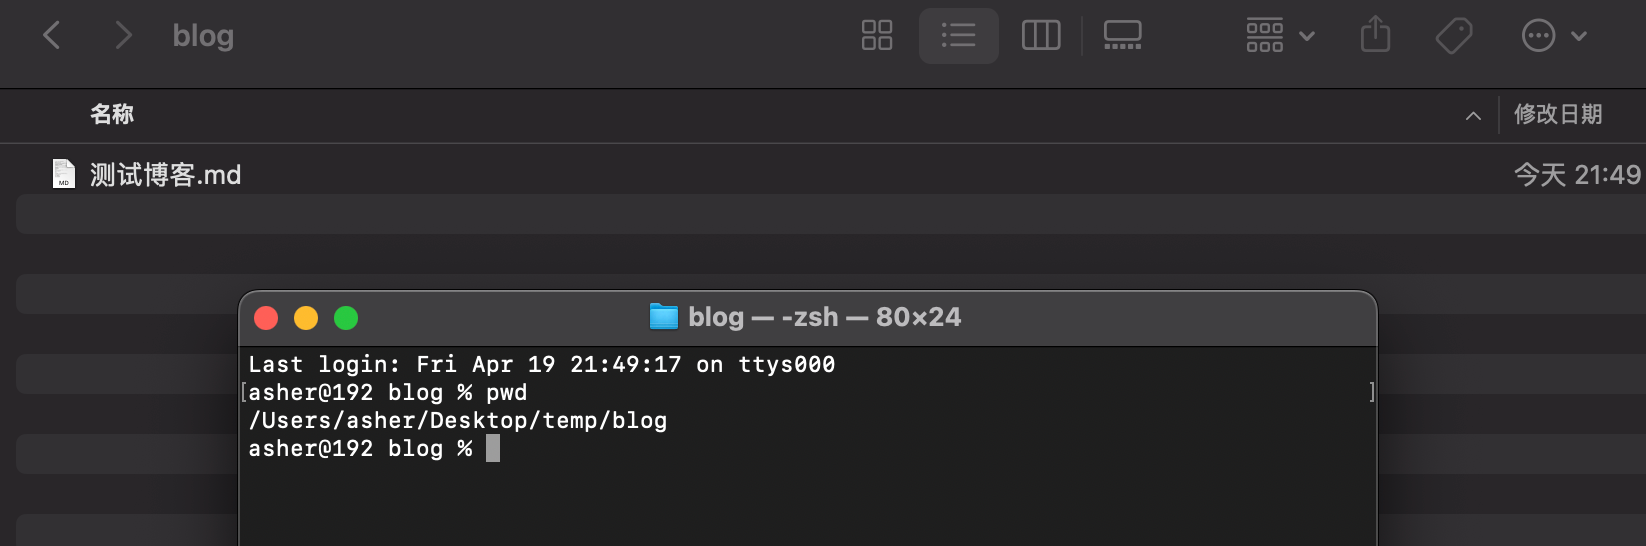
After cloning the project, create a folder and put your .md files in it.
Then configure in the code:
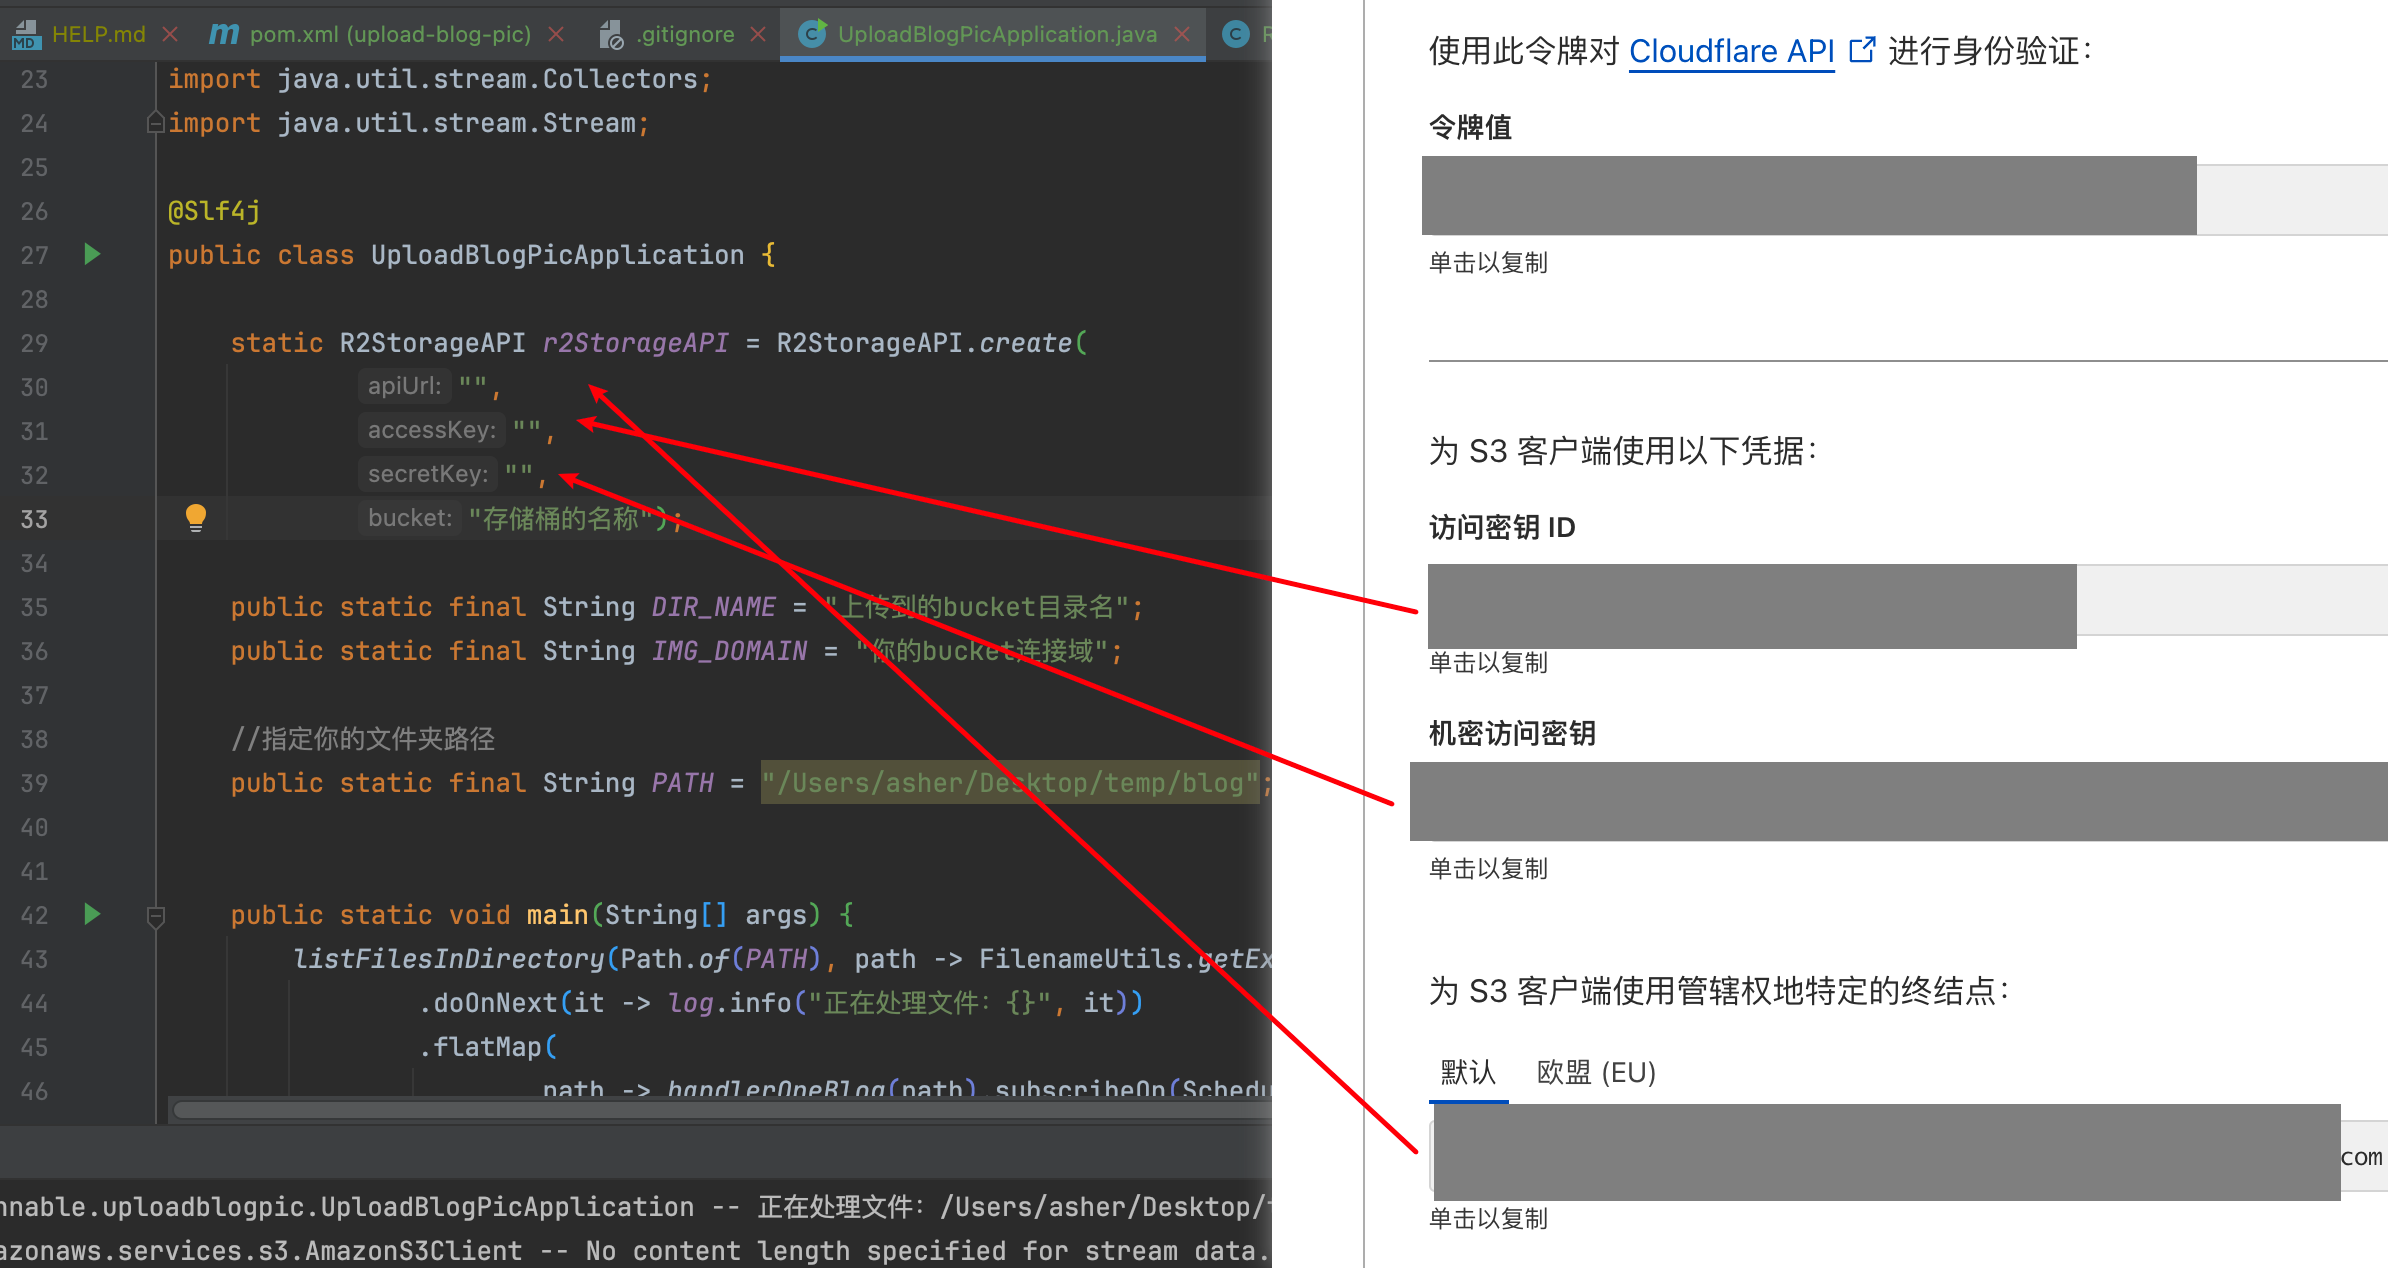
For example:

The execution log looks like this:

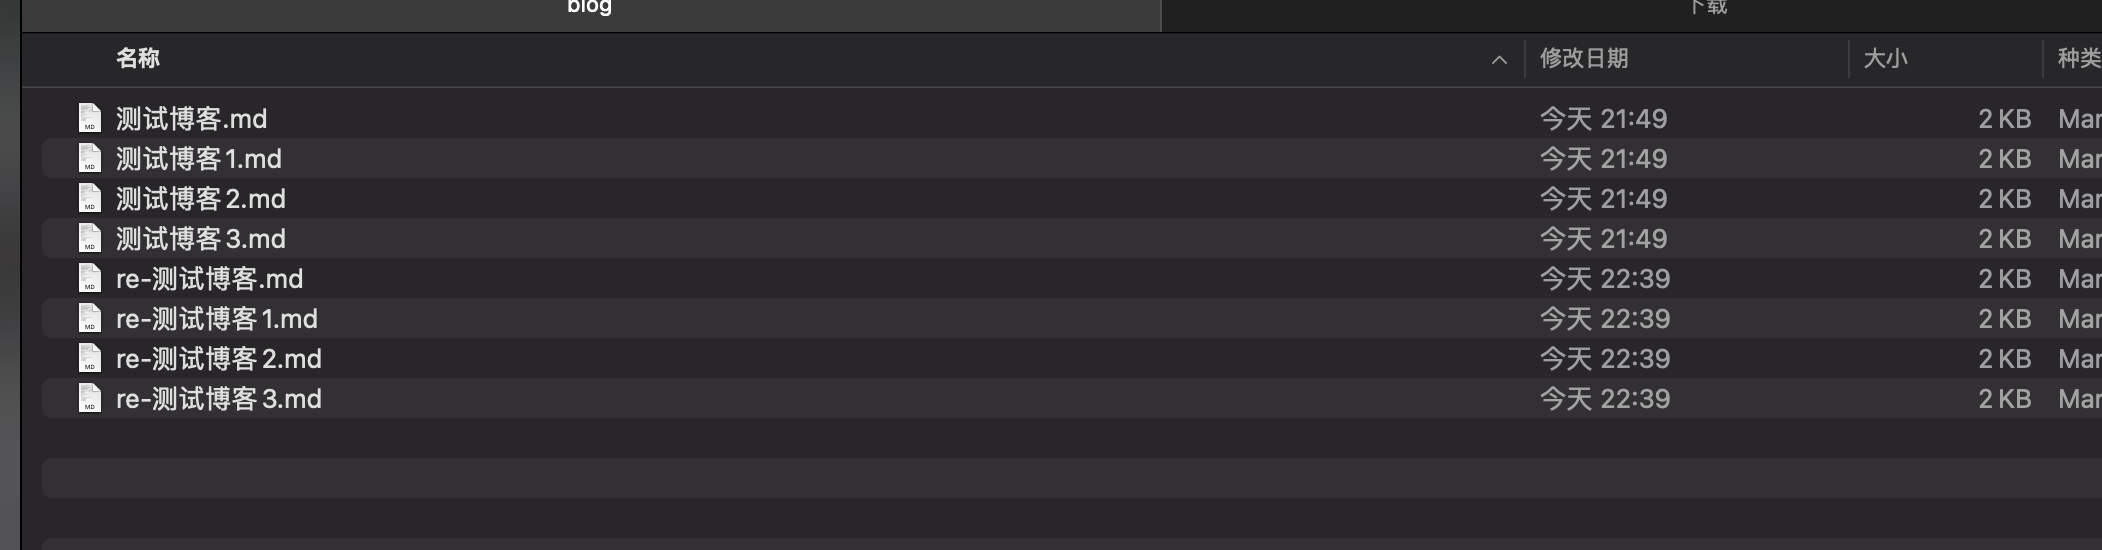
The newly generated .md files are prefixed with re-: