Cloudflare Browser Rendering(浏览器呈现) 体验
前言
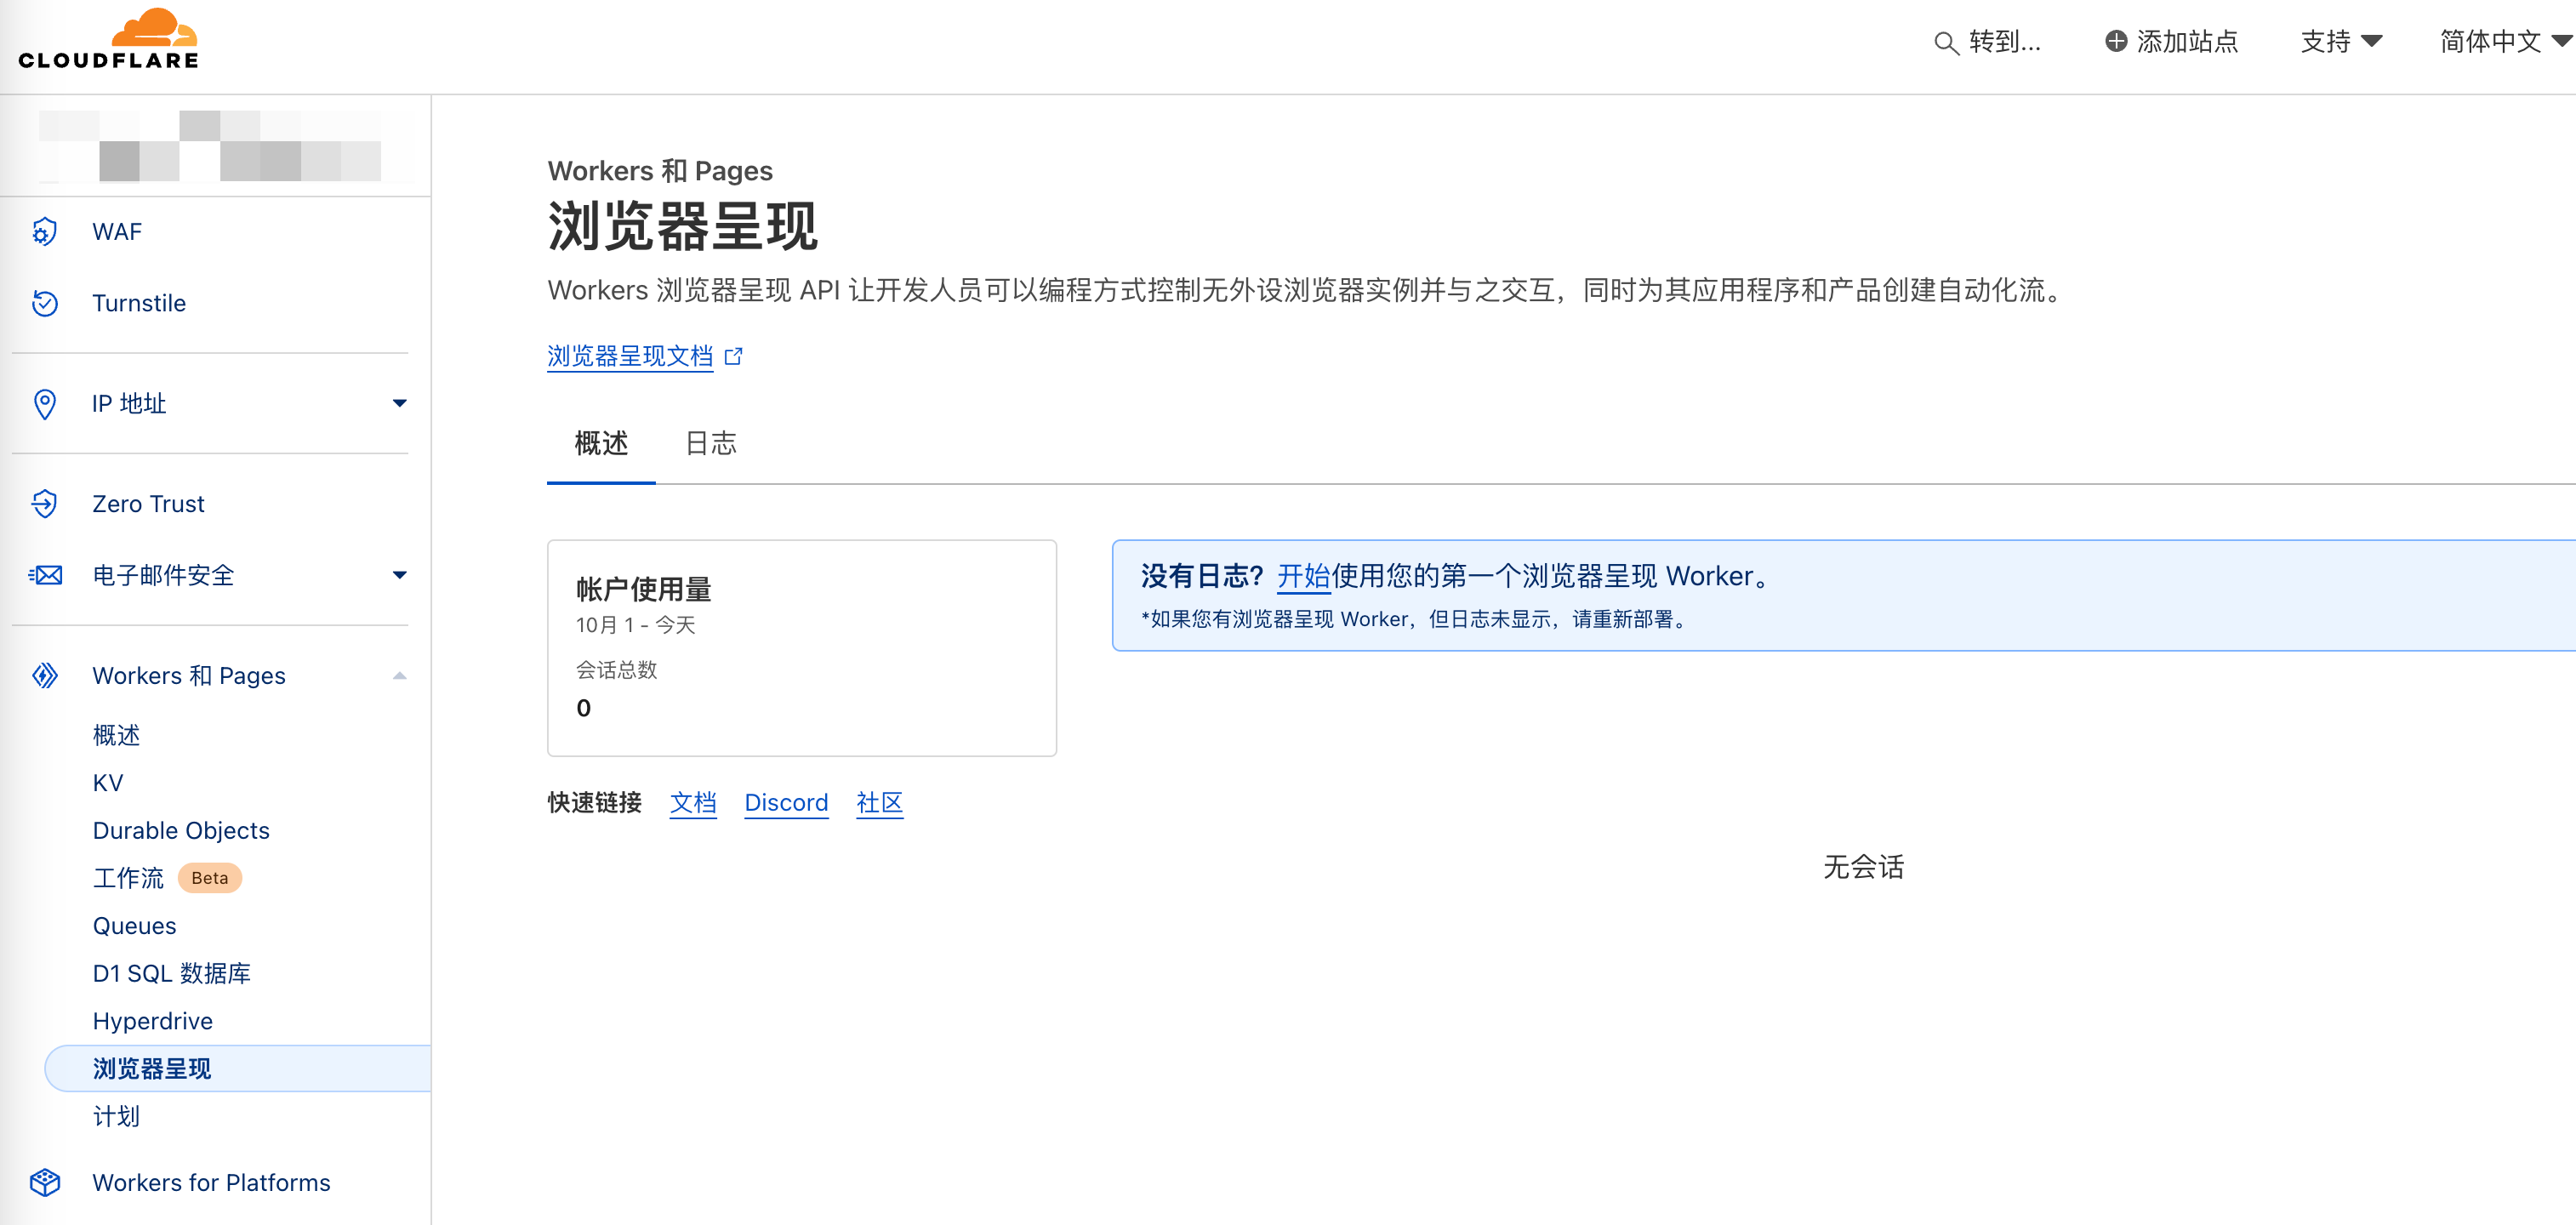
Cloudflare Browser Rendering 在中文的面板,官方把它翻译成浏览器呈现。
Workers 浏览器呈现 API 让开发人员可以编程方式控制无外设浏览器实例并与之交互,同时为其应用程序和产品创建自动化流。
从官方的介绍就能明白,是驱动浏览器进行一些自动化的操作。其实驱动浏览器并不算什么新鲜玩意儿,只要你稍微了解过爬虫,都知道有这个方式, 而selenium更是在各种编程语言上都有对应的实现。
不过我挺好奇依托CF在全球部署的节点,他的驱动浏览器难道有什么过人之处?而且还是个付费玩意儿
案例代码你能在GitHub找到:browser-worker
开通
开通自然很简单,点击升级计划即可,开通后截图如下:
起初我以为是能直接在浏览器嵌套另一个浏览器,发现没这个功能,必须通过Wrangler代码控制
可以在面板找到对应文档:browser-rendering
跟着新手入门文档试试
新手入门文档:get-started
这里要做的是一个传入网址,然后对其网址进行截图的功能。
创建Worker 项目
和创建Worker Hello world一样,没什么区别
npm create cloudflare@latest -- browser-worker
日志:
asher@192 gitWorkspace % npm create cloudflare@latest -- browser-worker

Need to install the following packages:
create-cloudflare@2.30.1
Ok to proceed? (y) y


> npx
> create-cloudflare browser-worker


──────────────────────────────────────────────────────────────────────────────────────────────────────────
👋 Welcome to create-cloudflare v2.30.1!
🧡 Let's get started.
📊 Cloudflare collects telemetry about your usage of Create-Cloudflare.

Learn more at: https://github.com/cloudflare/workers-sdk/blob/main/packages/create-cloudflare/telemetry.md
──────────────────────────────────────────────────────────────────────────────────────────────────────────

╭ Create an application with Cloudflare Step 1 of 3
│
├ In which directory do you want to create your application?
│ dir ./browser-worker
│
├ What would you like to start with?
│ category Hello World example
│
├ Which template would you like to use?
│ type Hello World Worker
│
├ Which language do you want to use?
│ lang JavaScript
│
├ Copying template files
│ files copied to project directory
│
├ Updating name in `package.json`
│ updated `package.json`
│
├ Installing dependencies
│ installed via `npm install`
│
╰ Application created

╭ Configuring your application for Cloudflare Step 2 of 3
│
├ Retrieving current workerd compatibility date
│ compatibility date 2024-10-22
│
├ Do you want to use git for version control?
│ yes gito
│
├ Initializing git repo
│ initialized git
│
├ Committing new files
│ git commit
│
╰ Application configured

╭ Deploy with Cloudflare Step 3 of 3
│
├ Do you want to deploy your application?
│ no deploy via `npm run deploy`
│
╰ Done

────────────────────────────────────────────────────────────
🎉  SUCCESS  Application created successfully!

💻 Continue Developing
Change directories: cd browser-worker
Start dev server: npm run start
Deploy: npm run deploy

📖 Explore Documentation
https://developers.cloudflare.com/workers

💬 Join our Community
https://discord.cloudflare.com
────────────────────────────────────────────────────────────
安装puppeteer
Puppeteer搜了一下,介绍如下:
Puppeteer 是最流行的库之一,它从开发人员那里抽象出了底层 DevTools 协议,并提供了一个高级 API, 可用于轻松检测 Chrome/Chromium 并自动执行浏览会话。Puppeteer 可用于创建屏幕截图、抓取网页和测试网络应用程序等任务。 Puppeteer 通常使用 DevTools 端口连接到本地 Chrome 或 Chromium 浏览器。有关更多信息,请参阅有关 Puppeteer.connect() 方法的 Puppeteer API 文档。
相关文档:Puppeteer
npm install @cloudflare/puppeteer --save-dev
创建KV 命名空间
浏览器渲染可以与其他产品一起使用。可能需要一个关系数据库、一个 R2 存储桶来存档爬取的页面和资产、一个持久对象来保持浏览器实例处于活动状态并与多个请求共享它,或者需要一个队列来异步处理你的作业。 就本指南而言,将使用 KV 存储来缓存你的屏幕截图。创建两个命名空间,一个用于生产,一个用于开发。
npx wrangler kv:namespace create BROWSER_KV_DEMO
npx wrangler kv:namespace create BROWSER_KV_DEMO --preview
注意记录生成的id
日志:
asher@192 browser-worker % npx wrangler kv:namespace create BROWSER_KV
npx wrangler kv:namespace create BROWSER_KV --preview

 ⛅️ wrangler 3.83.0
-------------------

🌀 Creating namespace with title "browser-worker-BROWSER_KV"
✨ Success!
Add the following to your configuration file in your kv_namespaces array:
[[kv_namespaces]]
binding = "BROWSER_KV"
id = "xxxx"

 ⛅️ wrangler 3.83.0
-------------------

🌀 Creating namespace with title "browser-worker-BROWSER_KV_preview"
✨ Success!
Add the following to your configuration file in your kv_namespaces array:
[[kv_namespaces]]
binding = "BROWSER_KV"
preview_id = "xxxxx"
配置 wrangler.toml
通过添加浏览器绑定和 Node.js 兼容性标志来配置浏览器 Worker 项目的 wrangler.toml 文件。
绑定允许你的 Worker 与 Cloudflare 开发人员平台上的资源交互。
浏览器绑定名称由你设置,本指南使用的名称是 MYBROWSER。
浏览器绑定允许 Worker 和无头浏览器之间进行通信,从而使你可以执行截图、生成 PDF 等操作。
使用浏览器渲染 API 绑定和你创建的 KV 命名空间更新你的 wrangler.toml 配置文件:
name = "browser-worker"
main = "src/index.js"
compatibility_date = "2024-10-22"
compatibility_flags = ["nodejs_compat"]

browser = { binding = "MYBROWSER" }
kv_namespaces = [
	{ binding = "BROWSER_KV_DEMO", id = "22cf855786094a88a6906f8edac425cd", preview_id = "e1f8b68b68d24381b57071445f96e623" }
]
上面高亮的位置记得改为你自己的KV id, 也就是上一步生成的
代码部分
直接抄一下教程的,复制到index.js中
import puppeteer from "@cloudflare/puppeteer";

export default {
  async fetch(request, env) {
    const { searchParams } = new URL(request.url);
    let url = searchParams.get("url");
    let img;
    if (url) {
      url = new URL(url).toString(); // normalize
      img = await env.BROWSER_KV_DEMO.get(url, { type: "arrayBuffer" });
      if (img === null) {
        const browser = await puppeteer.launch(env.MYBROWSER);
        const page = await browser.newPage();
        await page.goto(url);
        img = await page.screenshot();
        await env.BROWSER_KV_DEMO.put(url, img, {
          expirationTtl: 60 * 60 * 24,
        });
        await browser.close();
      }
      return new Response(img, {
        headers: {
          "content-type": "image/jpeg",
        },
      });
    } else {
      return new Response("Please add an ?url=https://example.com/ parameter");
    }
  },
};
高亮的地方需要改为你自己的KV 名字,如果创建的时候你有变更的话,不然排查起来会很麻烦,压根不会提示KV不存在之类的错误。
该 Worker 使用 Puppeteer 实例化一个浏览器,打开一个新页面,
导航到你在url参数中输入的�内容,截取该页面的屏幕截图,将屏幕截图存储在 KV 中,关闭浏览器,并以该页面的 JPEG 图像进行响应截屏。
如果 Worker 在生产环境中运行,它将把截图存储到生产 KV 命名空间。如果运行的是 wrangler dev,则会将截图存储到 dev KV 命名空间。
如果再次请求相同的url,它将使用 KV 中缓存的版本,除非它过期。
测试
在部署到 Cloudflare 全球网络之前,运行 npx wrangler dev --remote 远程测试你的 Worker。浏览器渲染不支持本地模式,因此需要使用 --remote 命令。
要测试截取第一张屏幕截图,请访问以下 URL:
<LOCAL_HOST_URL>/?url=https://example.com
其实这里不支持本地模式也可以理解,毕竟Browser Rendering是付费产品,如果你本地都能跑的话,不就没有收费的意义了。
在实际测试过程中发现 LOCAL_HOST_URL 请求会卡住,什么也不会发生,必须部署到CF请求才行。
部署
运行 npx wrangler deploy 将你的 Worker 部署到 Cloudflare 全球网络。要获取第一个屏幕截图,请访问以下 URL:
<YOUR_WORKER>.<YOUR_SUBDOMAIN>.workers.dev/?url=https://example.com
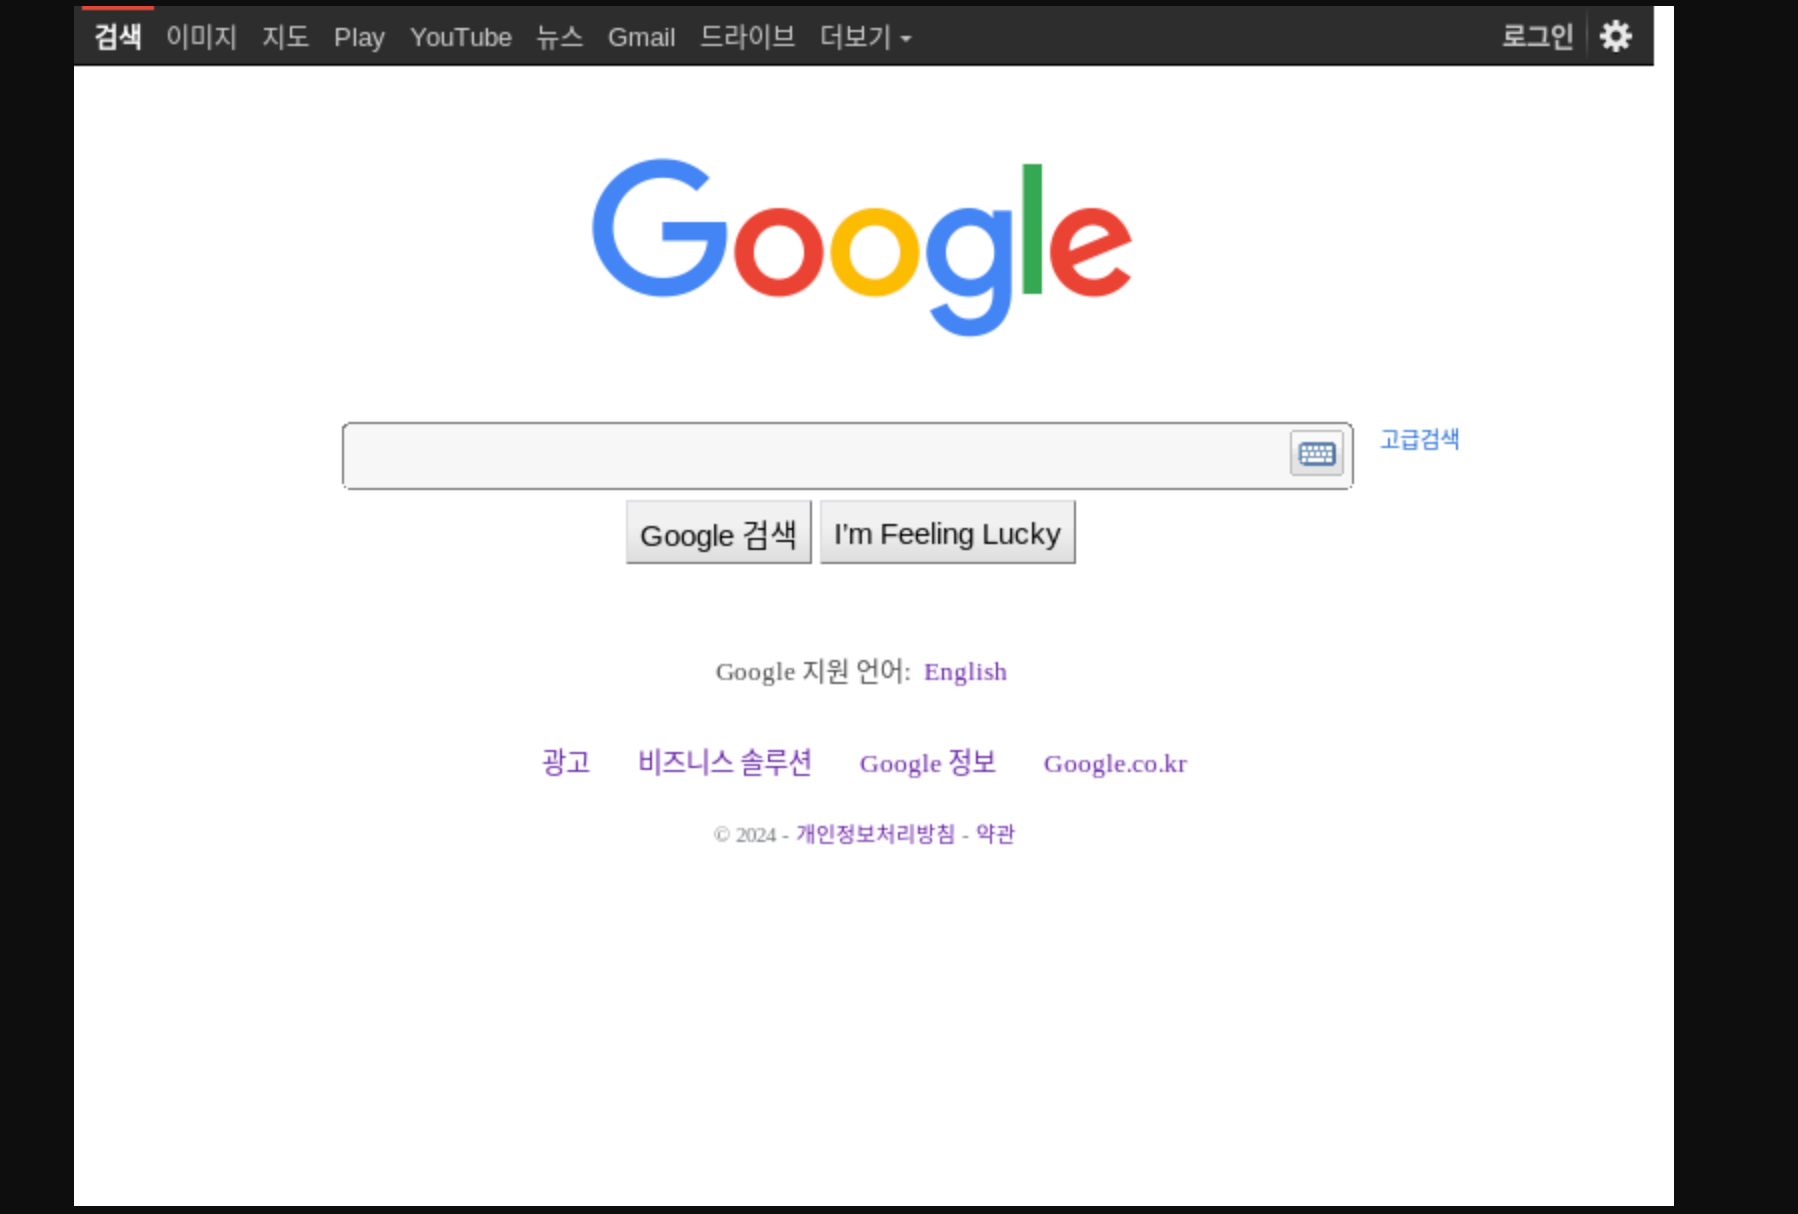
实际测试截图
这里使用google主页进行测试,看的出CF是用的韩国IP请求的
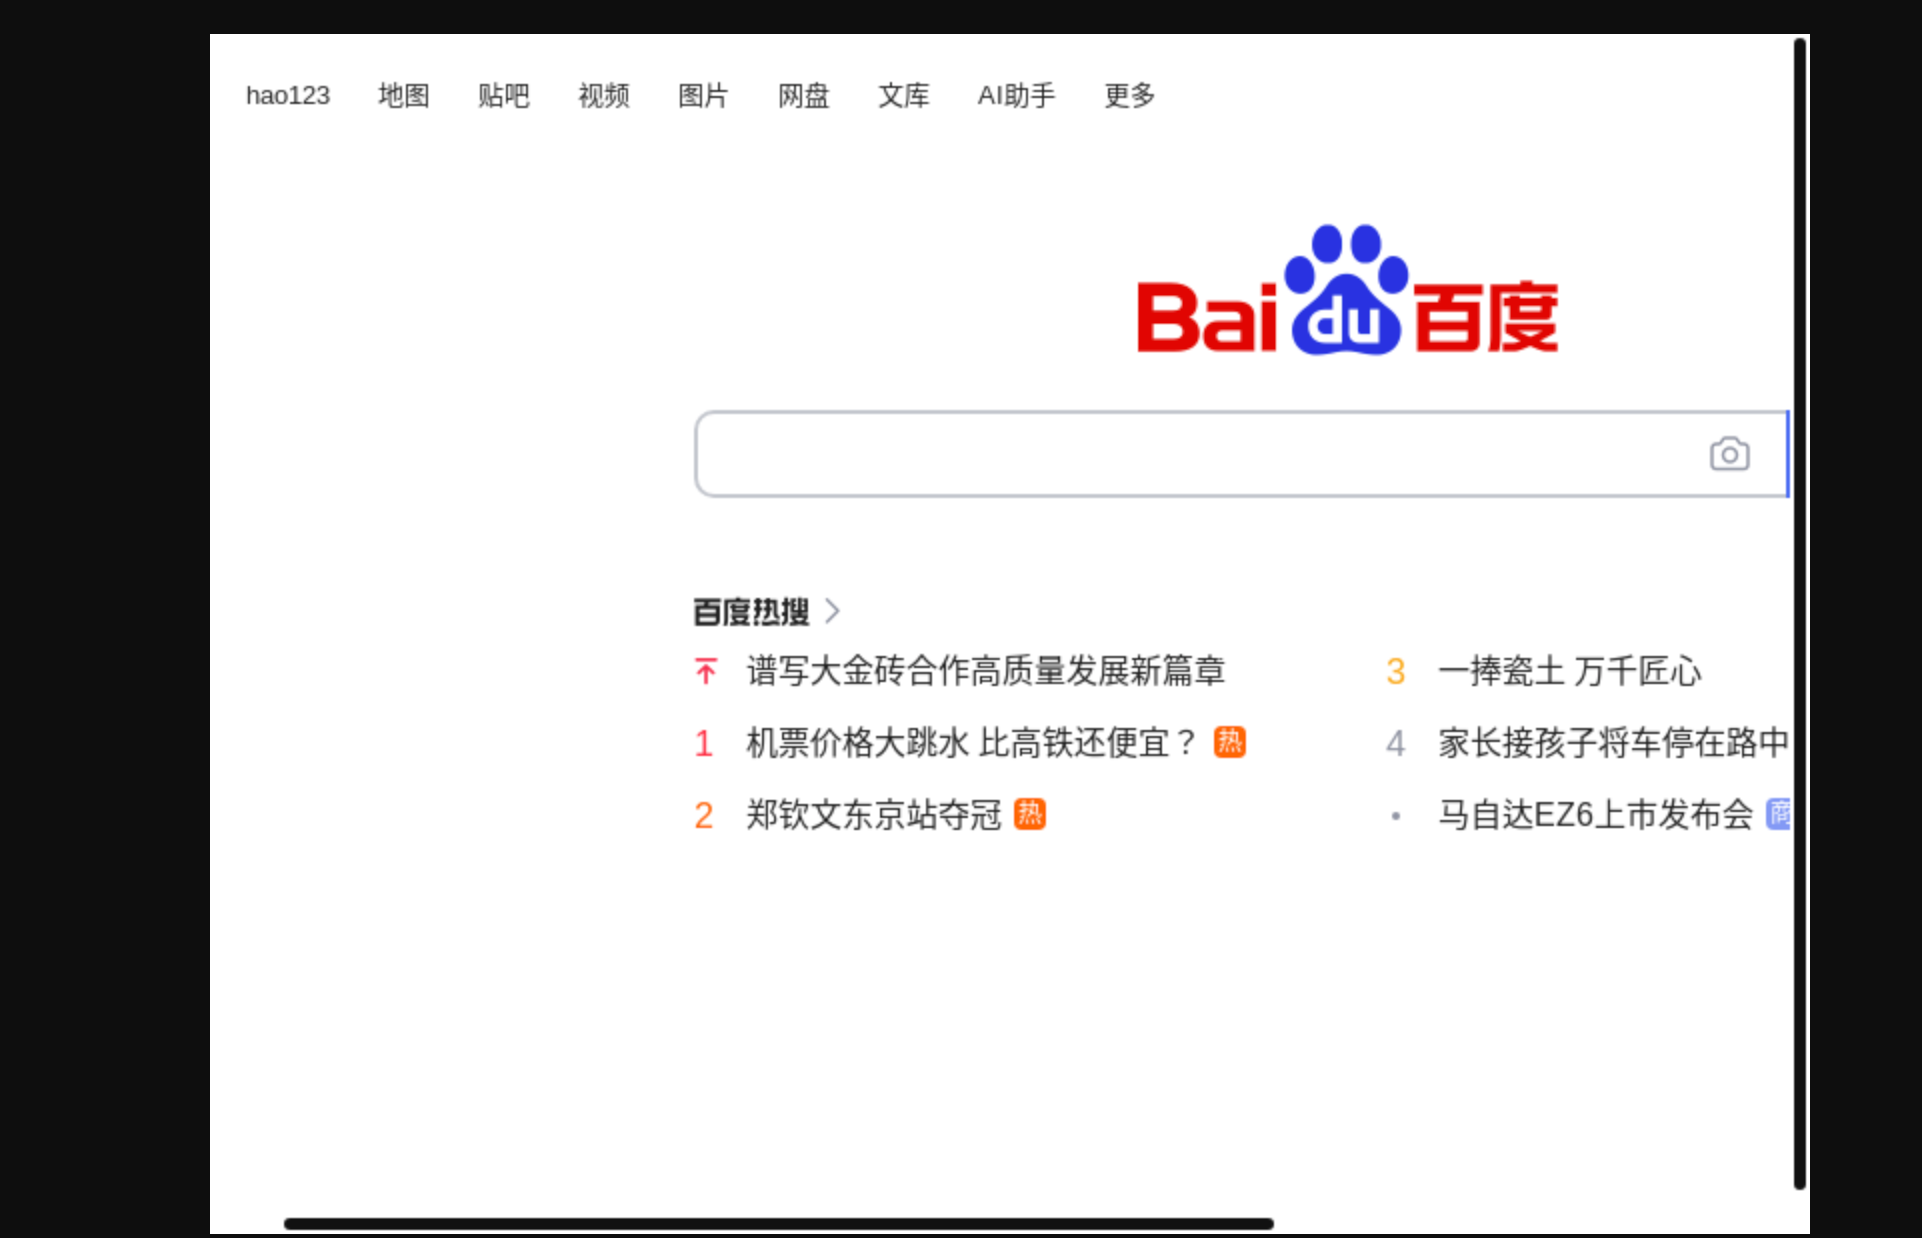
试试百度的,没有截取完整
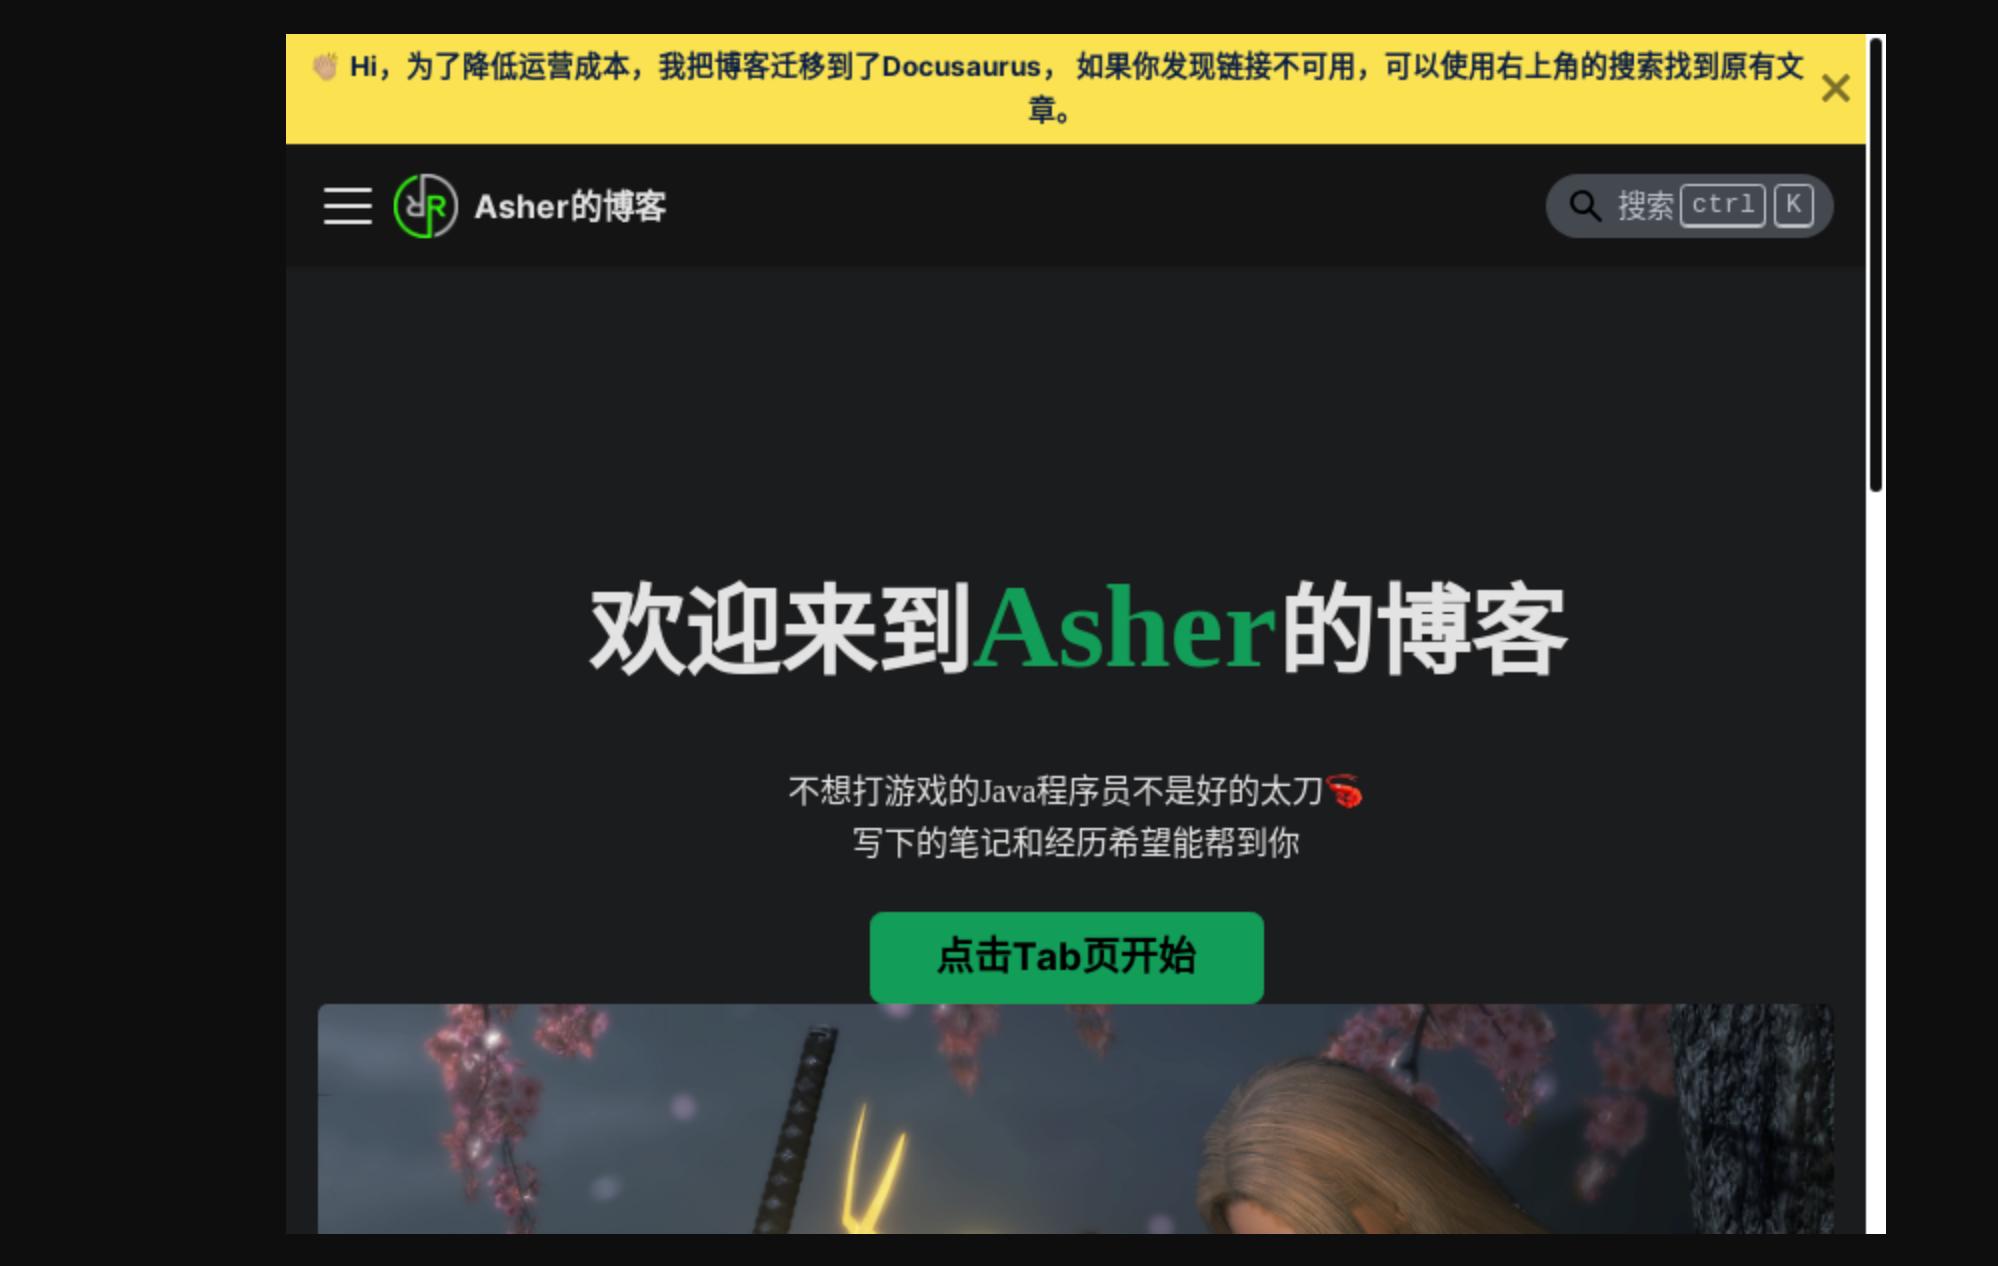
试了下自己网站的,没有截取完整+1,而且看起来被判定为小屏幕设备了
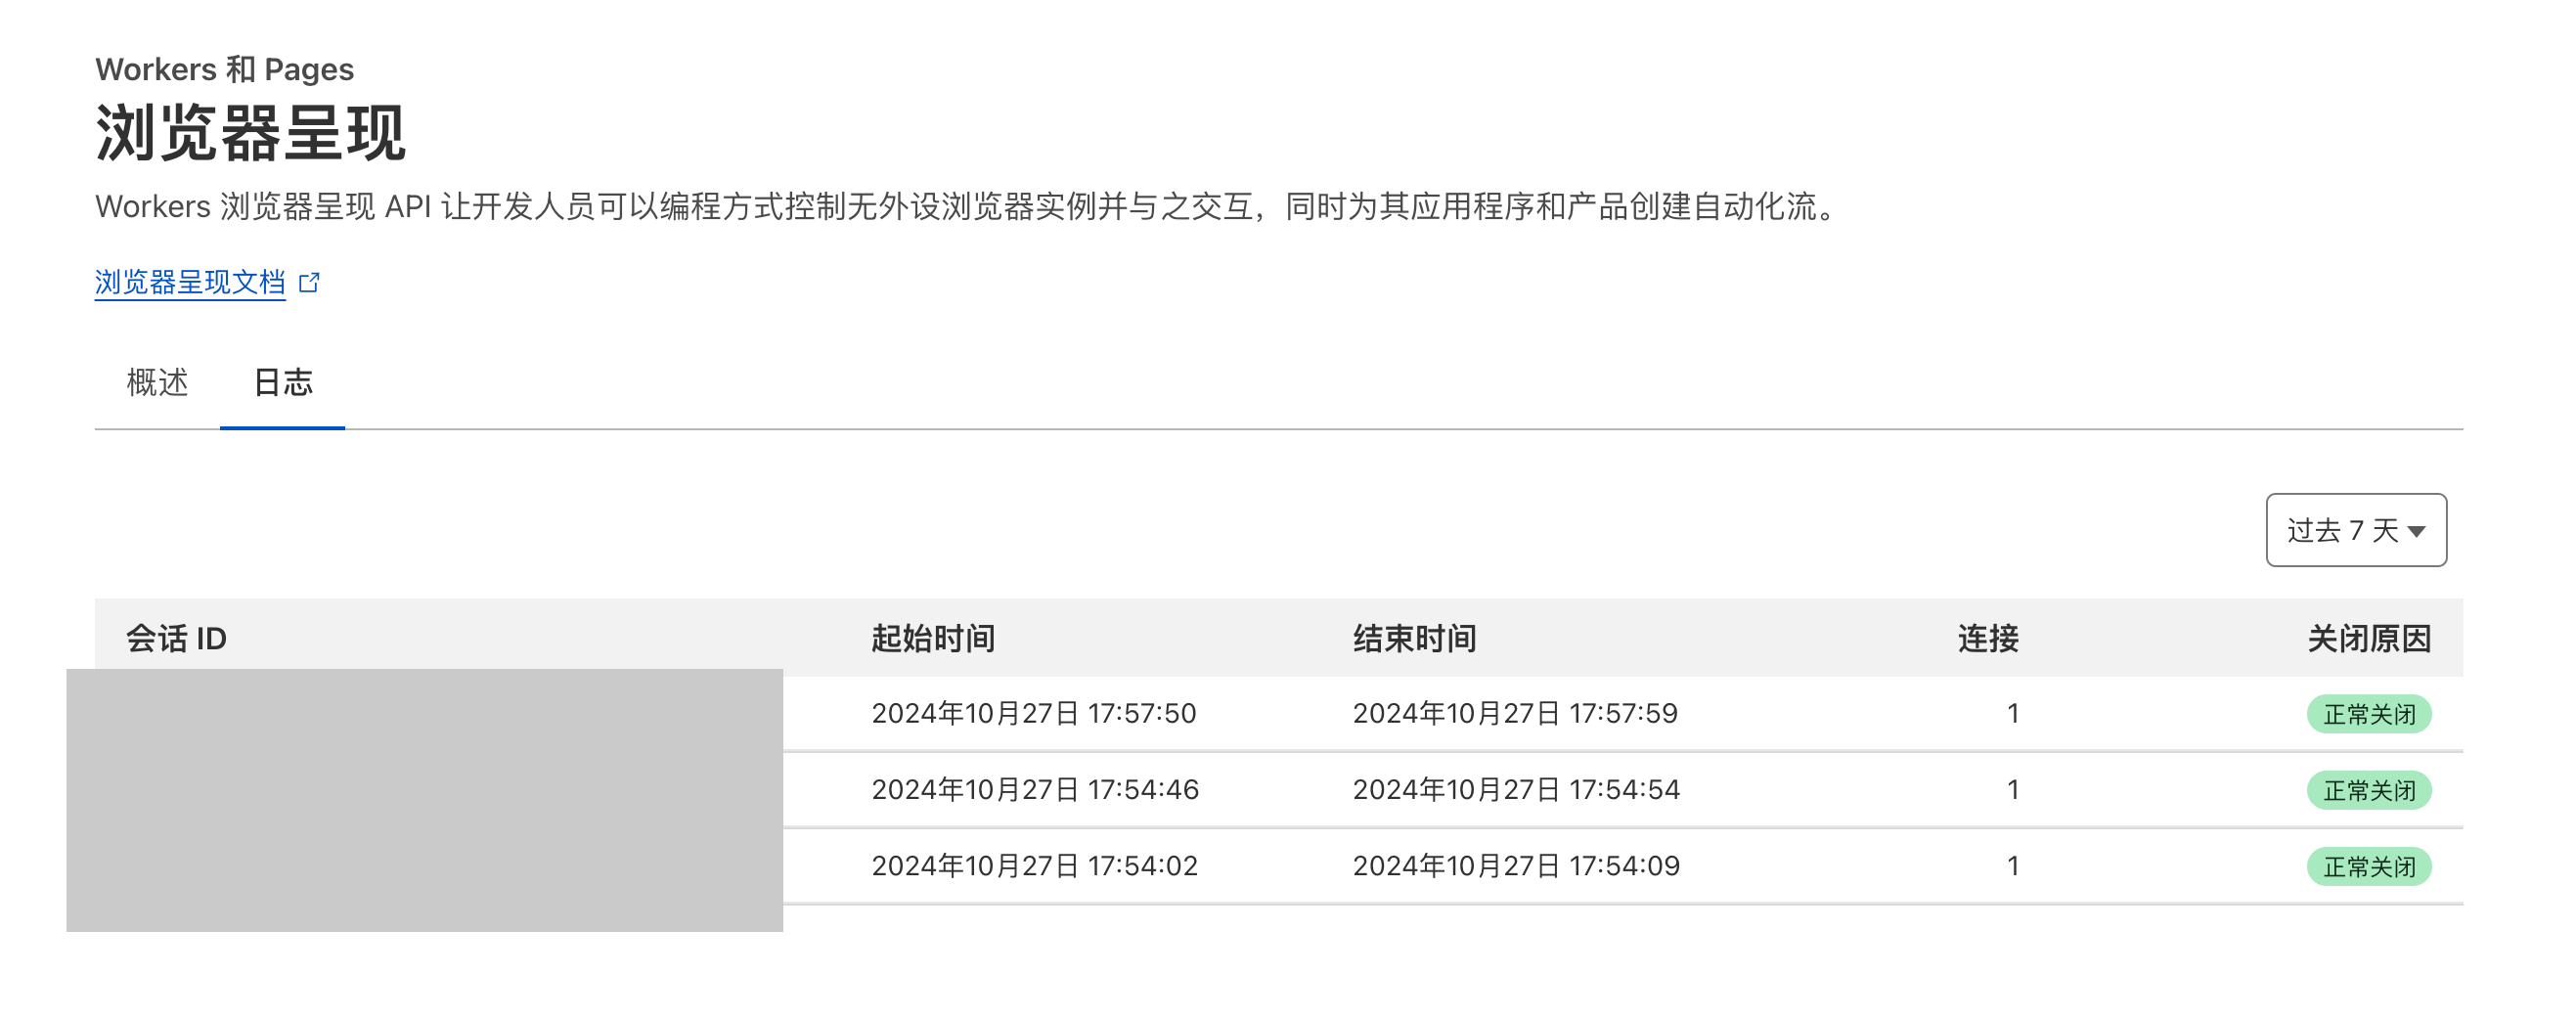
再回到Cloudflare控制台,能看到刚刚发起请求的日志
总结
整个服务创建的过程还是比较顺畅的,但是最后的效果确实还有点差强人意,但是考虑到这只是个快速入门的教程,或许其实有更加吸引人的玩法。
找着找着看到了一些其他的案例:cloudflare-puppeteer-examples
而puppeteer的官方仓库中有更多例子:puppeteer-examples
看得出还是挺多的,但是能不能都用上就说不定了,这里机翻一下:
渲染和网页抓取
- Puppetron - 演示网站,展示如何使用 Puppeteer 和 Headless Chrome 渲染页面。灵感来自GoogleChrome/rendertron。
- Thal——开始使用 Puppeteer 和 Chrome Headless 进行网页抓取。
- pupperender - Express 中间件,用于检查传入请求的 User-Agent 标头,如果与一组可配置的机器人之一匹配,则使用 Puppeteer 呈现页面。适用于 PWA 渲染。
- headless-chrome-crawler - 提供简单 API 来操作 Headless Chrome 的爬虫,允许你抓取动态网站。
- puppeteer-examples - Puppeteer Headless Chrome 示例,用于实际使用案例,例如从网页或常见的登录场景获取有用的信息。
- browserless - Headless Chrome 即服务,让你可以远程执行 Puppeteer 脚本。提供带有并发配置、启动参数等的 docker 镜像。
- AWS Lambda 上的 Puppeteer - 使用无服务器框架在 AWS Lambda 上运行 puppeteer
- Apify SDK - 可扩展的 JavaScript 网络爬虫和抓取库。自动管理 Puppeteer 浏览器池并提供简单的错误处理、任务管理、代理轮换等功能。
测试
- angular-puppeteer-demo - 演示库,解释如何在 Karma 中使用 Puppeteer。
- mocha-headless-chrome -通过无头 Chrome 在命令行中运行客户端mocha测试的工具。
- puppeteer-to-istanbul-example-演示存储库,演示如何以伊斯坦布尔格式输出 Puppeteer 覆盖范围。
- jest-puppeteer - (几乎) 零配置工具,可轻松设置和运行 Jest 和 Puppeteer。还包括 Puppeteer 的断言库。
- puppeteer-har-使用 puppeteer 生成 HAR 文件。
- puppetry - 一个无需编码即可构建 Puppeteer/Jest 驱动测试的桌面应用程序。
- puppeteer-loadtest - 用于对 puppeteer 脚本执行负载测试的命令行界面。
- cucumber-puppeteer-example - 示例存储库,演示如何使用 Puppeeteer 和 Cucumber 进行集成测试。
服务
- Checkly - 使用 Puppeteer 检查网页和应用程序的可用性和正确性的监控 SaaS。
- Doppio - 用于从 HTML/CSS/JS 创建屏幕截图或 PDF 的 SaaS API
限制
顺便看了��看CF官方说的限制
- 每个帐户每分钟两个新浏览器。
- 每个帐户有两个并发浏览器。
- 默认情况下,如果浏览器实例在 60 秒内未收到任何
devtools命令,则它会被终止,从而释放一个实例。用户可以选择使用keep_alive选项增加此时间。 browser.close()释放浏览器实例。