From Scratch - Implementing Two-Way SSL Encryption Verification with Netty
1. Introduction
Thanks to the following blogs for inspiration in completing this content: Netty Case - Netty 4.1 Intermediate Extension Part 13: Netty SSL Two-Way Encryption Verification
Netty SSL Two-Way Verification
Implementing Two-Way SSL Authentication in Netty
OpenSSL Main Configuration File openssl.cnf
2. Main Content
2.1 SSL
First, understand what SSL is. SSL (Secure Sockets Layer) is a standard security protocol used to establish encrypted links between web servers and browsers in online communications.
The image below helped me understand this concept deeply:
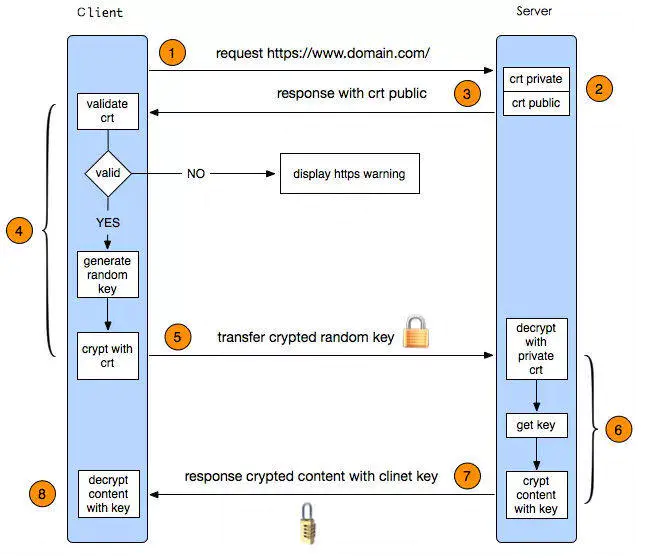
Translated version:
This is roughly how SSL works. Knowing this is enough to proceed with the following work.
2.2 Using OpenSSL to Generate Client and Server Private/Public Keys
This step is where most people get stuck. Many online articles are either too detailed and confusing, or too brief and unclear. Here I'll explain the simplest method and list problems encountered during practice:
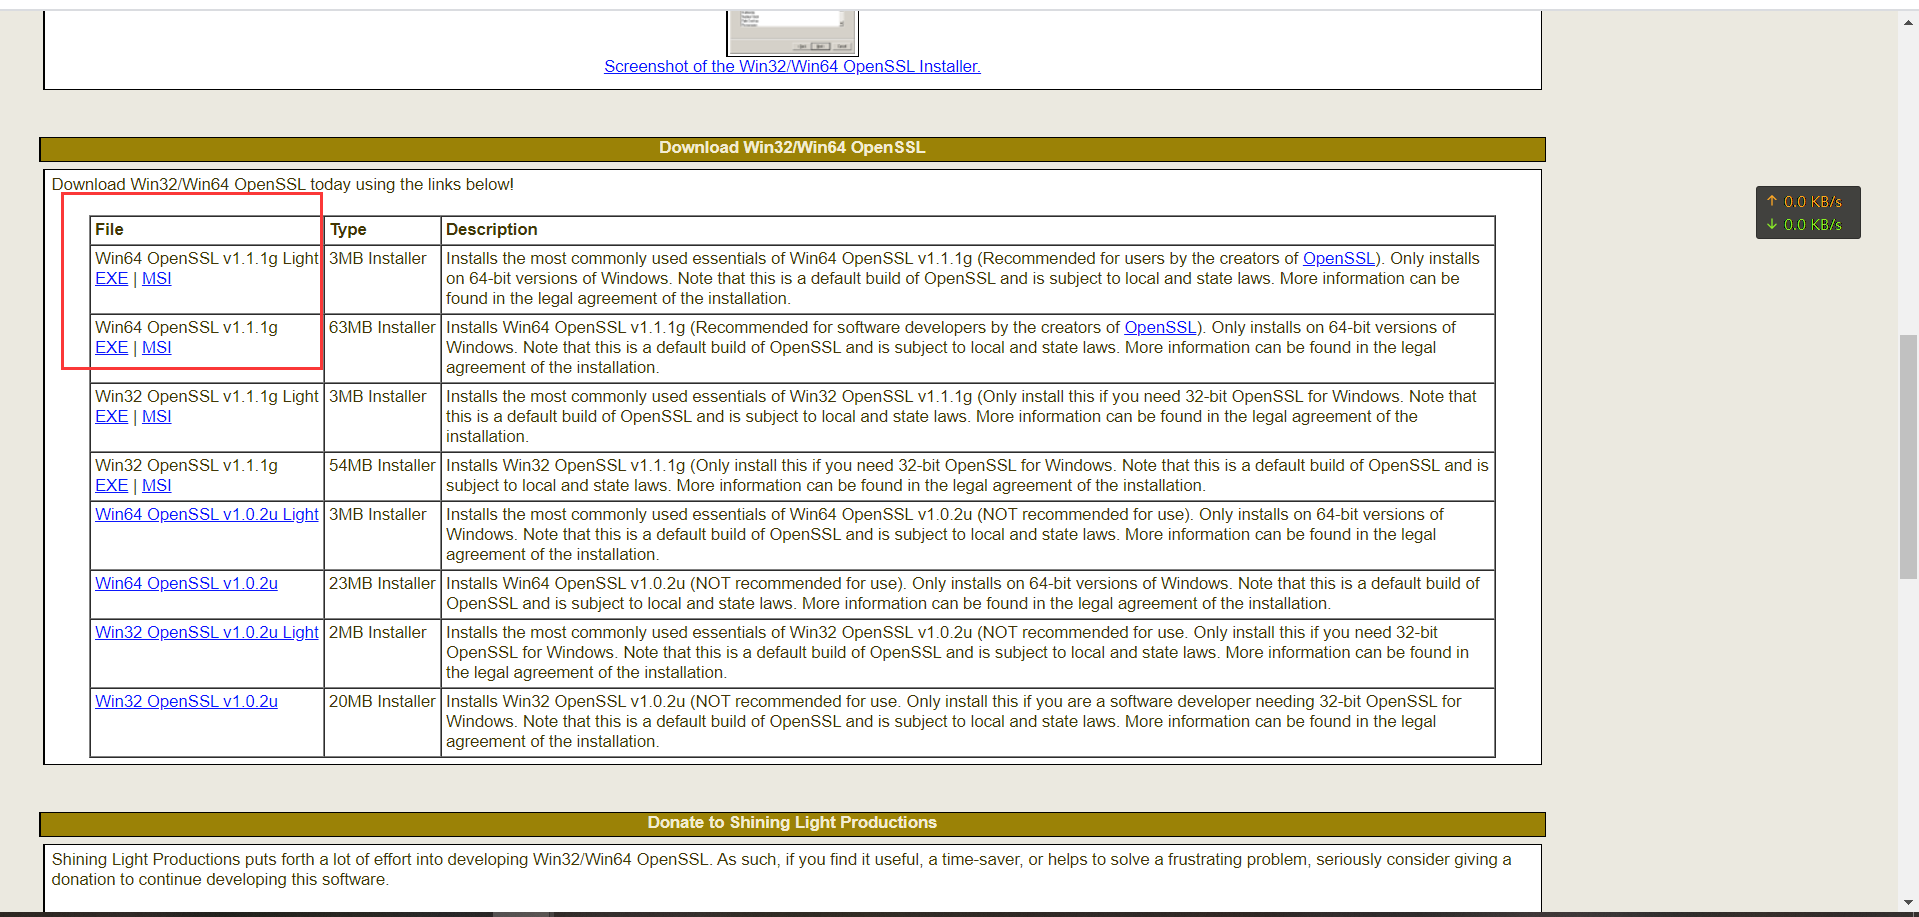
2.2.1 Download Windows Version of OpenSSL
Download link: Windows OpenSSL
 Why not use Linux version of OpenSSL?
Configuration is more complex and might confuse beginners.
Why not use Linux version of OpenSSL?
Configuration is more complex and might confuse beginners.
2.2.2 Choose a Directory for Installation
2.2.3 Click openssl.exe to Open the Software
2.2.4 Create Self-Signed CA
The following steps are:
Create CA --> Generate server and client private keys --> Generate CSR files from keys --> Generate x509 certificates from CA certificate, server.csr, client.csr --> Encode key files with PKCS#8
Why these operations? In practice, CA is an organization. For local testing, we don't need to apply for one, so we create our own CA.
CA has a certificate (containing public and private keys). Online users trust the CA by verifying its signature. Anyone can get the CA's certificate (with public key) to verify certificates it issues. If a user wants their own certificate, they should apply to the CA. After the CA verifies the applicant's identity, it assigns a public key, binds it with the applicant's identity information, signs it, and issues the certificate. If a user wants to verify another certificate's authenticity, they use the CA's public key to verify the signature. Once verified, the certificate is considered valid. A certificate is essentially the CA's authentication of a user's public key. -----------Baidu Encyclopedia
After creating the CA, we need to create client and server certificates. With both certificates, importing them into the program achieves two-way authentication. If only the server gets a certificate, it's one-way SSL authentication.
Execute in the opened openssl.exe:
req -new -x509 -keyout ca.key -out ca.crt -days 36500
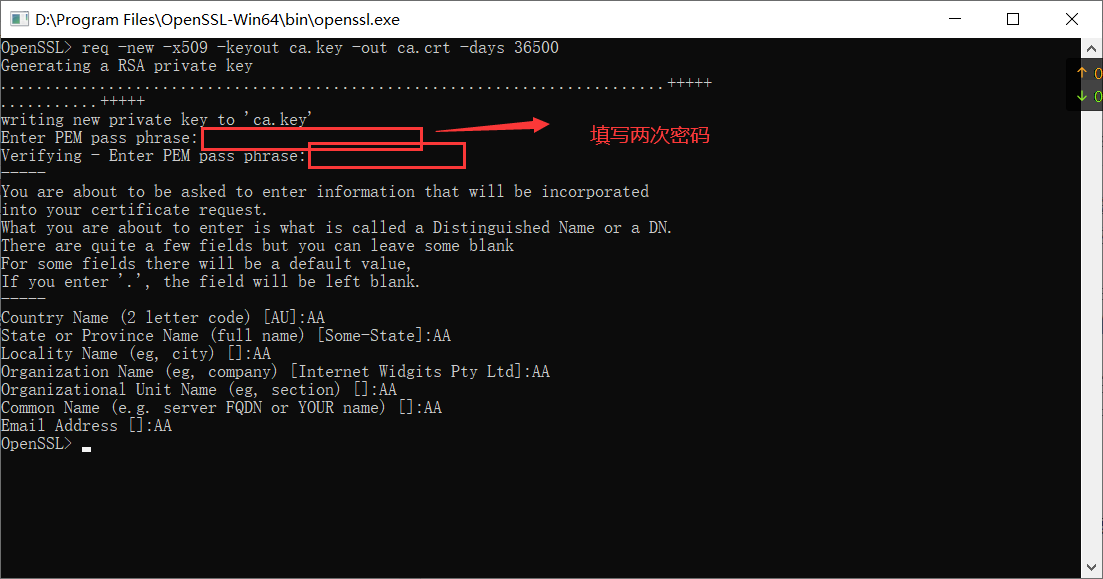
This generates files ca.key and ca.crt.
2.2.5 Generate Server and Client Private Keys
Server:
genrsa -des3 -out server.key 1024
Client:
genrsa -des3 -out client.key 1024
2.2.6 Generate CSR Files from Keys
Note: If you get an error after generating server.csr when creating client.csr, close the current window and reopen openssl.exe. Server:
req -new -key server.key -out server.csr
Client:
req -new -key client.key -out client.csr
2.2.7 Generate x509 Certificates from CA Certificate, server.csr, client.csr
If ca.key and ca.crt weren't generated above, you'll get a file not found error here.
Server:
x509 -req -days 3650 -in server.csr -CA ca.crt -CAkey ca.key -CAcreateserial -out server.crt
Client:
x509 -req -days 3650 -in client.csr -CA ca.crt -CAkey ca.key -CAcreateserial -out client.crt
2.2.8 Encode Key Files with PKCS#8
Server:
pkcs8 -topk8 -in server.key -out pkcs8_server.key -nocrypt
Client:
pkcs8 -topk8 -in client.key -out pkcs8_client.key -nocrypt
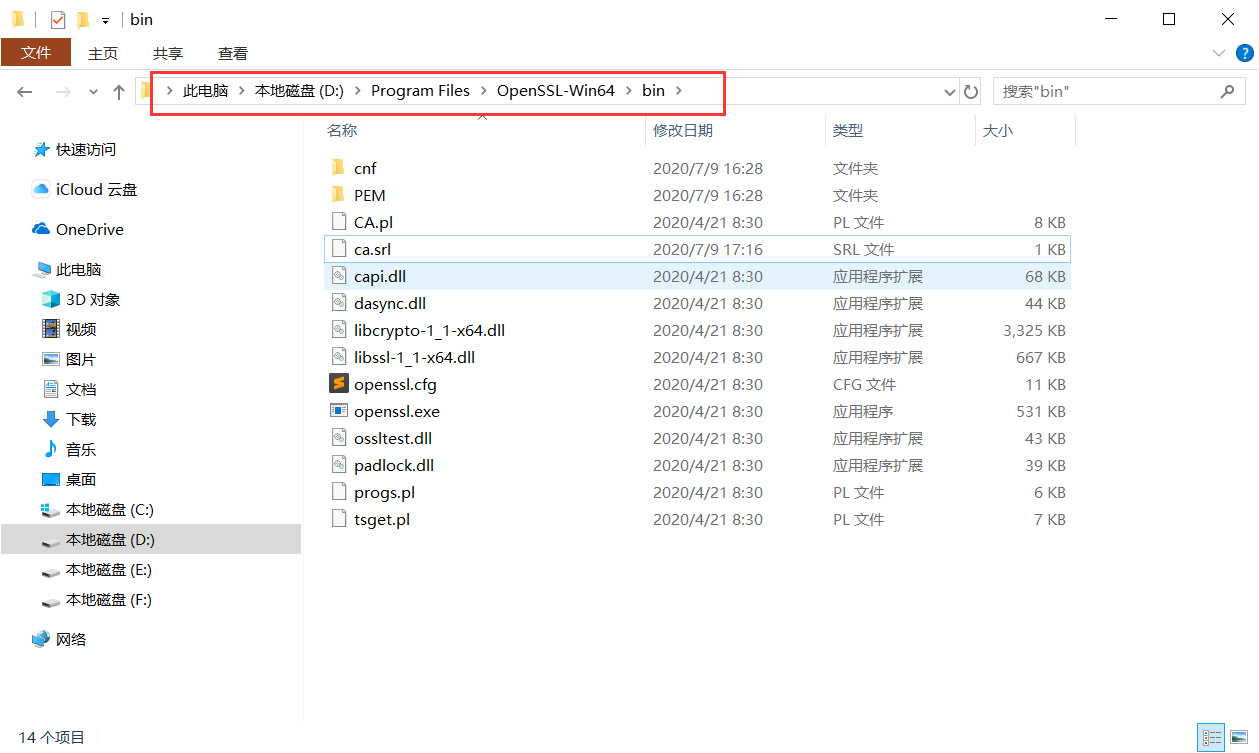
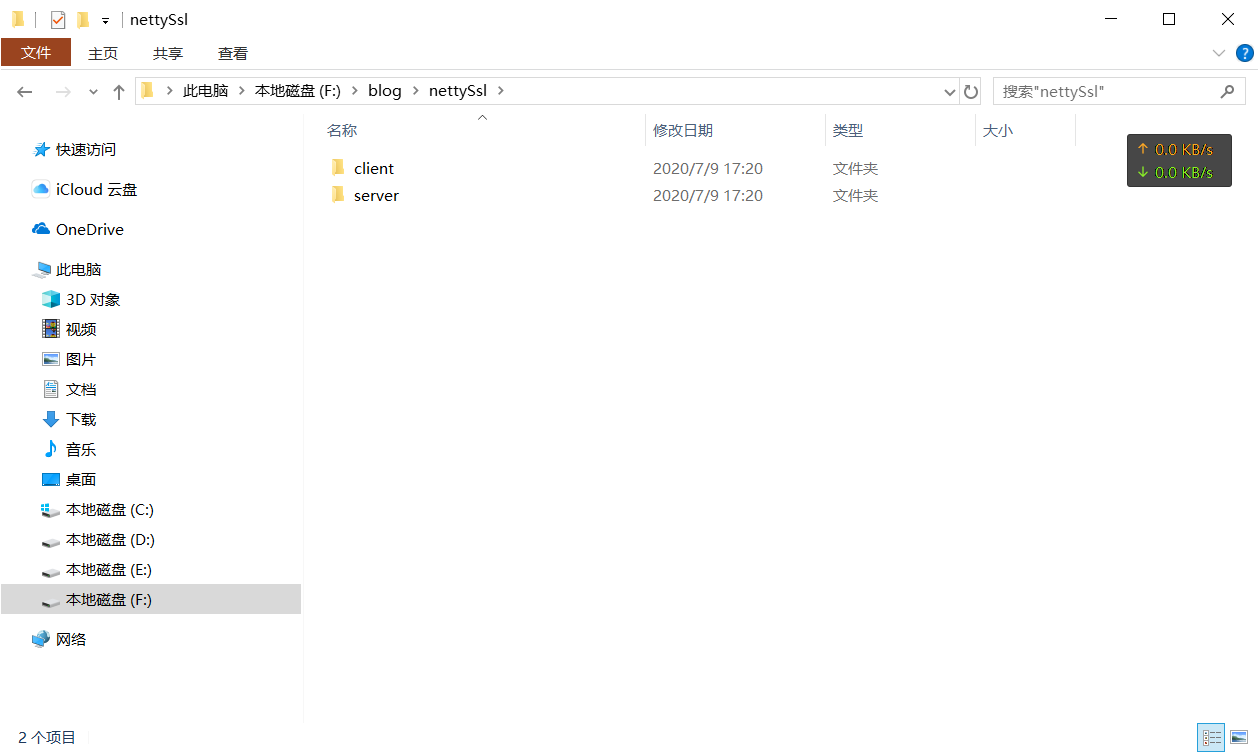
2.2.9 Copy the Following Files from the bin Folder
Note that server and client use the same ca.crt, meaning certificates issued by the same CA.
Server: ca.crt, server.crt, pkcs8_server.key
Client: ca.crt, client.crt, pkcs8_client.key
3. Import into Code
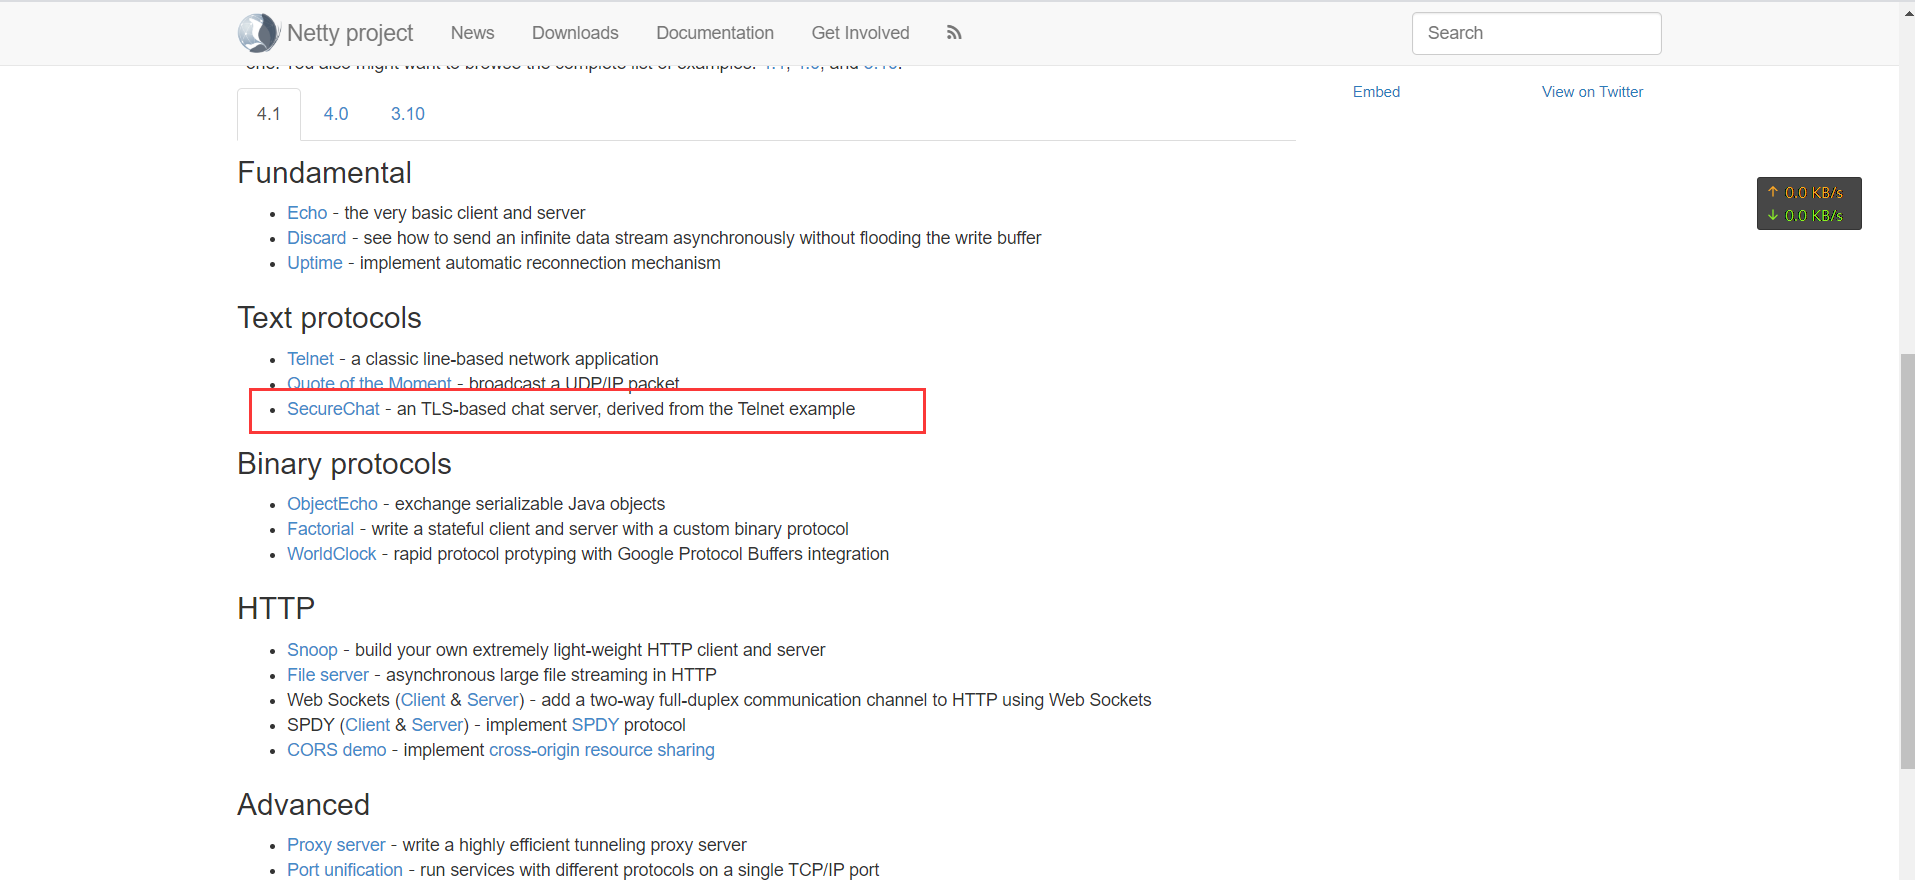
Open the Netty official documentation, which provides many examples to run:
https://netty.io/wiki/index.html
Using the secure chat room example:
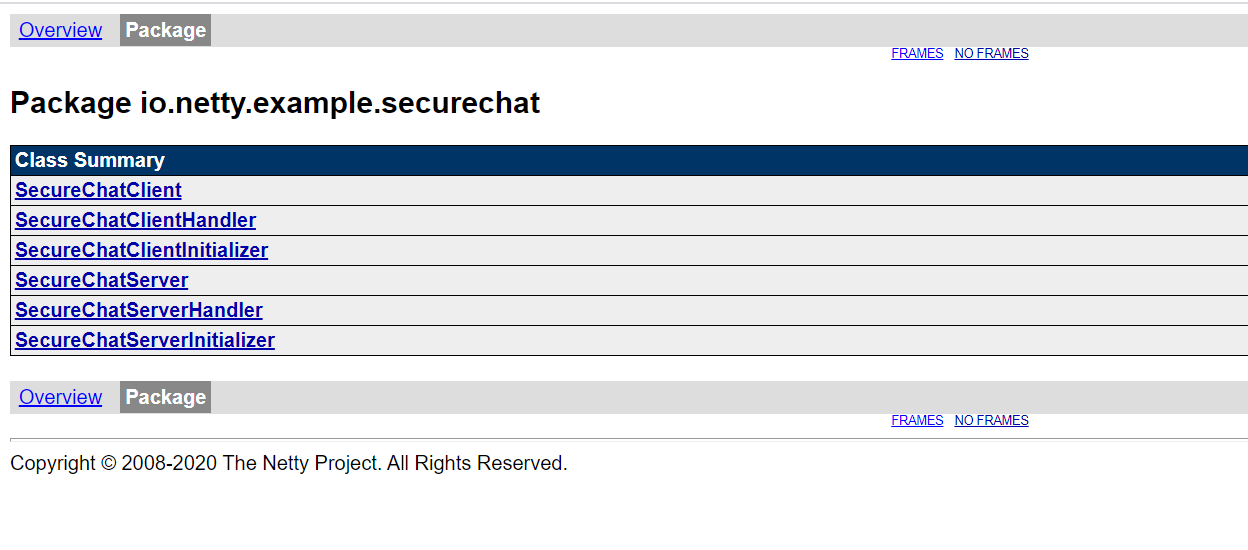
 Copy the code to your development tool:
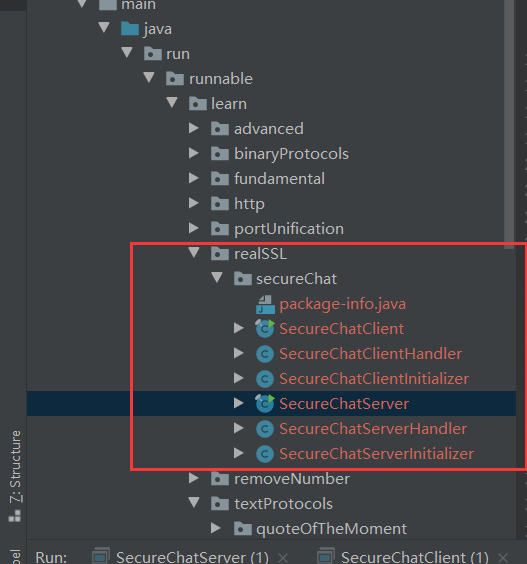
3.1 Server Example
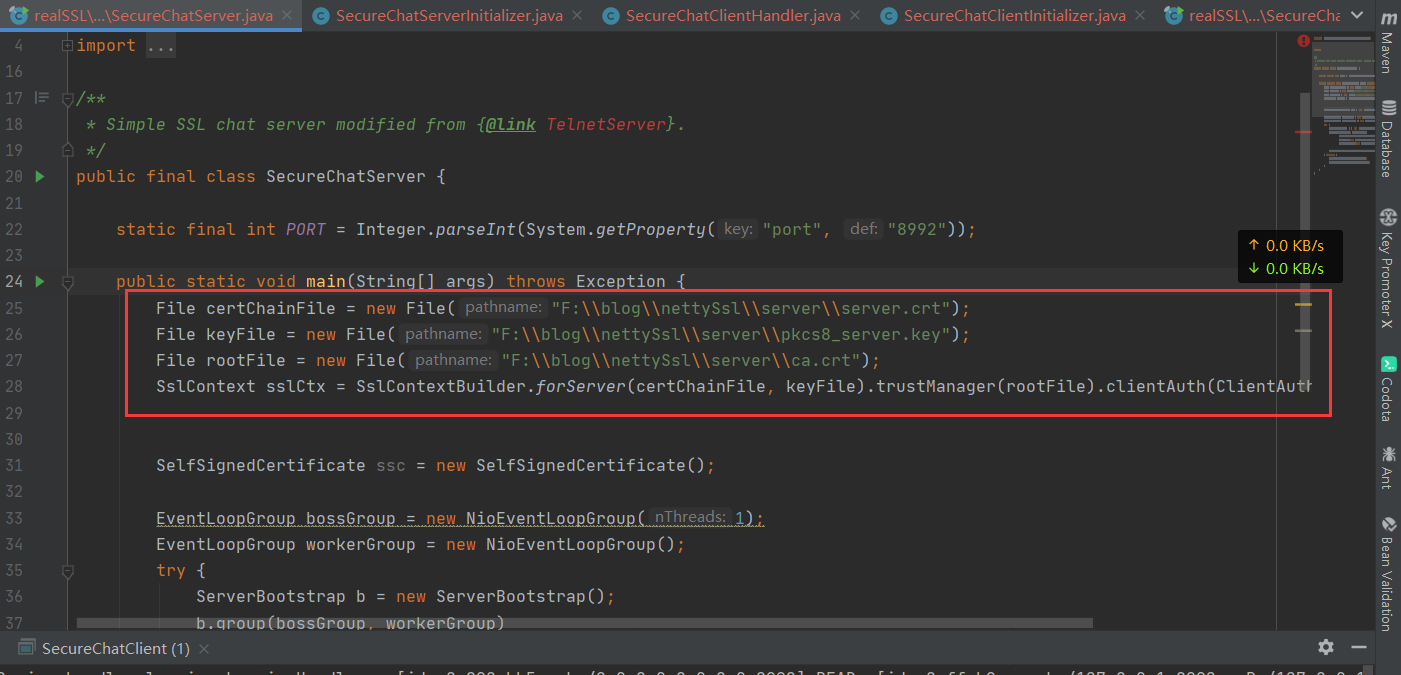
Replace the previous SslContext with the following code. The path is where the generated files are located - you can use two folders to distinguish them:
3.1.1 Code
File certChainFile = new File("F:\\blog\\nettySsl\\server\\server.crt");
File keyFile = new File("F:\\blog\\nettySsl\\server\\pkcs8_server.key");
File rootFile = new File("F:\\blog\\nettySsl\\server\\ca.crt");
SslContext sslCtx = SslContextBuilder.forServer(certChainFile, keyFile).trustManager(rootFile).clientAuth(ClientAuth.REQUIRE).build();
As shown:
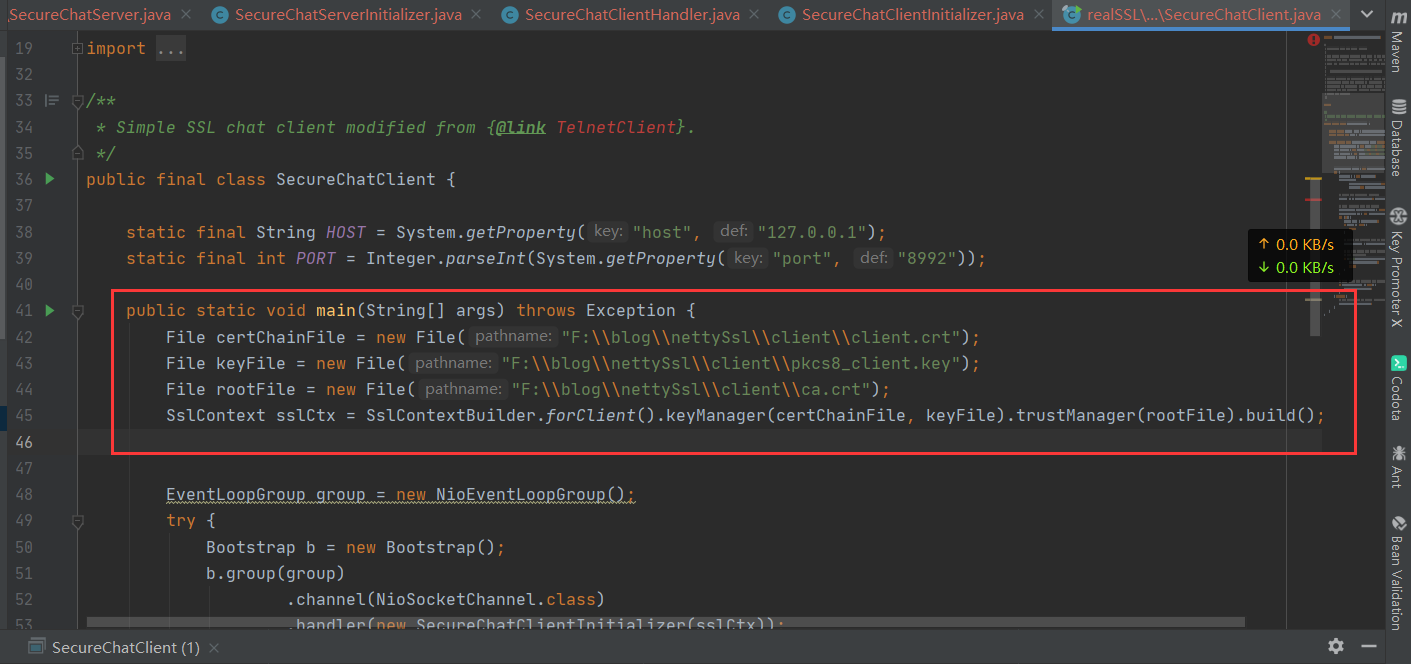
3.2 Client Similarly
4. Running
Start the server first, then start 2 clients.
Server log:
 Client log:
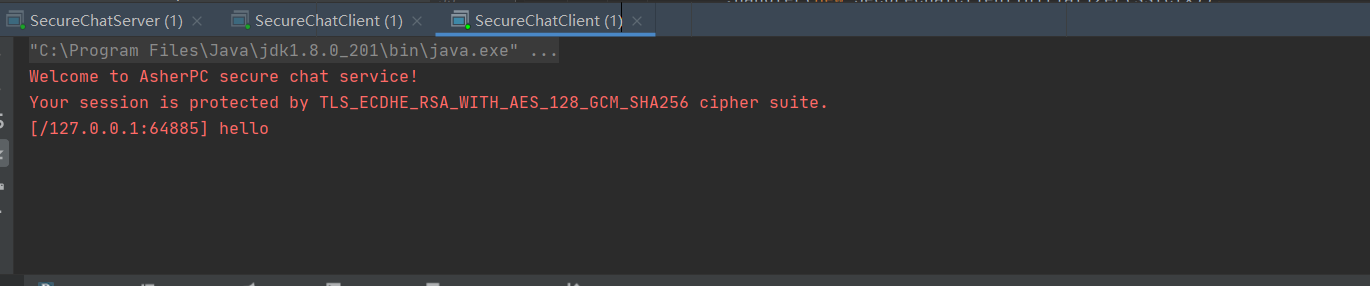
 One client enters text:
 The other client can see the sent text:
 Complete!