Step-by-Step Guide to Deploying SpringBoot Projects on Linux

1. Prerequisites:
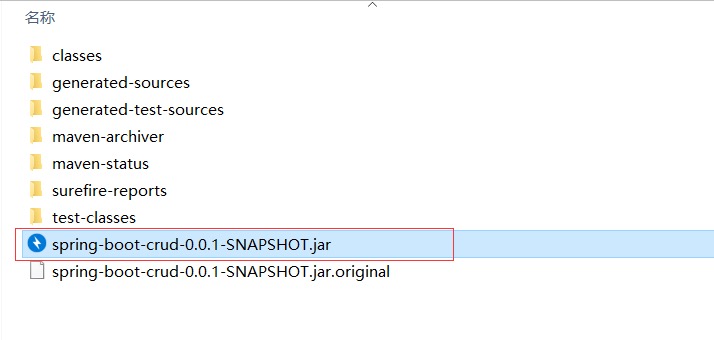
1.1 Package your project using Maven in IDEA
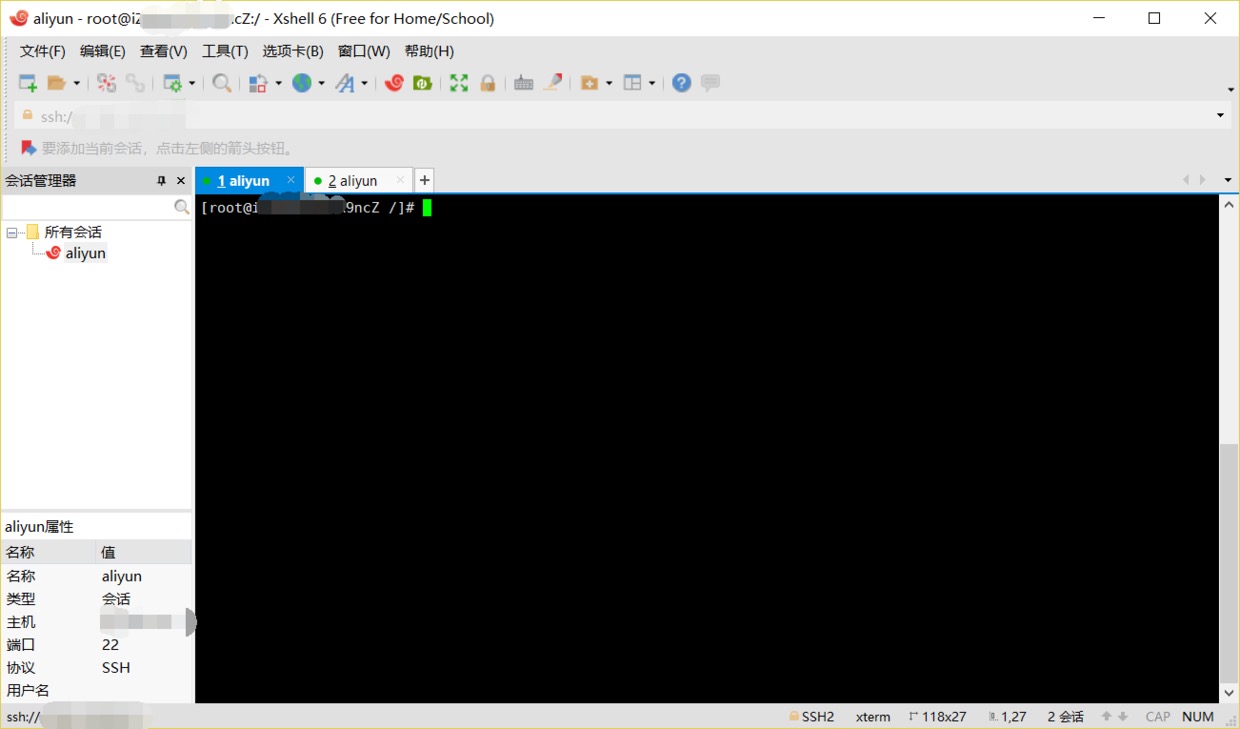
1.2 Connect to server using XShell
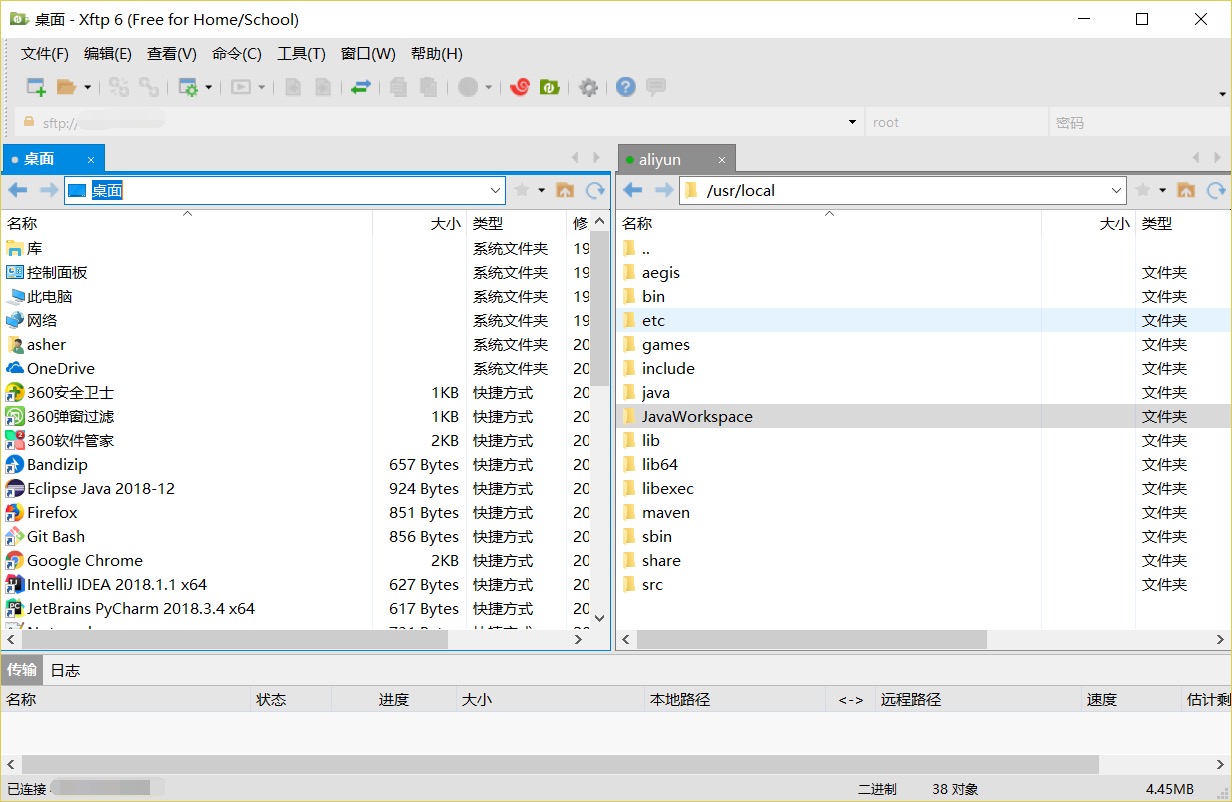
1.3 Xftp Tool
2. Steps
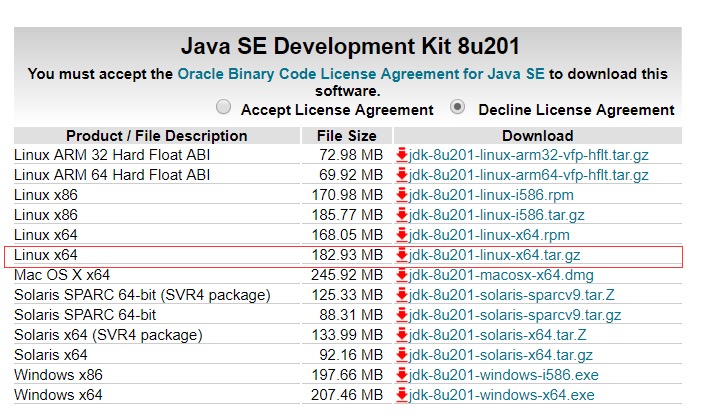
2.1 Install JDK and Maven on Linux Server
Download JDK and Maven from their official websites.

2.2 Use Xftp to Copy Downloaded JDK and Maven to Linux
When copying, you can first create folders on Linux to store JDK and Maven.
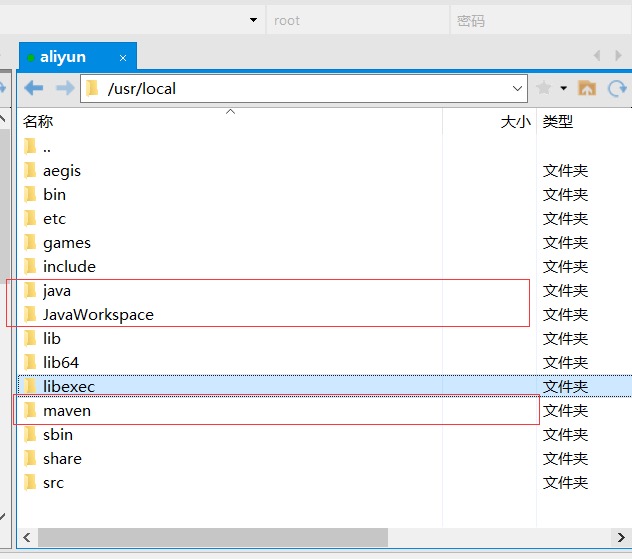
Extract in the java folder using:
tar -zxvf jdk1.8.0_201/
Same for the maven folder.
3. Configure Linux Profile File
Similar to configuring environment variables on Windows, you need to configure them on Linux too.
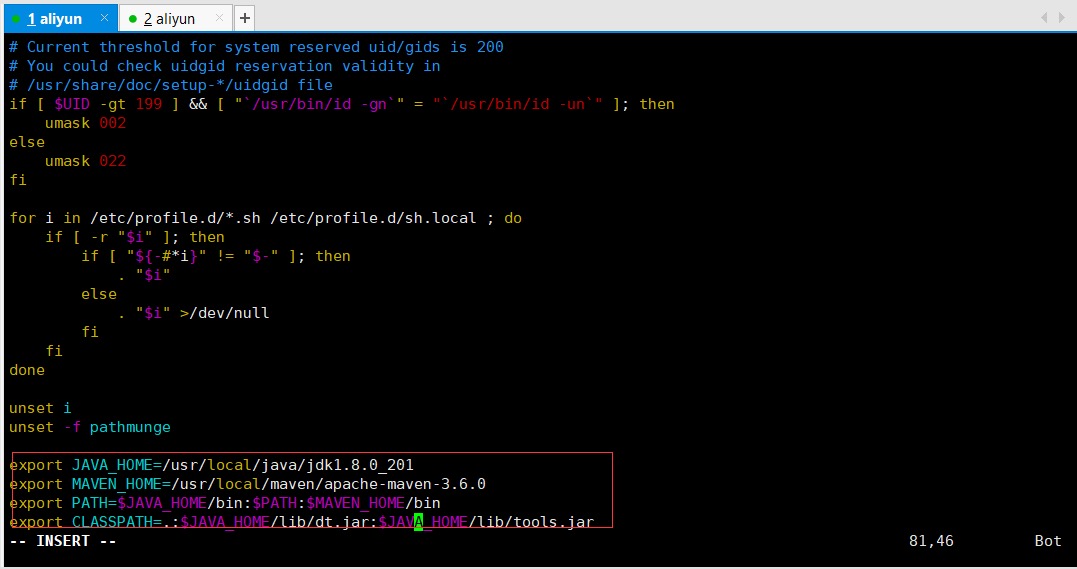
vi /etc/profile
Press i to insert. Note: enter your configured directory and the extracted folder names for JDK and Maven.
export JAVA_HOME=/usr/local/java/jdk1.8.0_201
export MAVEN_HOME=/usr/local/maven/apache-maven-3.6.0
export PATH=$JAVA_HOME/bin:$PATH:$MAVEN_HOME/bin
export CLASSPATH=.:$JAVA_HOME/lib/dt.jar:$JAVA_HOME/lib/tools.jar
Press esc then type:
:wq
to save.
After saving, to make /etc/profile take effect immediately:
source /etc/profile
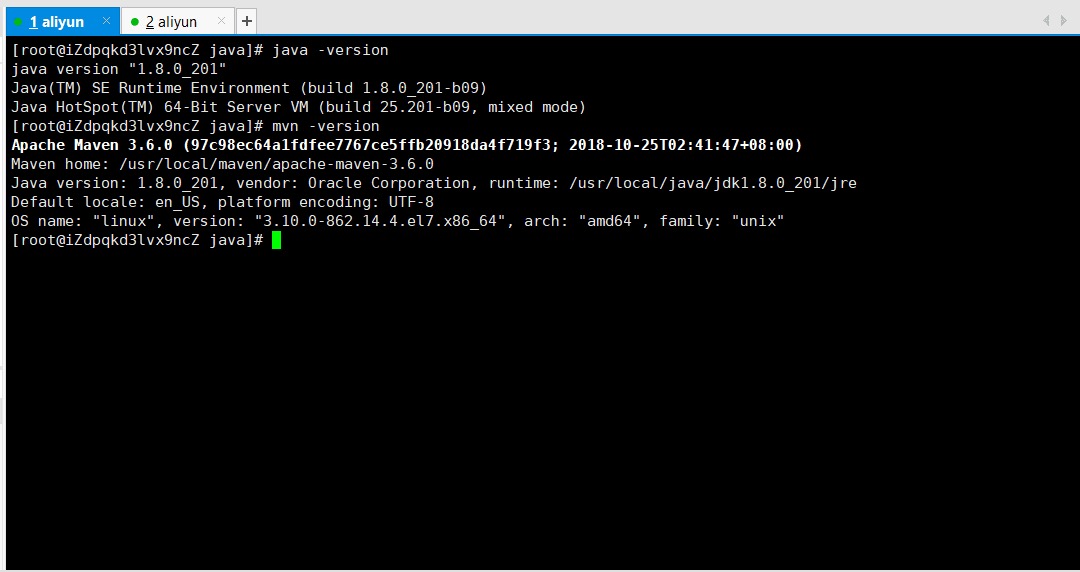
Then test the configuration by typing java -version and mvn -version:
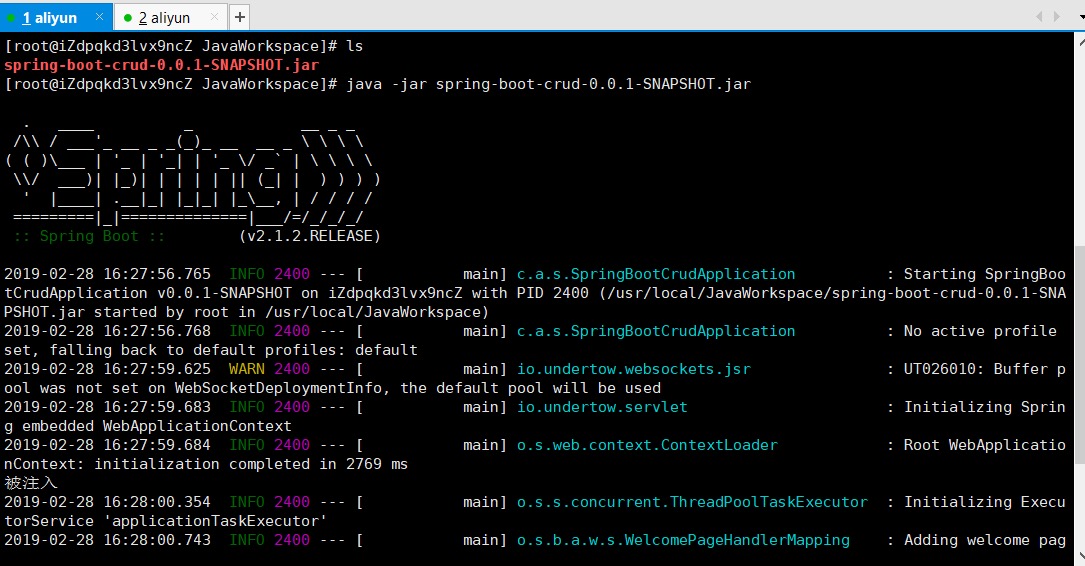
3.1 Navigate to the JAR File Location on Linux
Start Spring Boot with:
java -jar spring-boot-crud-0.0.1-SNAPSHOT.jar
3.2 Try Accessing It

4. Possible Issues:
4.1 Started but Cannot Access, Reference Blog
Disable Linux firewall CentOS7 uses firewalld (versions before 7 use iptables). Commands needed:
systemctl start firewalld: Check firewalld status first withsystemctl status firewalld;firewall-cmd --zone=public --add-port=8761/tcp --permanent: Open port 8761, change port number as needed;firewall-cmd --reload: Restart service;firewall-cmd --zone=public --list-ports: View opened ports;firewall-cmd --zone=public --remove-port=8761/tcp --permanent: Remove port when no longer needed;
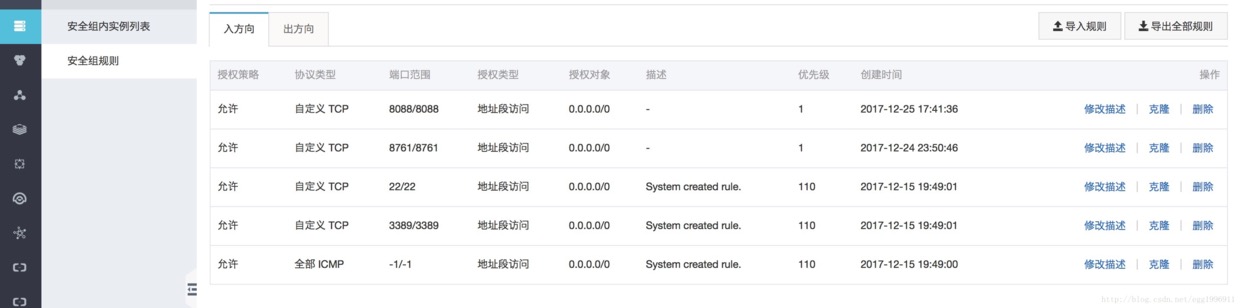
If using Alibaba Cloud CentOS7 server, you also need to open required ports in the console management.