教你如何在Mac下做OCR文字识别。支持m1 mac

1. 前景提要
最近想要用ocr文字识别做一点好玩的事情,虽然已经知道有百度OCR成熟的产品API,但是还是想自己通过tess4j做一个,毕竟生命在于折腾。
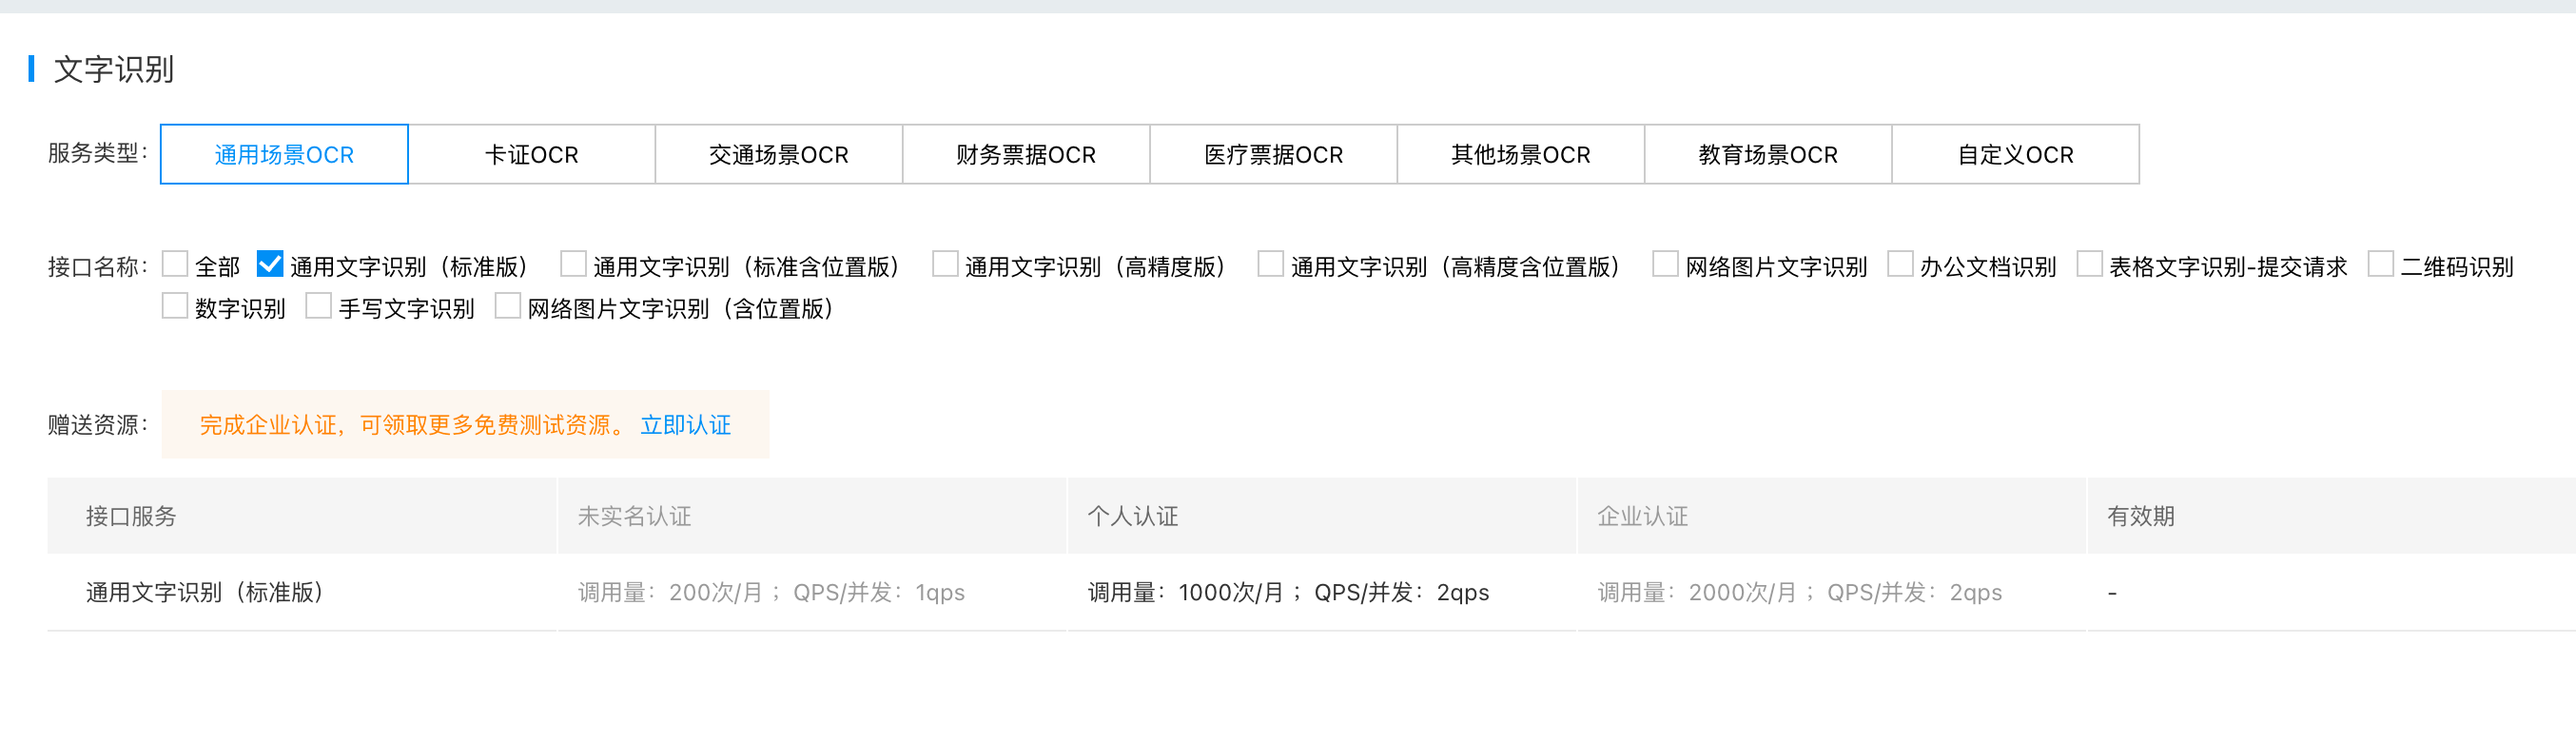
而百度OCR, 也并不是完全的免费的状态,如下图:
一个月有一千次的调用限制。
1.1 Tess4J
官网地址:Tess4J
Tess4J是一个对于Tesseract OCR API的Java JNA wrapper。也就是能让我们简单的调用Tesseract进行文字识别。而Tesseract 是一个光学字符识别引擎。支持多种操作系统,基于Apache许可证的自由软件,由Google赞助开发。 Tesseract被认为是最精准的开源光学字符识别引擎之一。
2. 安装Tesseract
2.1 Mac环境下
brew install tesseract
可能因为国内长城问题导致下载失败,建议更换镜像源,更换镜像源方法如下
2.2 更换mac brew镜像源
# 替换brew.git:
$ cd "$(brew --repo)"
# 清华大学:
$ git remote set-url origin https://mirrors.tuna.tsinghua.edu.cn/git/homebrew/brew.git

# 替换homebrew-core.git:
$ cd "$(brew --repo)/Library/Taps/homebrew/homebrew-core"
# 清华大学:
$ git remote set-url origin https://mirrors.tuna.tsinghua.edu.cn/git/homebrew/homebrew-core.git

# 替换homebrew-bottles:
# 清华大学:
$ echo 'export HOMEBREW_BOTTLE_DOMAIN=https://mirrors.tuna.tsinghua.edu.cn/homebrew-bottles' >> ~/.bash_profile
$ source ~/.bash_profile

# 应用生效:
$ brew update
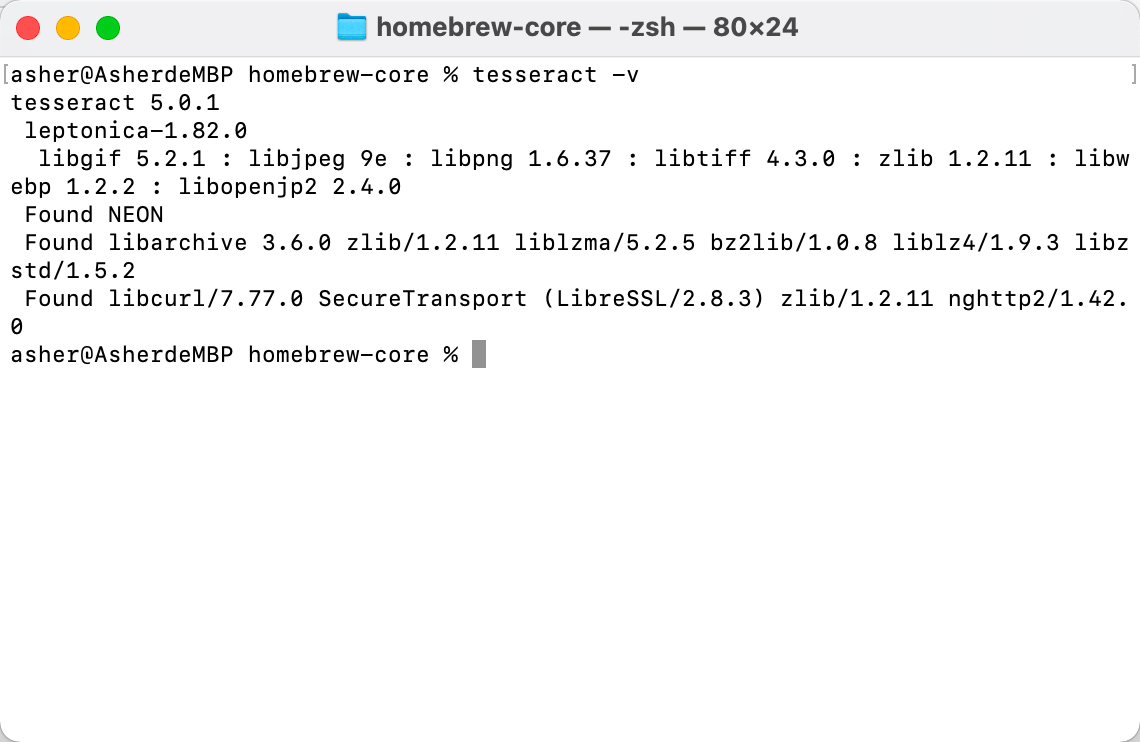
等待安装完成之后,输入 tesseract -v 可以看到显示对应的版本信息
2.4 获取libtesseract.dylib信息
然后输入 brew list tesseract 记录对应 libtesseract.dylib的信息,之后demo的时候会用到
asher@AsherdeMBP homebrew-core % brew list tesseract
/opt/homebrew/Cellar/tesseract/5.0.1/bin/tesseract
/opt/homebrew/Cellar/tesseract/5.0.1/include/tesseract/ (12 files)
/opt/homebrew/Cellar/tesseract/5.0.1/lib/libtesseract.5.dylib
/opt/homebrew/Cellar/tesseract/5.0.1/lib/pkgconfig/tesseract.pc
/opt/homebrew/Cellar/tesseract/5.0.1/lib/ (2 other files)
/opt/homebrew/Cellar/tesseract/5.0.1/share/tessdata/ (35 files)
asher@AsherdeMBP homebrew-core %
2.5 下载tessdata文件
点击github地址 ,然后本地git clone一下进行下载,文件内容比较大,慢慢下载。
3. 新建demo工程进行测试
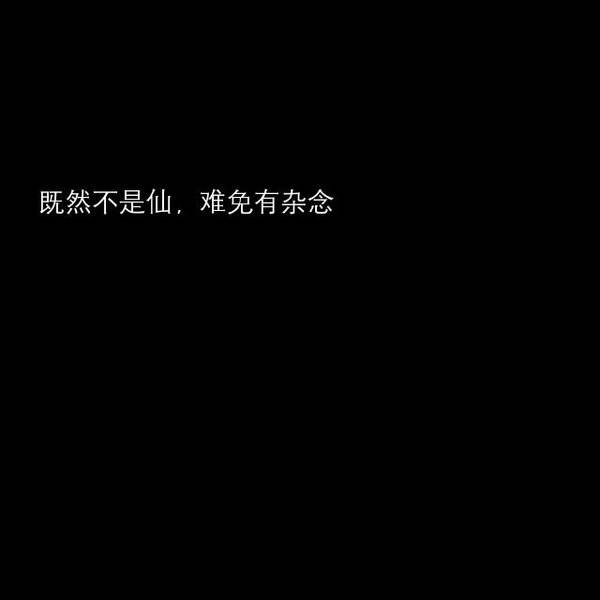
这里我准备了一张中文的图片,大家可以自取
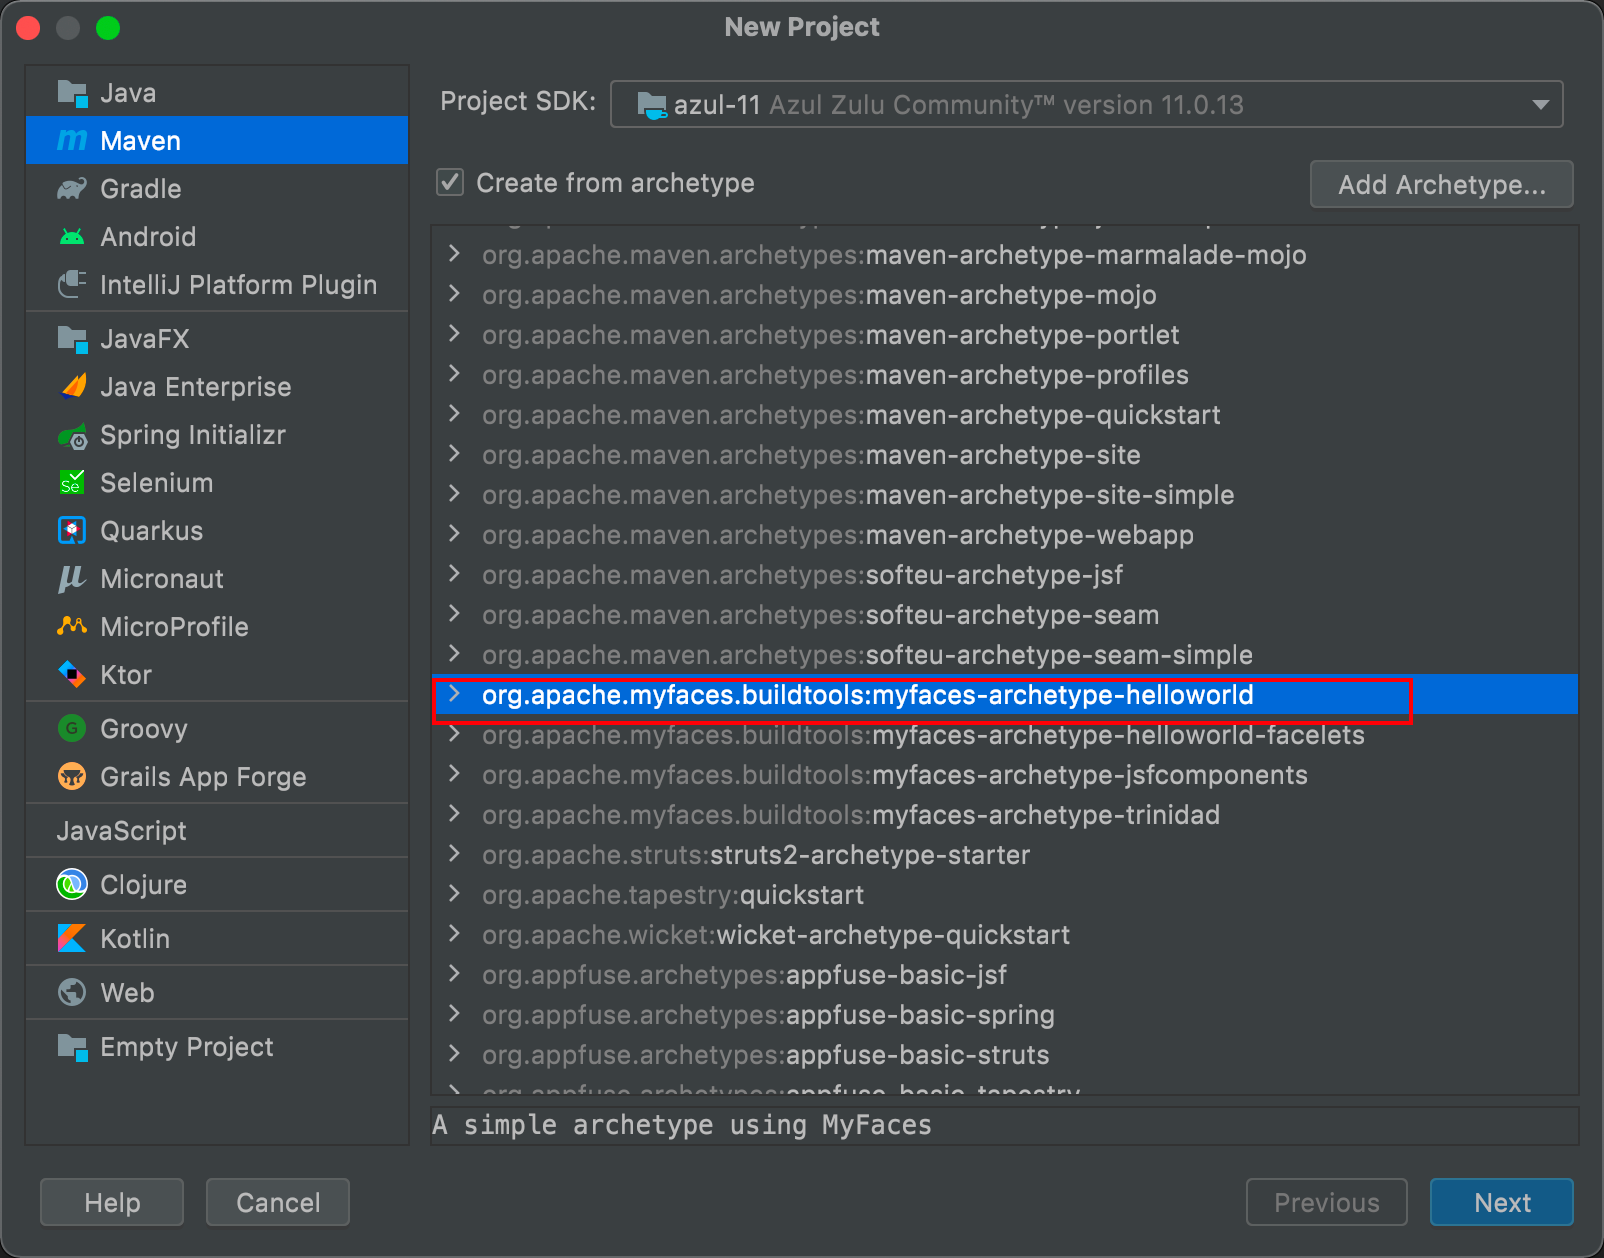
3.1 新建一个maven工程
3.2 引入对应的Tess4J依赖
<!-- https://mvnrepository.com/artifact/net.sourceforge.tess4j/tess4j -->
        <dependency>
            <groupId>net.sourceforge.tess4j</groupId>
            <artifactId>tess4j</artifactId>
            <version>5.1.1</version>
        </dependency>
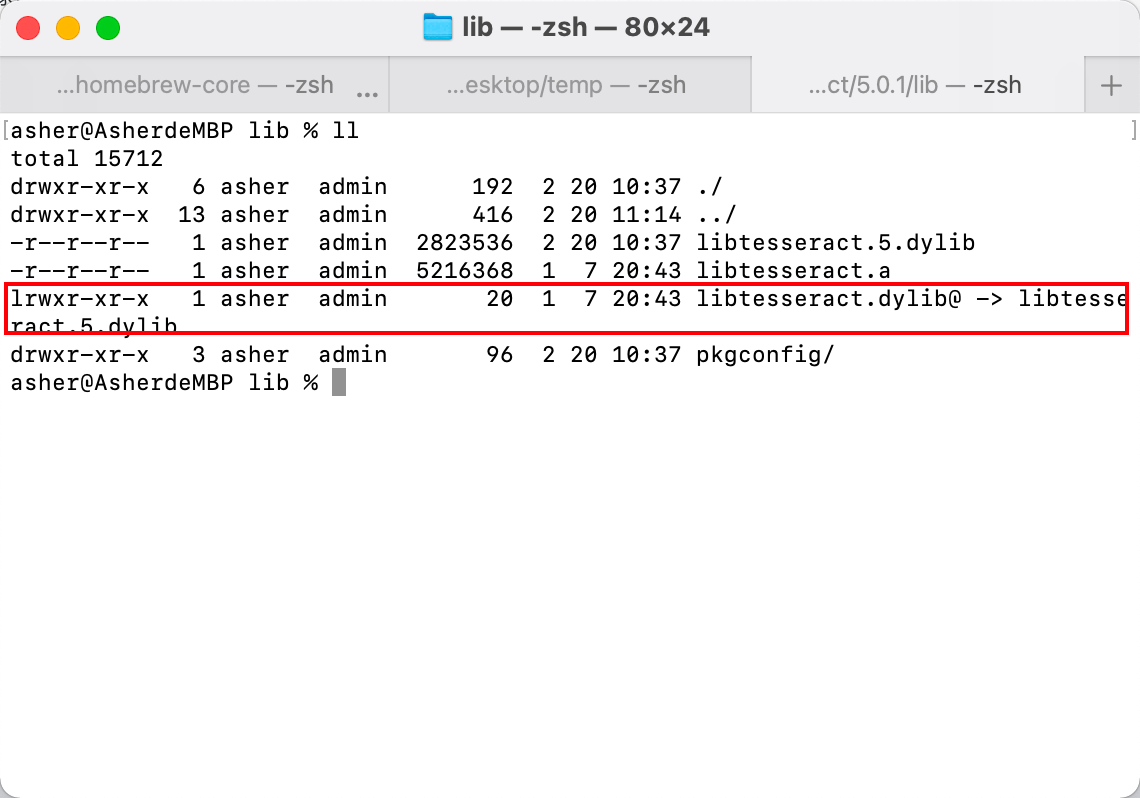
3.3 复制 libtesseract.dylib文件
回到步骤2.4, 打开对应的目录,比如我的就是
/opt/homebrew/Cellar/tesseract/5.0.1/lib
复制 libtesseract.5.dylib 文件到项目的 resources目录下,然后重命名为 libtesseract.dylib。
为什么不是直接复制 libtesseract.dylib ,因为那个是个软链接,就像windows中的快捷方式一样
3.3 编写测试代码
public static void main(String[] args) throws TesseractException {
ITesseract instance = new Tesseract(); // JNA Interface Mapping
instance.setDatapath("/Users/asher/gitWorkspace/tessdata"); // path to tessdata directory
instance.setLanguage("chi_sim");
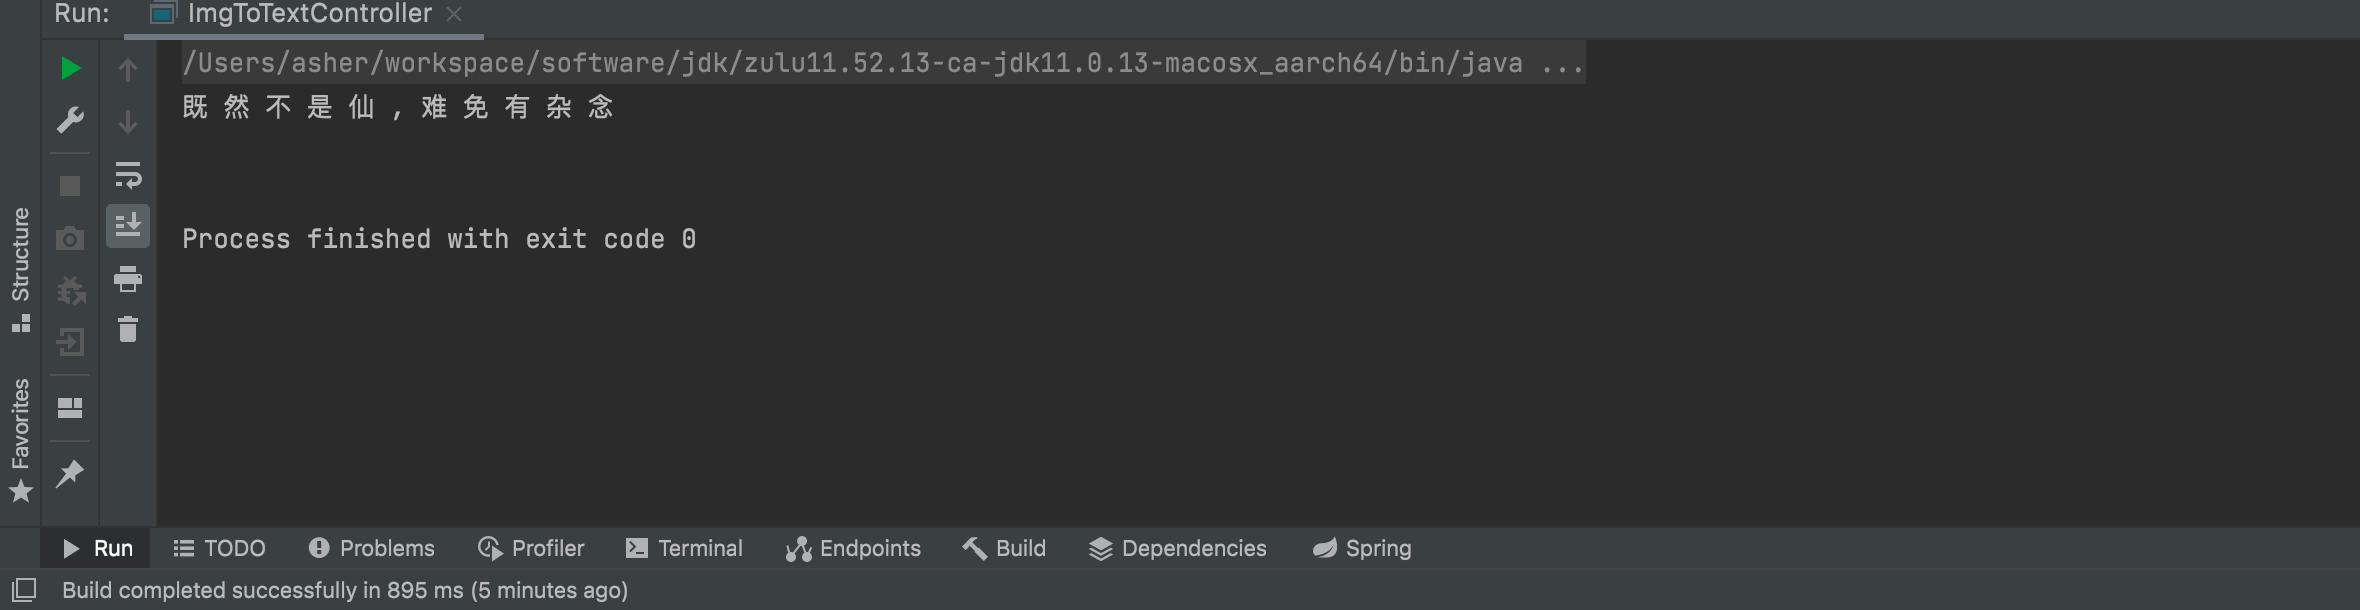
String result = instance.doOCR(new File("/Users/asher/Desktop/temp/chi_temp.jpg"));
System.out.println(result);
}
当中的一些代码解释
- instance.setDatapath(String); 设置步骤2.5中下载tessdata文件的路径,当中包含了简体中文的训练数据
- instance.setLanguage(String);这个就是设置你要识别的文字是什么语言了
可以看到文字是能够被正确识别出来的
4. 一些错误的解决
4.1 未找到language
需要设置正确的语言,以及下载对应的语言包
instance.setLanguage("chi_sim");
4.2 (mach-o file, but is an incompatible architecture (have 'x86_64', need 'arm6
你的 libtesseract.dylib 文件有问题,参考步骤3.3
5. 参考博客
Mac安装Tesseract,使用Tess4j实现OCR识别
mac上文字识别(Tesseract-OCR for mac )
5.1 想要一些扩展知识?
A demo for Tesseract in Java with JNA (Tess4J).
库名-语言表如下
库名 语言
afr Afrikaans(南非荷兰语)
amh Amharic(阿姆哈拉语)
ara Arabic(阿拉伯语)
asm Assamese(阿萨姆)
aze Azerbaijani(阿塞拜疆)
aze_cyrl Azerbaijani- Cyrilic(阿塞拜疆-Cyrilic)
bel Belarusian(白俄罗斯)
ben Bengali(孟加拉)
bod Tibetan(西藏)
bos Bosnian(波斯尼亚)
bul Bulgarian(保加利亚语)
cat Catalan;Valencian(加泰罗尼亚语; 巴伦西亚)
ceb Cebuano(宿务)
ces Czech(捷克)
chi_sim Chinese - Simplified(中国-简体)
chi_tra Chinese - Traditional(中国-繁体)
chr Cherokee(切诺基)
cym Welsh(威尔士)
dan Danish(丹麦)
dan_frak Danish- Fraktur(丹麦-Fraktur)
deu German(德国)
deu_frak German - Fraktur(德国-Fraktur)
dzo Dzongkha(不丹文)
ell Greek, Modern (1453-)(希腊,现代(1453-))
eng English(英语)
enm English,Middle (1100-1500)(英语,中东(1100-1500))
epo Esperanto(世界语)
equ Math / equation detection module(数学/方程式检测模块)
est Estonian(爱沙尼亚)
eus Basque(巴斯克)
fas Persian(波斯)
fin Finnish(芬兰)
fra French(法语)
frk Frankish(法兰克)
frm French,Middle (ca.1400-1600)(法国,中�东(ca.1400-1600))
gle Irish(爱尔兰)
glg Galician(加利西亚)
grc Greek, Ancient (to 1453)(希腊语,古(到1453年))
guj Gujarati(古吉拉特语)
hat Haitian;Haitian Creole(海天; 海地克里奥尔语)
heb Hebrew(希伯来语)
hin Hindi(印地文)
hrv Croatian(克罗地亚)
hun Hungarian(匈牙利)
iku Inuktitut(因纽特语)
ind Indonesian(印尼)
isl Icelandic(冰岛)
ita Italian(意大利语)
ita_old Italian- Old(意大利语-旧)
jav Javanese(爪哇)
jpn Japanese(日本)
kan Kannada(卡纳达语)
kat Georgian(格鲁吉亚)
kat_old Georgian - Old(格鲁吉亚-旧)
kaz Kazakh(哈萨克斯坦)
khm Central Khmer(中央高棉)
kir Kirghiz; Kyrgyz(柯尔克孜; 吉尔吉斯)
kor Korean(韩国)
kur Kurdish(库尔德人)
lao Lao(老挝)
lat Latin(拉丁)
lav Latvian(拉脱维亚)
lit Lithuanian(立陶宛)
mal Malayalam(马拉雅拉姆语)
mar Marathi(马拉)
mkd Macedonian(马其顿)
mlt Maltese(马耳他)
msa Malay(马来文)
mya Burmese(缅甸)
nep Nepali(尼泊尔)
nld Dutch;Flemish(荷兰; 佛兰芒语)
nor Norwegian(挪威)
ori Oriya(奥里亚语)
osd Orientation and script detection module(定位及脚本检测模块)
pan Panjabi; Punjabi(旁遮普语; 旁遮普语)
pol Polish(波兰)
por Portuguese(葡萄牙语)
pus Pushto;Pashto(普什图语; 普什图语)
ron Romanian; Moldavian; Moldovan(罗马尼亚; 摩尔多瓦; 摩尔多瓦)
rus Russian(俄罗斯)
san Sanskrit(梵文)
sin Sinhala; Sinhalese(僧伽罗语; 僧伽罗语)
slk Slovak(斯洛伐克)
slk_frak Slovak - Fraktur(斯洛伐克- Fraktur)
slv Slovenian(斯洛文尼亚)
spa Spanish; Castilian(西班牙语; 卡斯蒂利亚)
spa_old Spanish; Castilian - Old(西班牙语; 卡斯蒂利亚-老)
sqi Albanian(阿尔巴尼亚)
srp Serbian(塞尔维亚)
srp_latn Serbian- Latin(塞尔维亚语-拉丁语)
swa Swahili(斯瓦希里语)
swe Swedish(瑞典)
syr Syriac(叙利亚)
tam Tamil(泰米尔)
tel Telugu(泰卢固语)
tgk Tajik(塔吉克斯坦)
tgl Tagalog(菲律宾语)
tha Thai(泰国)
tir Tigrinya(提格雷语)
tur Turkish(土耳其)
uig Uighur;
Uyghur(维吾尔族; 维吾尔)
ukr Ukrainian(乌克兰)
urd Urdu(乌尔都语)
uzb Uzbek(乌兹别克斯坦)
uzb_cyrl Uzbek - Cyrilic(乌兹别克斯坦- Cyrilic)
vie Vietnamese(越南语)
yid Yiddish(意第绪语)